Seed Stitch - Learn How to Do This Modern Embroidery Technique
Introduction
Hello, modern embroidery friends!
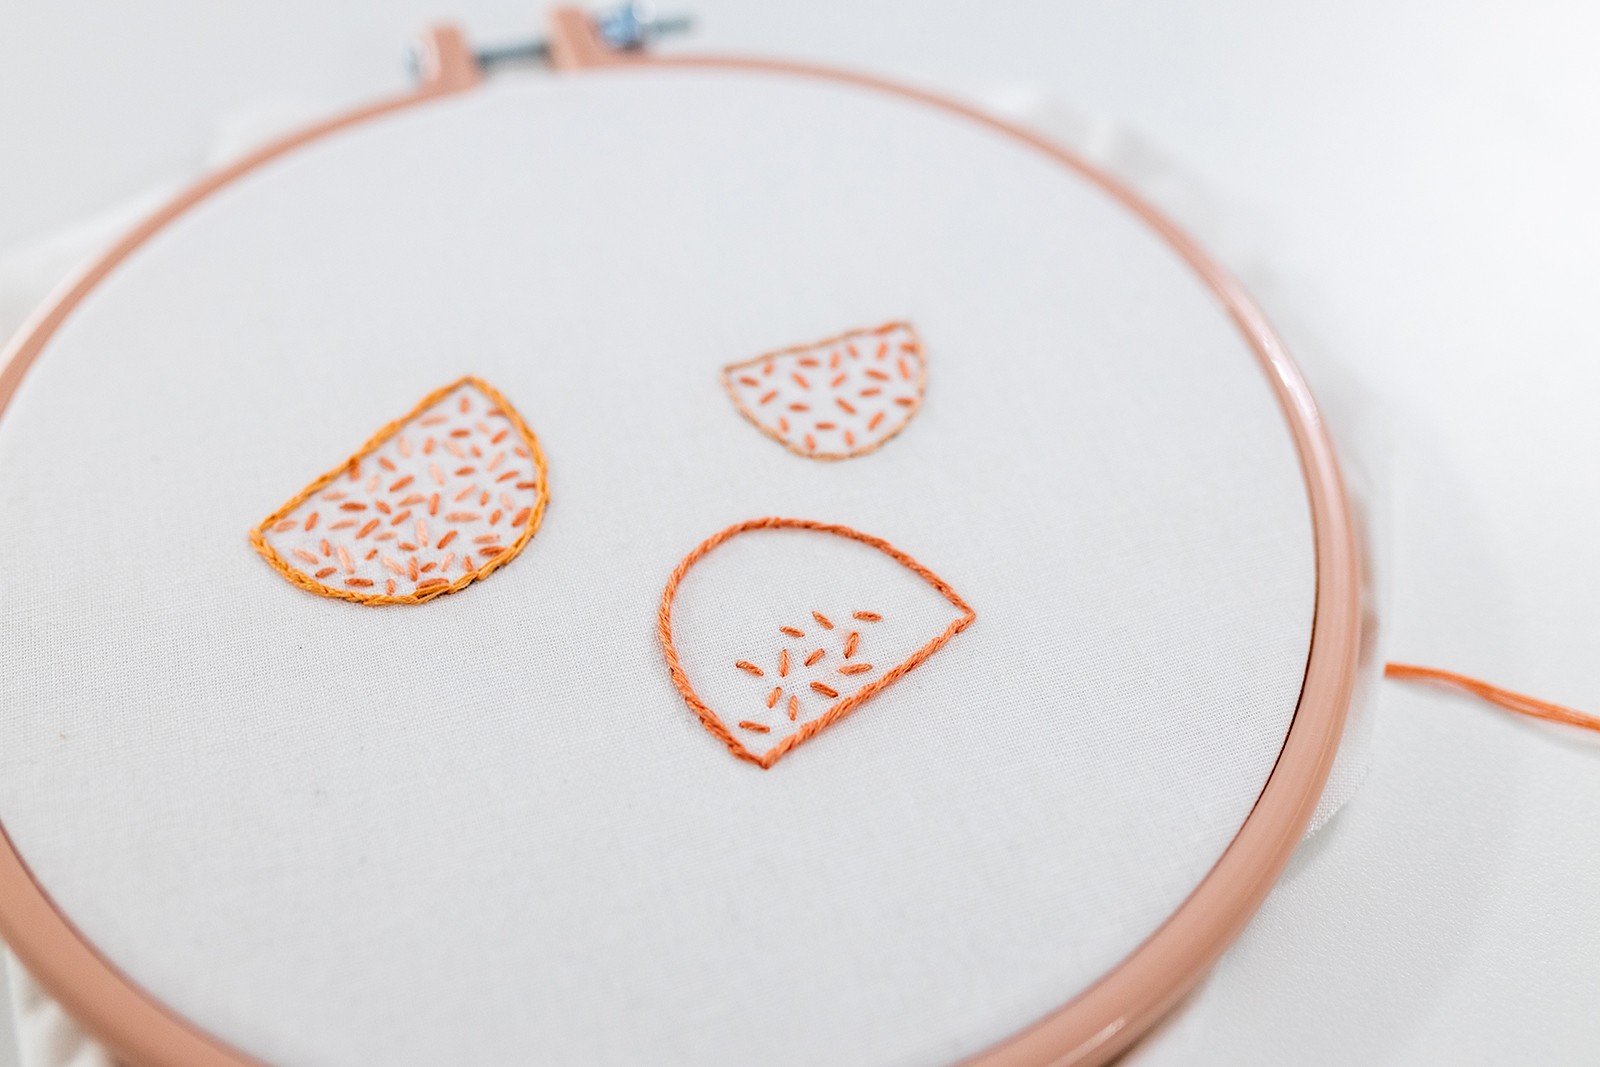
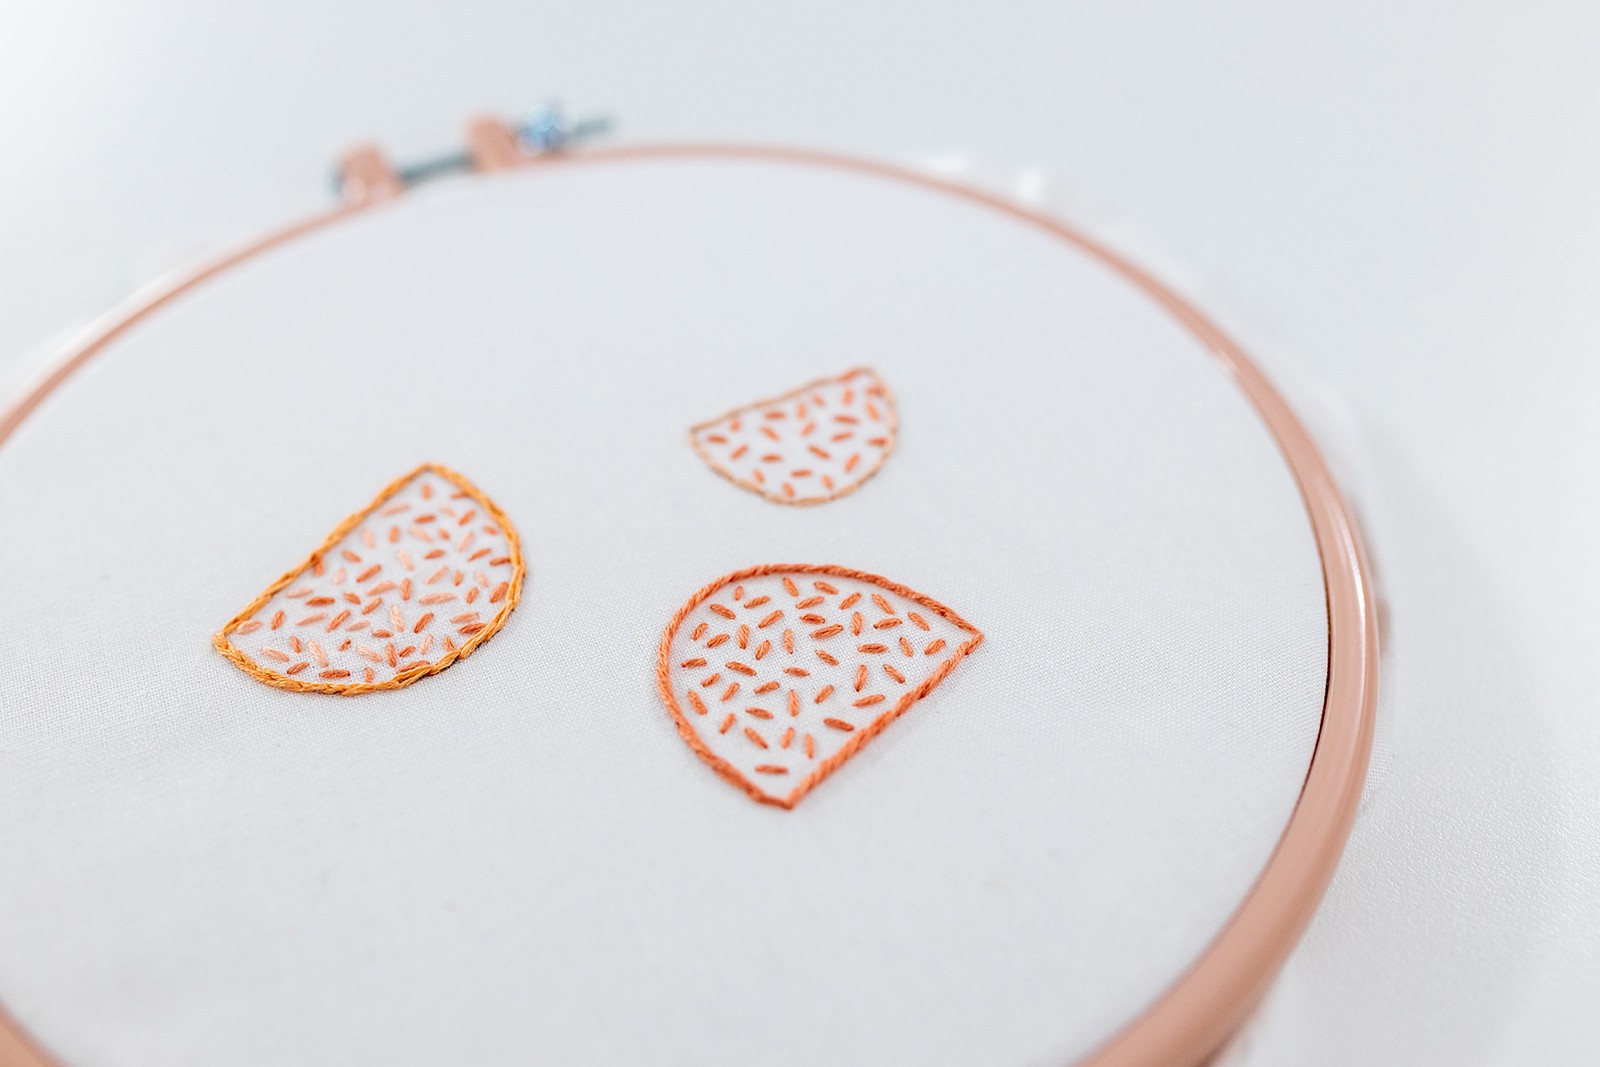
Today we are going to be focusing on learning a really adorable filler stitch option called seed stitch (aka. rice stitch).
Think of this stitch as a way to fill in an area of your design with a little sprinkle of stitches. It’s basically a bunch of short straight stitches, of equal length, in random directions. Seed stitch creates beautiful texture in a relatively fast and simple way – perfect for modern embroidery!
The most important thing to remember is to keep it consistent in terms of the length of these stitches and space around each one- but try to keep the direction of each stitch random (this can often be the trickiest part!)
The good news is that you definitely don’t need to be a perfectionist; this stitch lends itself to a style of randomness and freedom!
Also, you can work Seed stitch with one colour, or mix it up with different shades of floss. You can also experiment with the overall look of the stitch by varying the length of the stitches and how much space is left around each one.
So enough chitter-chatter, let’s look at how to do this lovely filler stitch.
Step 1
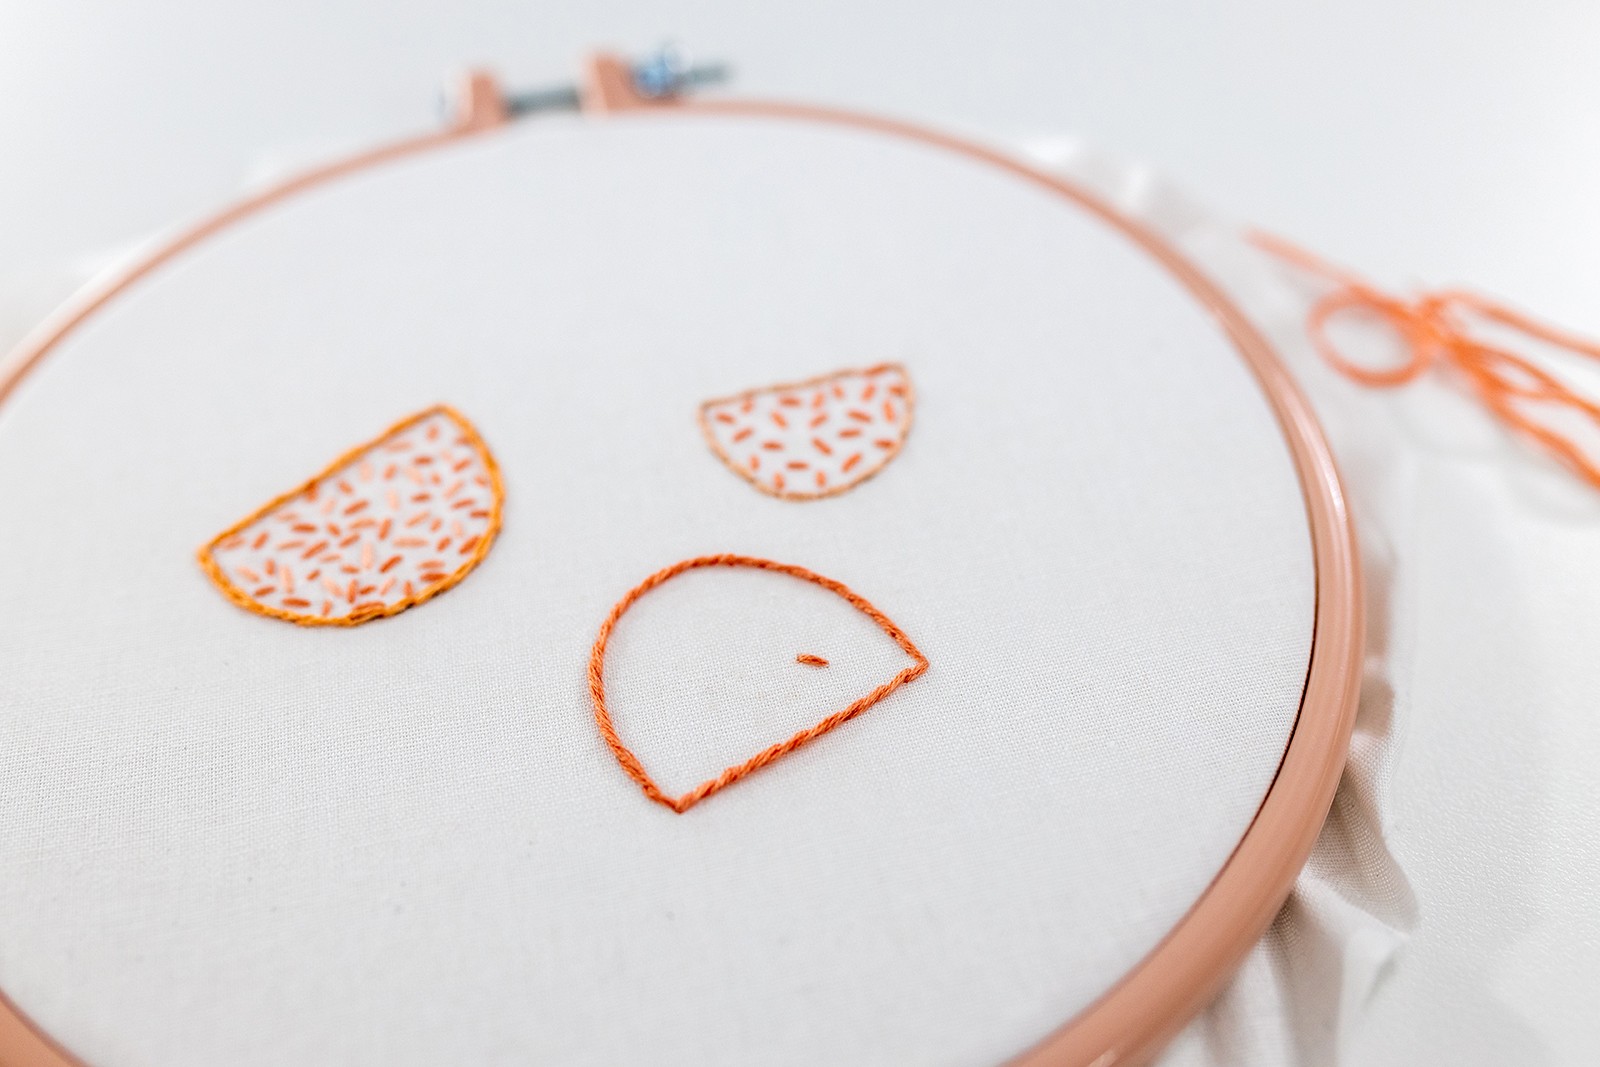
To begin, bring your needle up from the back of the fabric and do a short straight stitch, in any direction.
Step 2
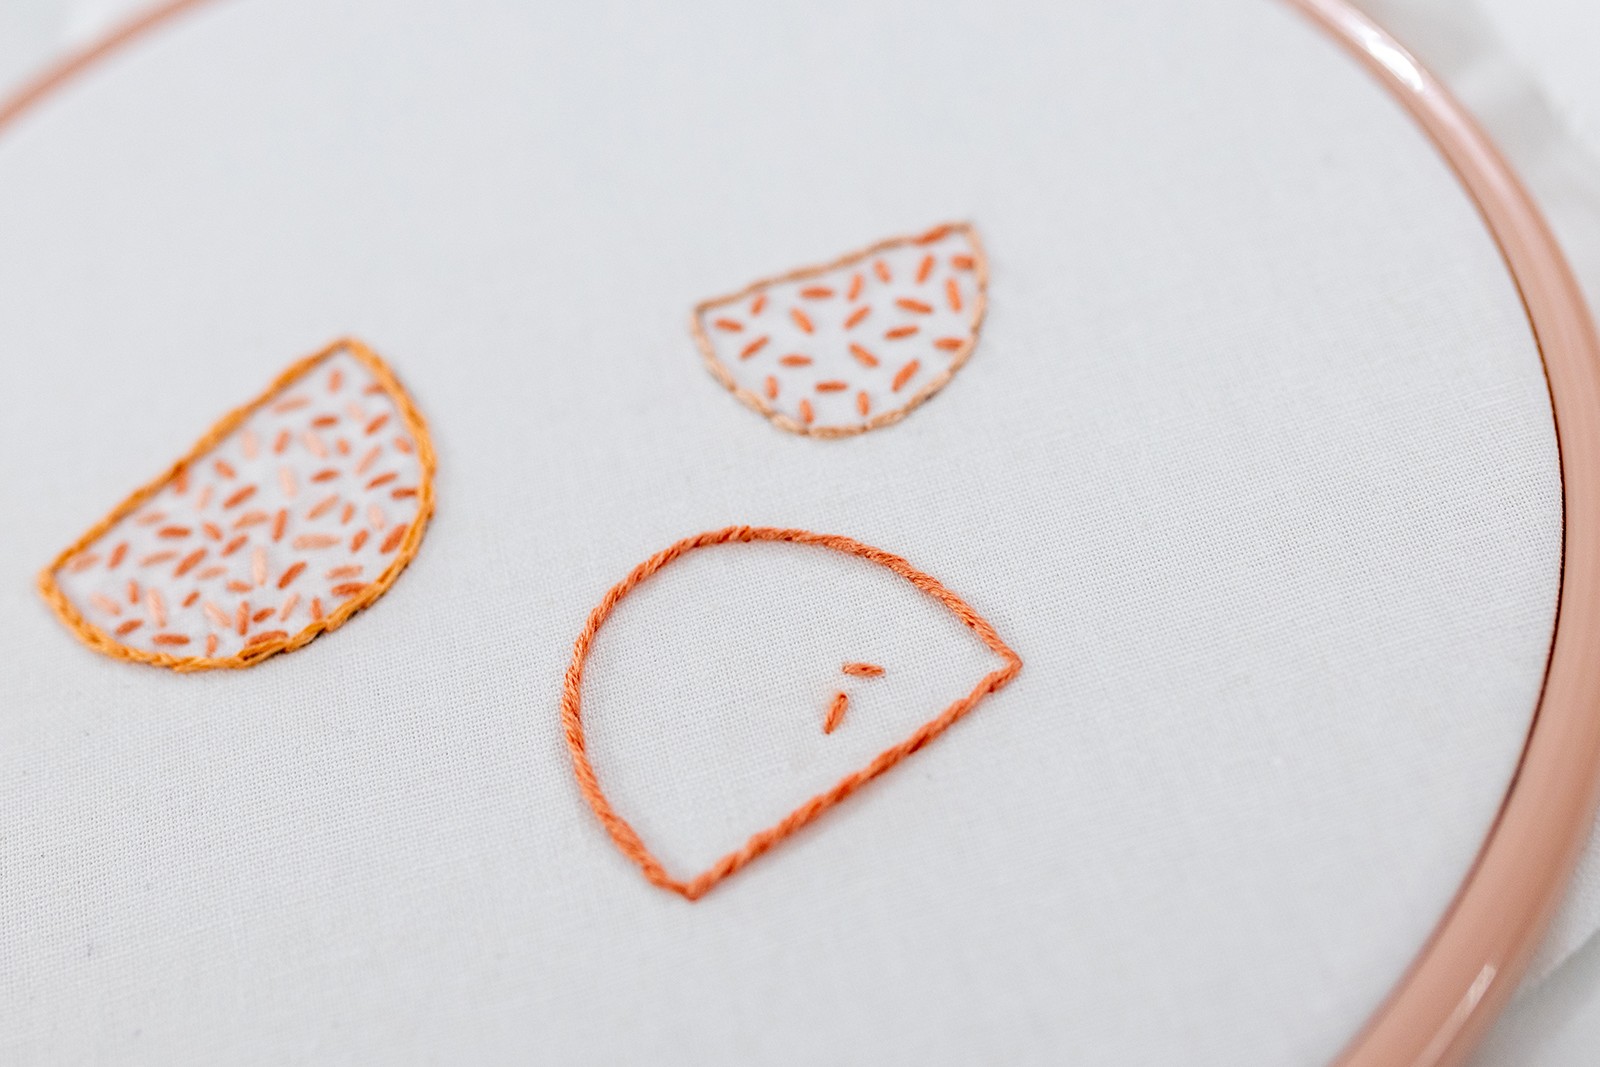
Now do another straight stitch (of a similar length), near your first, but stitch it at a different angle.
Step 3
Keep doing these little stitches within the area you’re wanting to fill. Overall, it’s great if you can keep the stitches a similar length, with a similar amount of spacing around them. And try to angle the stitches in random directions compared to the neighbouring stitches – this can actually be trickier than it sounds!
TIP: I like to stab this stitch so that I can have more control over the angle I place each stitch, but you can also sew it if you like.
Keep doing these little stitches within the area you’re wanting to fill. Overall, it’s great if you can keep the stitches a similar length, with a similar amount of spacing around them. And try to angle the stitches in random directions, compared to the neighbouring stitches – this can actually be trickier than it sounds!
TIP: I like to stab this stitch so that I can have more control over the angle I place each stitch, but you can also sew it if you like.

Step 4
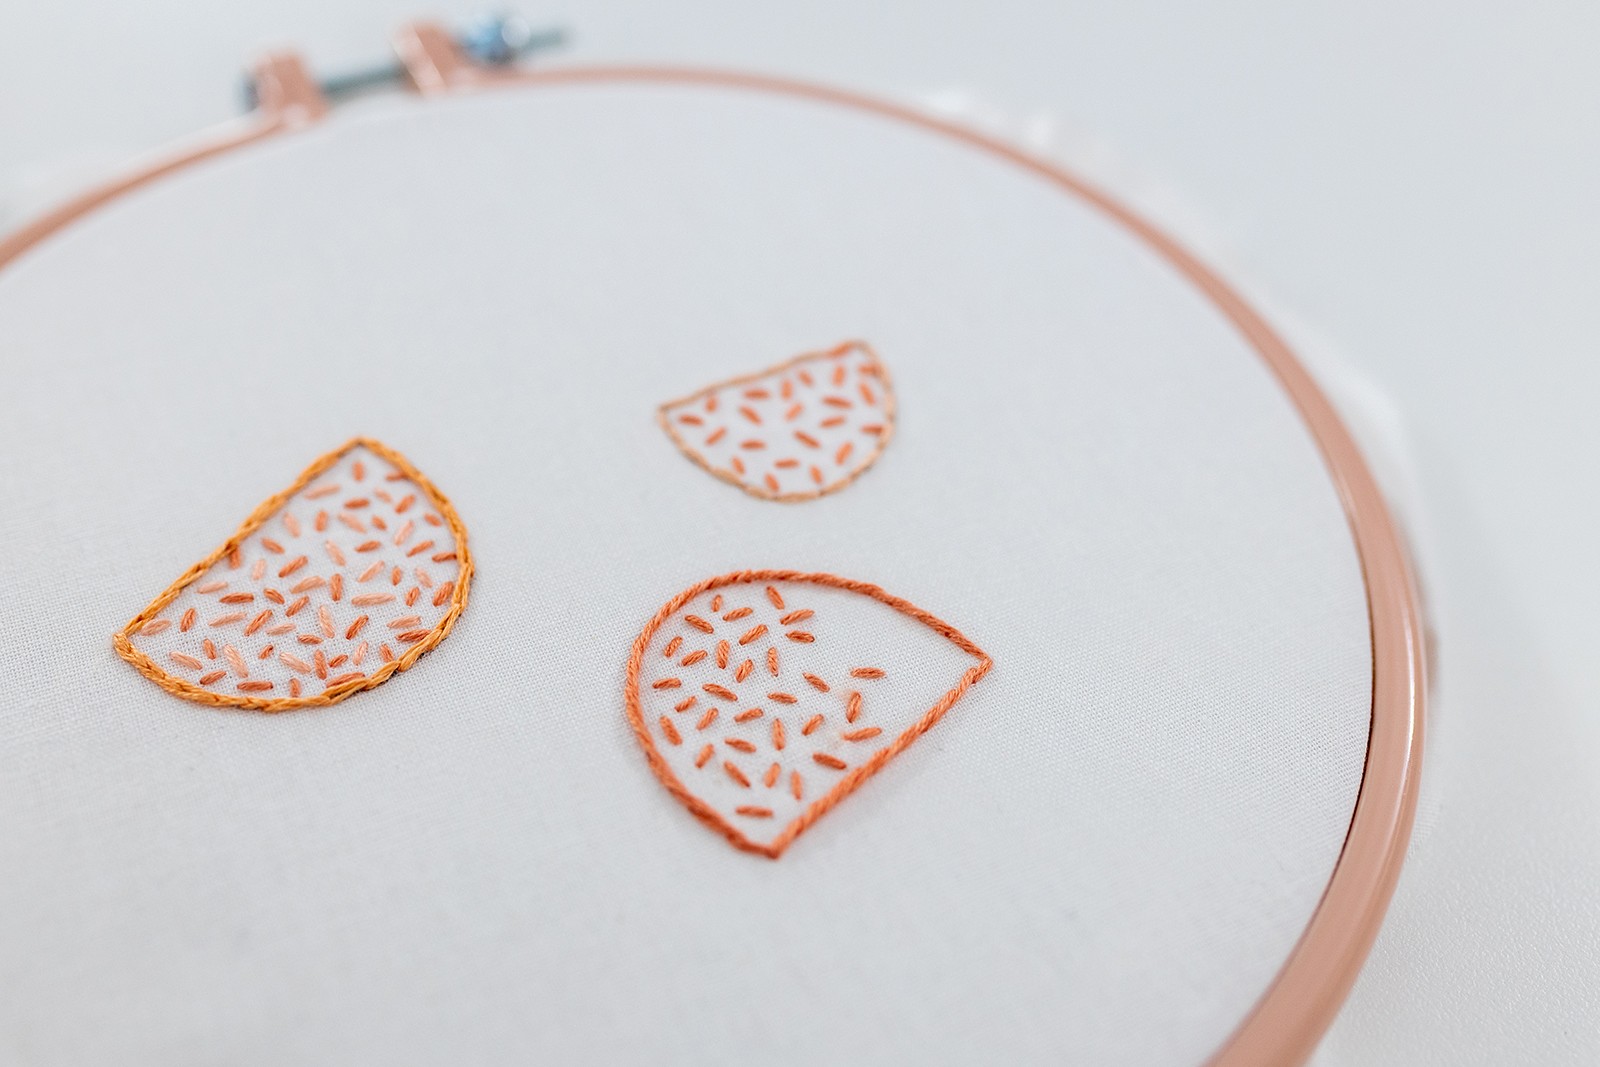
You can fill up the area as much as you wish – this is something you can assess as you go. Try not to overlap the stitches (they look super cute if they’re all separate).
But above all else, don’t be too picky or worry too much about the little details! Because overall, you’ll find this stitch builds up into such a cool effect, and you’re better off having fun with it than trying to make it look perfect.
Step 5
When you’re finished and happy with the overall look of your seed stitches, tidy your thread off on the underside of the fabric. You can just do a knot here, or you can wind your thread under and around a group of stitches to hold it in place.
Examples of Seed Stitch in my patterns
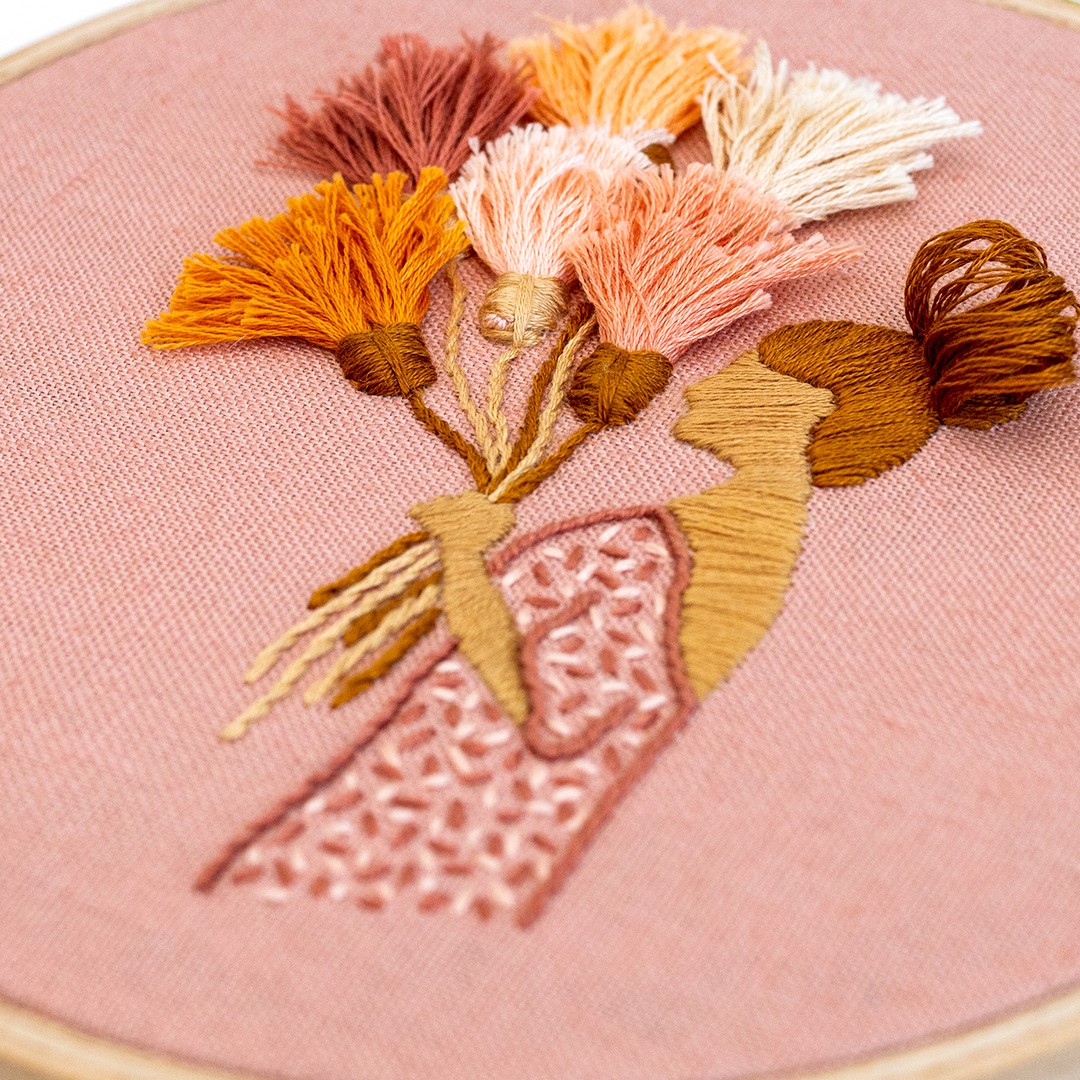
I thought it would be really helpful to show you an example of this awesome stitch technique in my patterns.
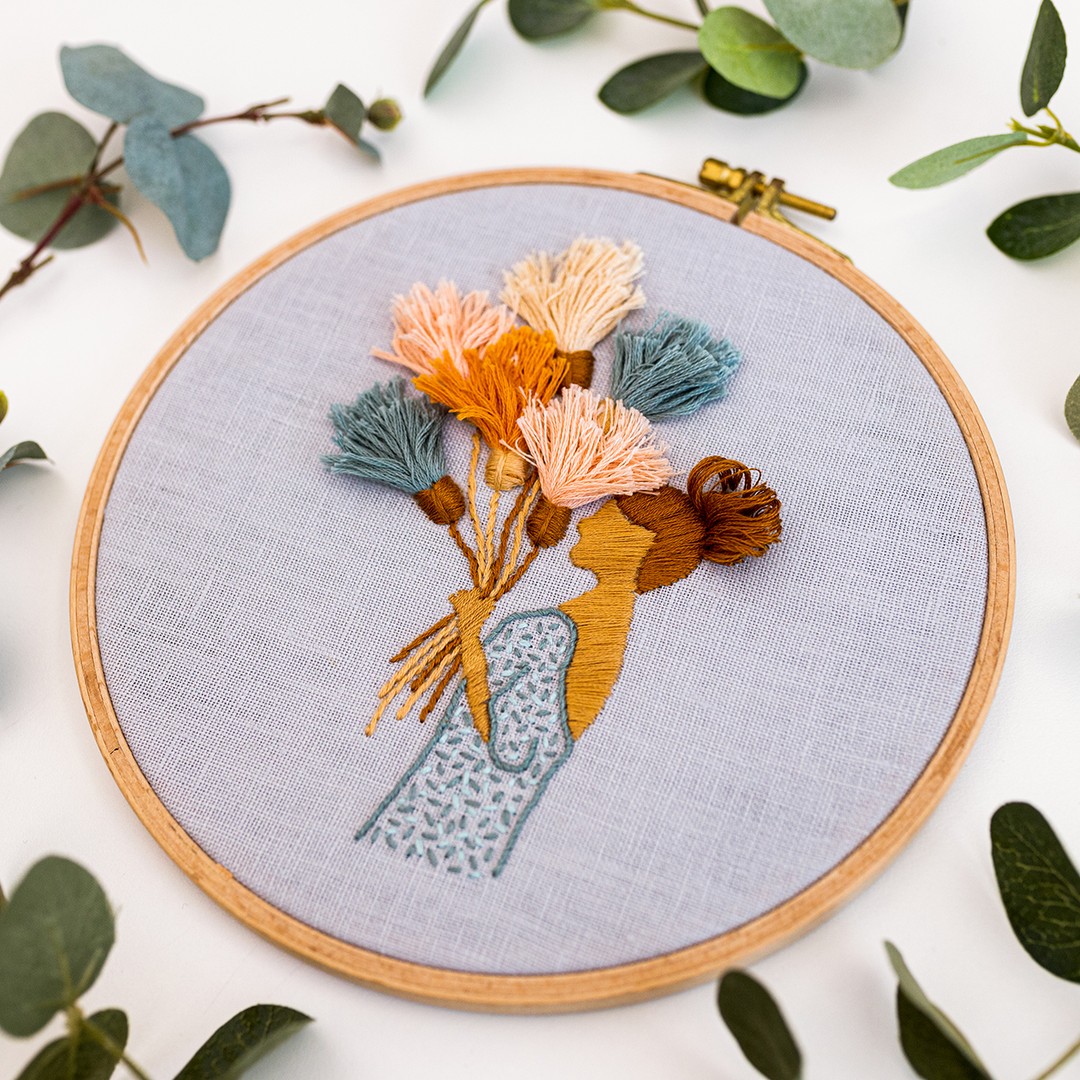
Have a look at this design called The Florist. It comes in two colour ways; in both, her outfit is filled in with a beautiful Seed Stitch effect. Doesn't it look so fun and pretty?
Conclusion
Yay, I am so happy that you can now make seed stitches that you can sprinkle around your designs to fill in areas. This is one of the easier modern embroidery stitches, so I know you’ll be doing seed stitch like a pro in no time at all. Ps. wouldn’t this stitch make the cutest addition to an embroidery pattern of a cupcake?
So there you have it, all my favourite tips and knowledge you need to understand how to do seed stitch. Woo-hoo, go you!
What's next?
Our beginner embroidery kits are a favourite among new stitchers for their simple, step-by-step instructions and beautiful designs that make learning easy and fun. Whether you’ve been wanting to learn embroidery or are just searching for your next creative hobby. These kits are the perfect introduction to embroidery.
Why people love our beginner kits:
-
Everything you need is included: fabric, thread, hoop, and more!
-
Clear instructions to guide you every step of the way.
-
Gorgeous designs you’ll be proud to display.
Our most popular beginner kits


