Embroidering onto a Woven Backdrop - Learn This Weaving Technique
Introduction
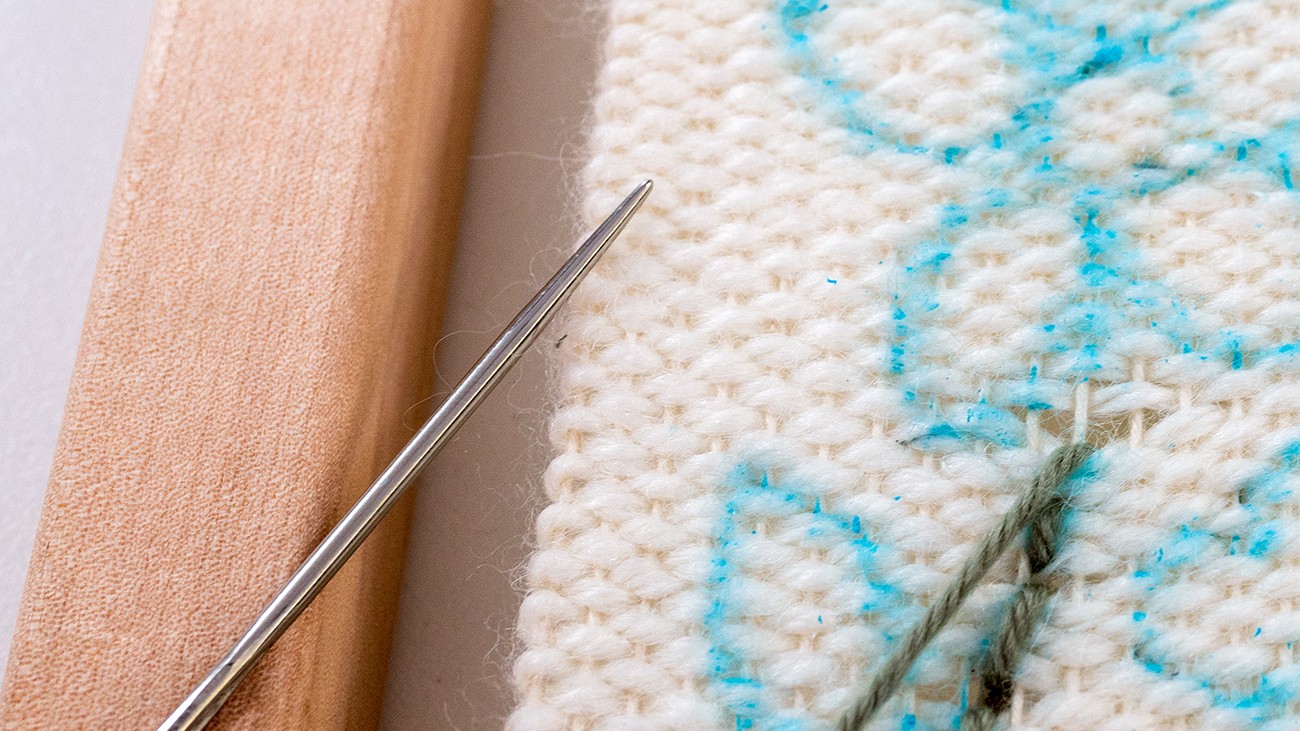
Some of our projects require you to add beautifully embroidered touches to a woven wall hanging you’ve also created.
Compared to most fabric, the woven backdrop will have quite an open weave. This means you can easily bump it out of place as you stitch along, and you need to factor in the open weave for your stitch placement.
Overall, it will take a bit of practice getting used to embroidering on a woven backdrop, but make sure you embrace working with this lovely texture.
Here are some tips:
Tip 1: Use a yarn needle
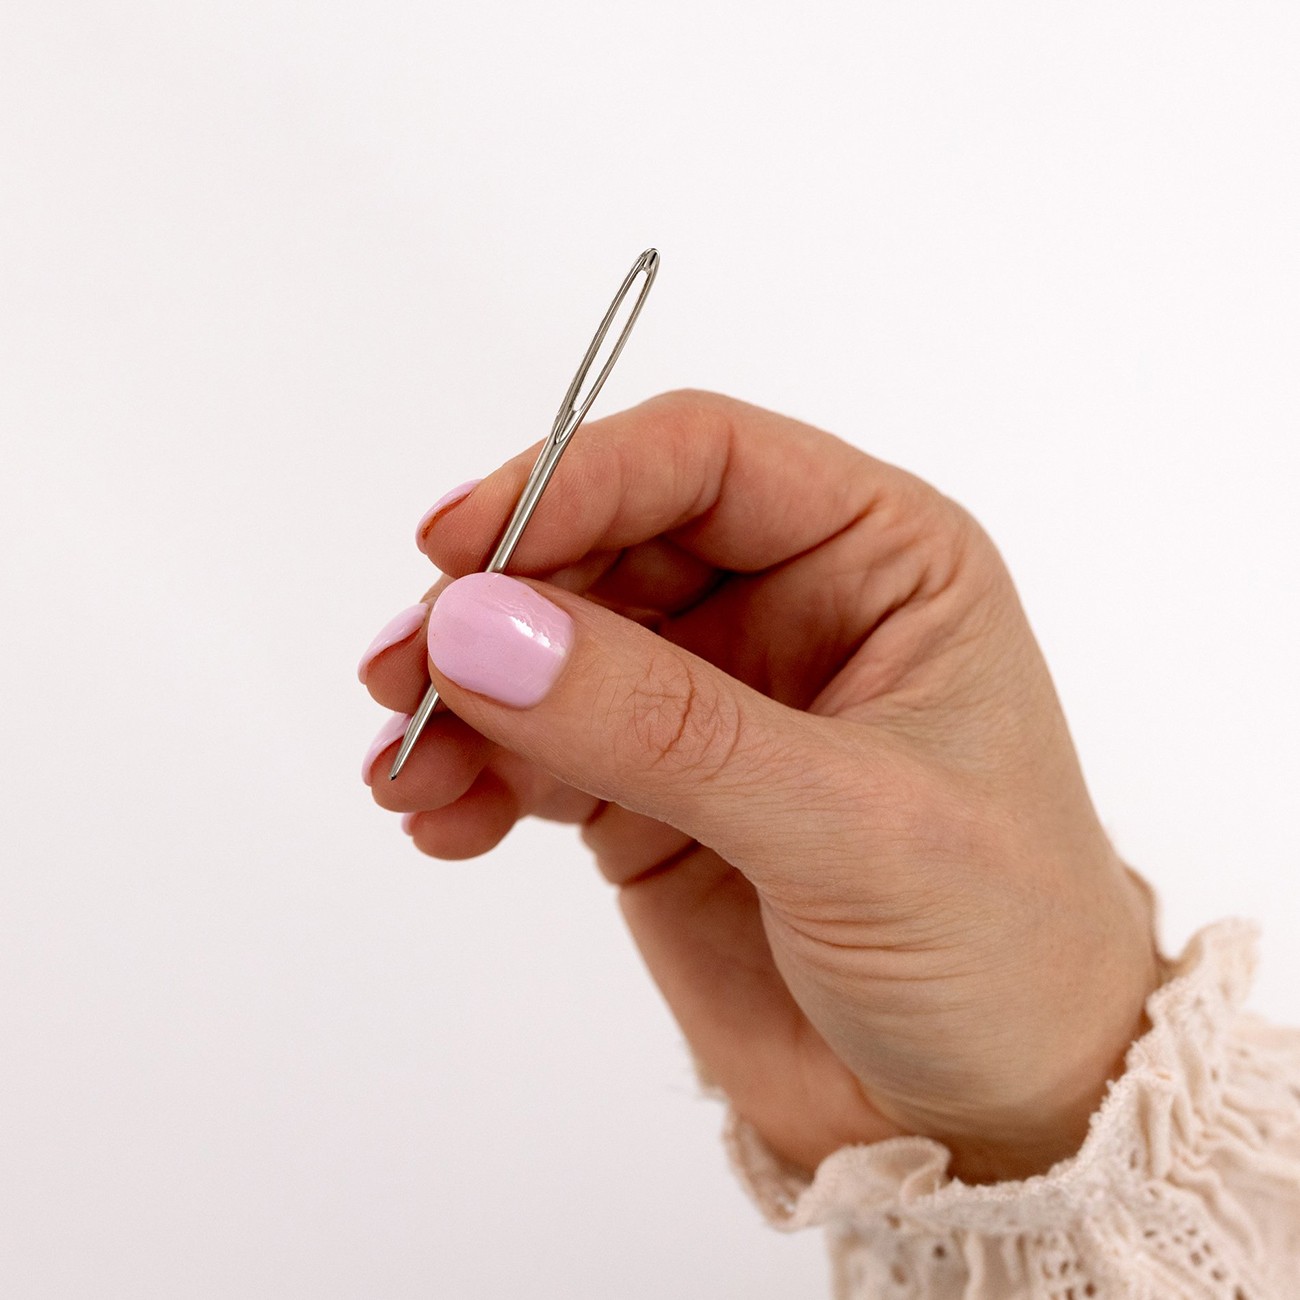
This kind of large blunt tip needle is perfect for embroidering onto the woven backdrop. You can thread it with yarn or wool roving; it shouldn’t catch on your weave because it's blunt. It's also called a 'Tapestry Needle'.
Tip 2: Use knots to start pieces of yarn with
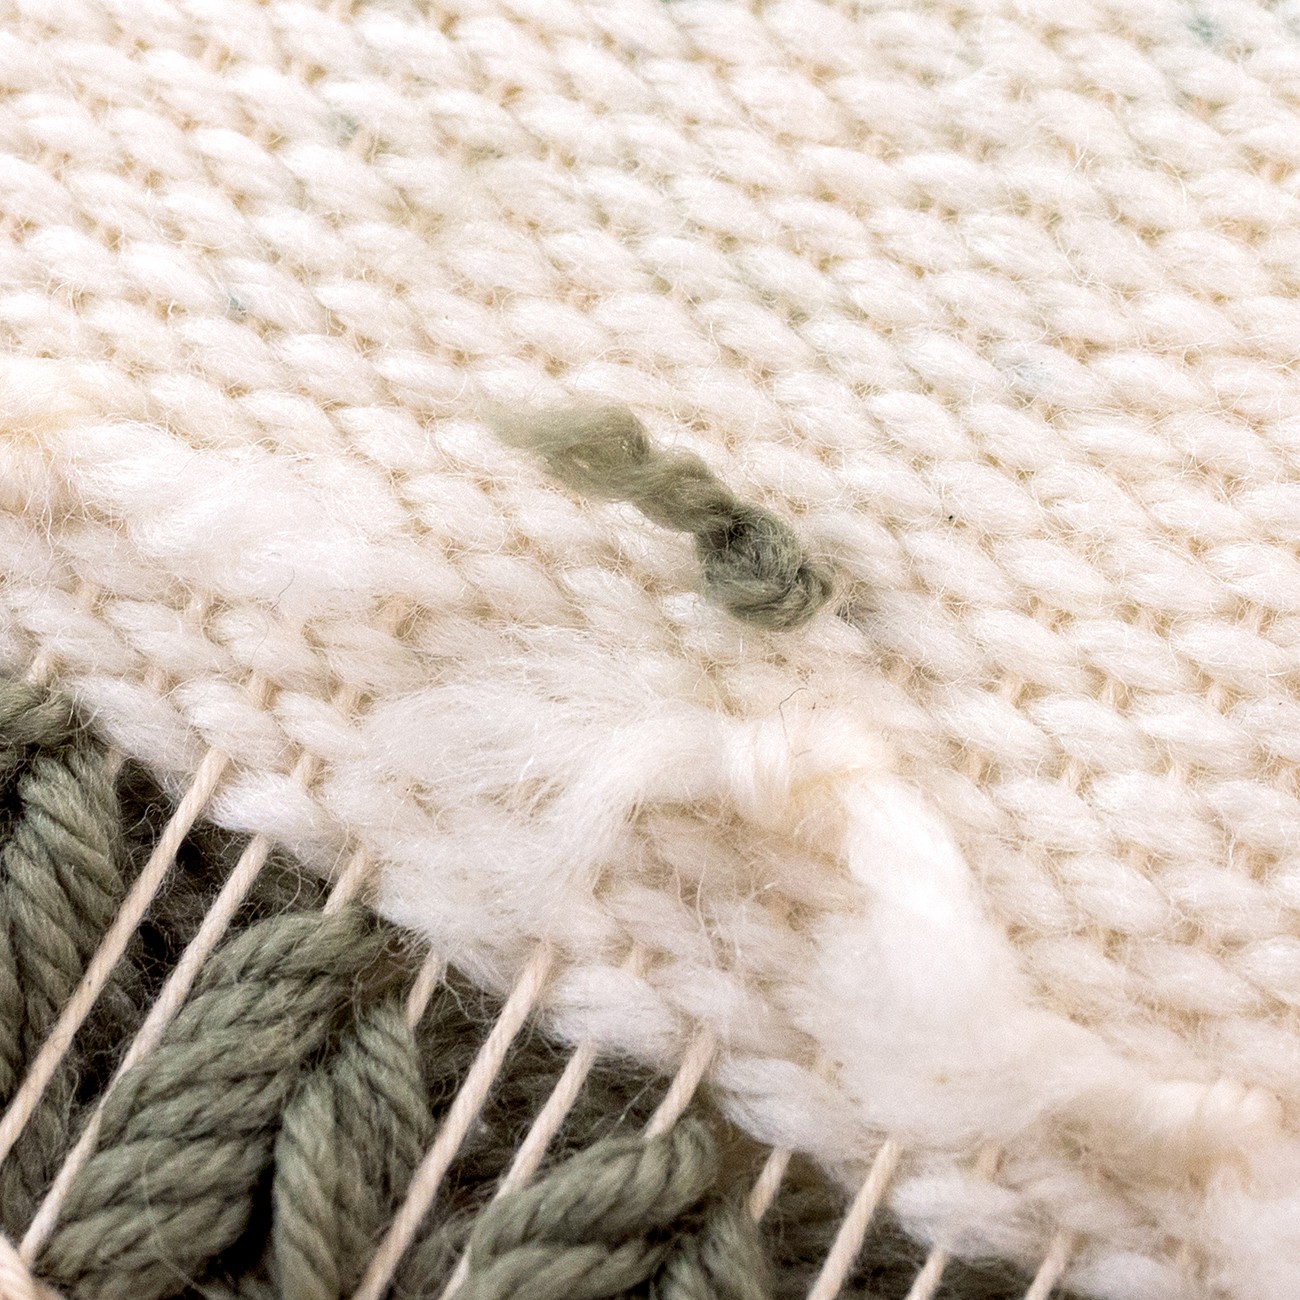
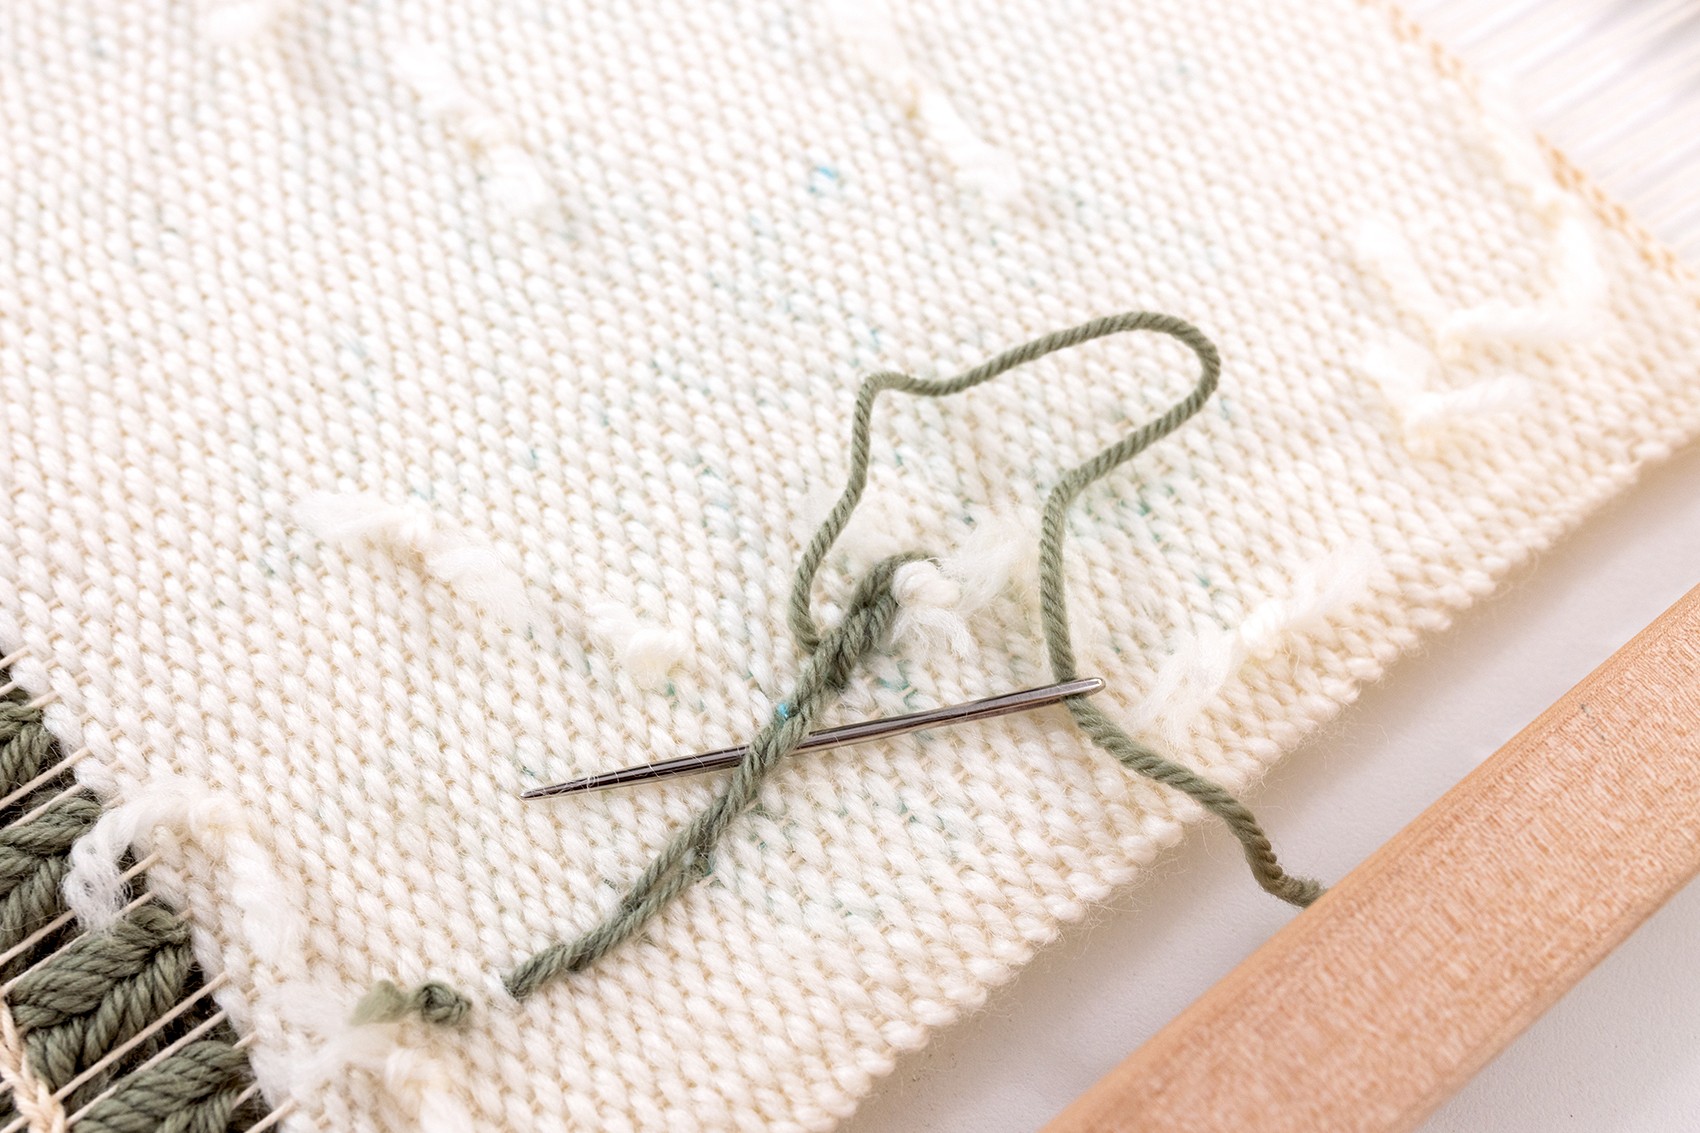
I recommend using chunky knots to start your stitches when using yarn. I do at least a double overhand knot (or a triple).
You will still have to be careful about not pulling the knot through to the front, but if you’re gentle with your first stitches, it should hold fine.
This doesn’t apply when you’re using Wool Roving, which doesn’t require knots.
Tip 3: Don’t pull too tight
Take care not to pull your stitches too tight as you stitch along. If you do, you’ll pull the weave apart and leave gaps in the woven backdrop.
The combo of the woollen backdrop and yarn/fibre you’re stitching with should mean you get great friction and the stitches grip quite nicely in place, without you having to pull very tight. So go easy as you tighten each stitch.
But having said that, you will naturally get little areas where the weave pulls apart – either they won’t be too noticeable, or you can gently nudge them back into place with your yarn needle.

Tip 4: Try stabbing not sewing
I find it easier to stab my stitches rather than sew them. This helps me choose where to place each stitch with a bit more accuracy. It also means I’m not pushing the weave out of shape as I stitch along, which I find happens a bit if I’m scooping the fabric.
Tip 5: Stitch placement
The woven backdrop isn’t fine like most fabrics, so you have fewer options in terms of stitch placement. This means you have to be a bit more careful about where you place your stitch, then see which way it sits once you’ve pulled the slack through.
Sometimes your stitch might sit in a slightly different direction that you expected, but that’s ok – just redo that stitch, or go with it!
Tip 6: Try longer stitches
Your stitches will pull in a bit and often look shorter than you anticipate (due to the bigger size of each ‘hole’ you stitch into, on the weave).
So you might like to do your stitches a bit longer than you initially think, to account for this. It’s not a major, just have a play and see what works for you.
Tip 7: Finishing your stitches
I think it’s easiest to weave the yarn under some nearby embroidered stitches (at least 2-3), to secure it off. You can knot if off at this point, but it’s not always necessary.
Overall, just take care not to pull too tight against the design when you finish off your stitches. If you’re using Wool Roving, just tuck or snip the tails as per the usual method.
Examples of my pattern using this technique
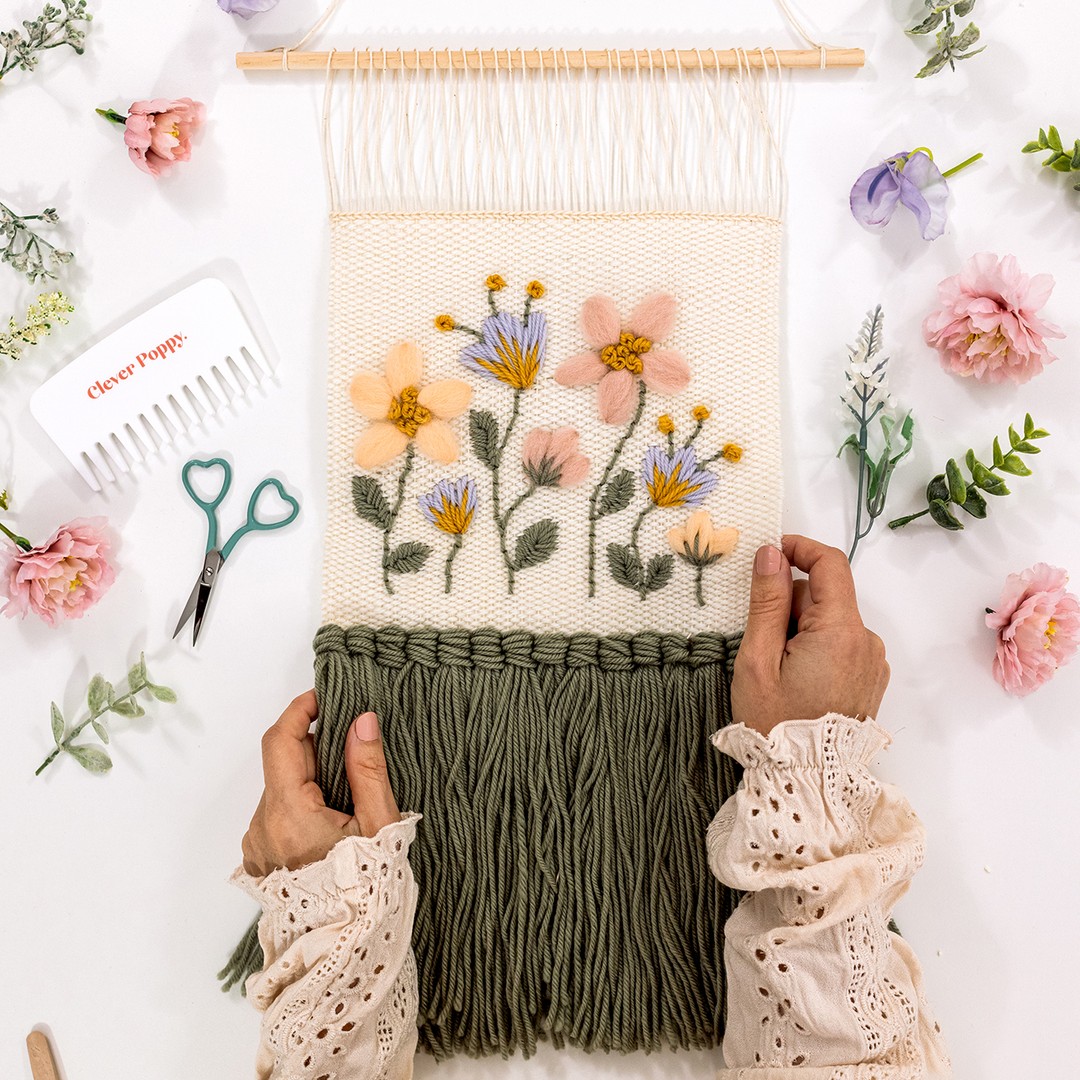
I have used this technique in my pattern, Woven Meadow.
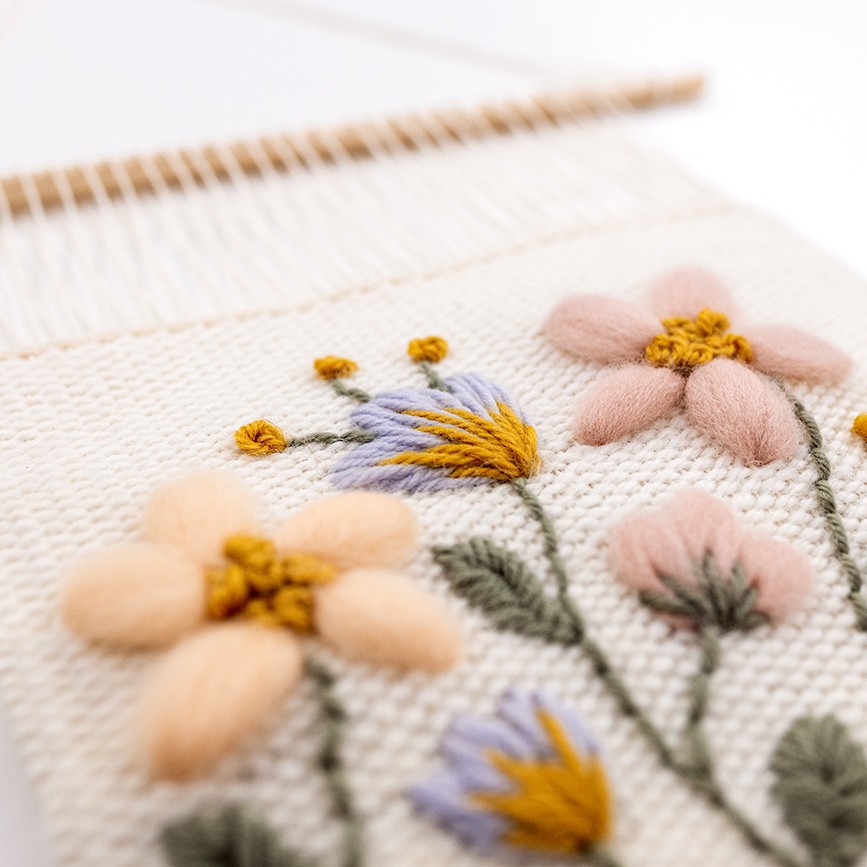
For this project, I have stitched the floral meadow directly onto the woven backdrop. Didn't it turn out so lovely?
Conclusion
So that’s plenty of tips for embroidering on your woven backdrop. Overall, don’t be too fussy, just enjoy experimenting with this new medium!
What's next?
Congrats on learning this technique which will come in handy if you make patterns like my Woven Meadow.
P.S. Have you checked out this blog yet, 'Transferring your Pattern onto a Woven Backdrop - Learn This Weaving Technique?'
So, are you excited to make your first weave with this technique?


