Rya Knots - Learn This Woven Wall Hanging Technique

Introduction
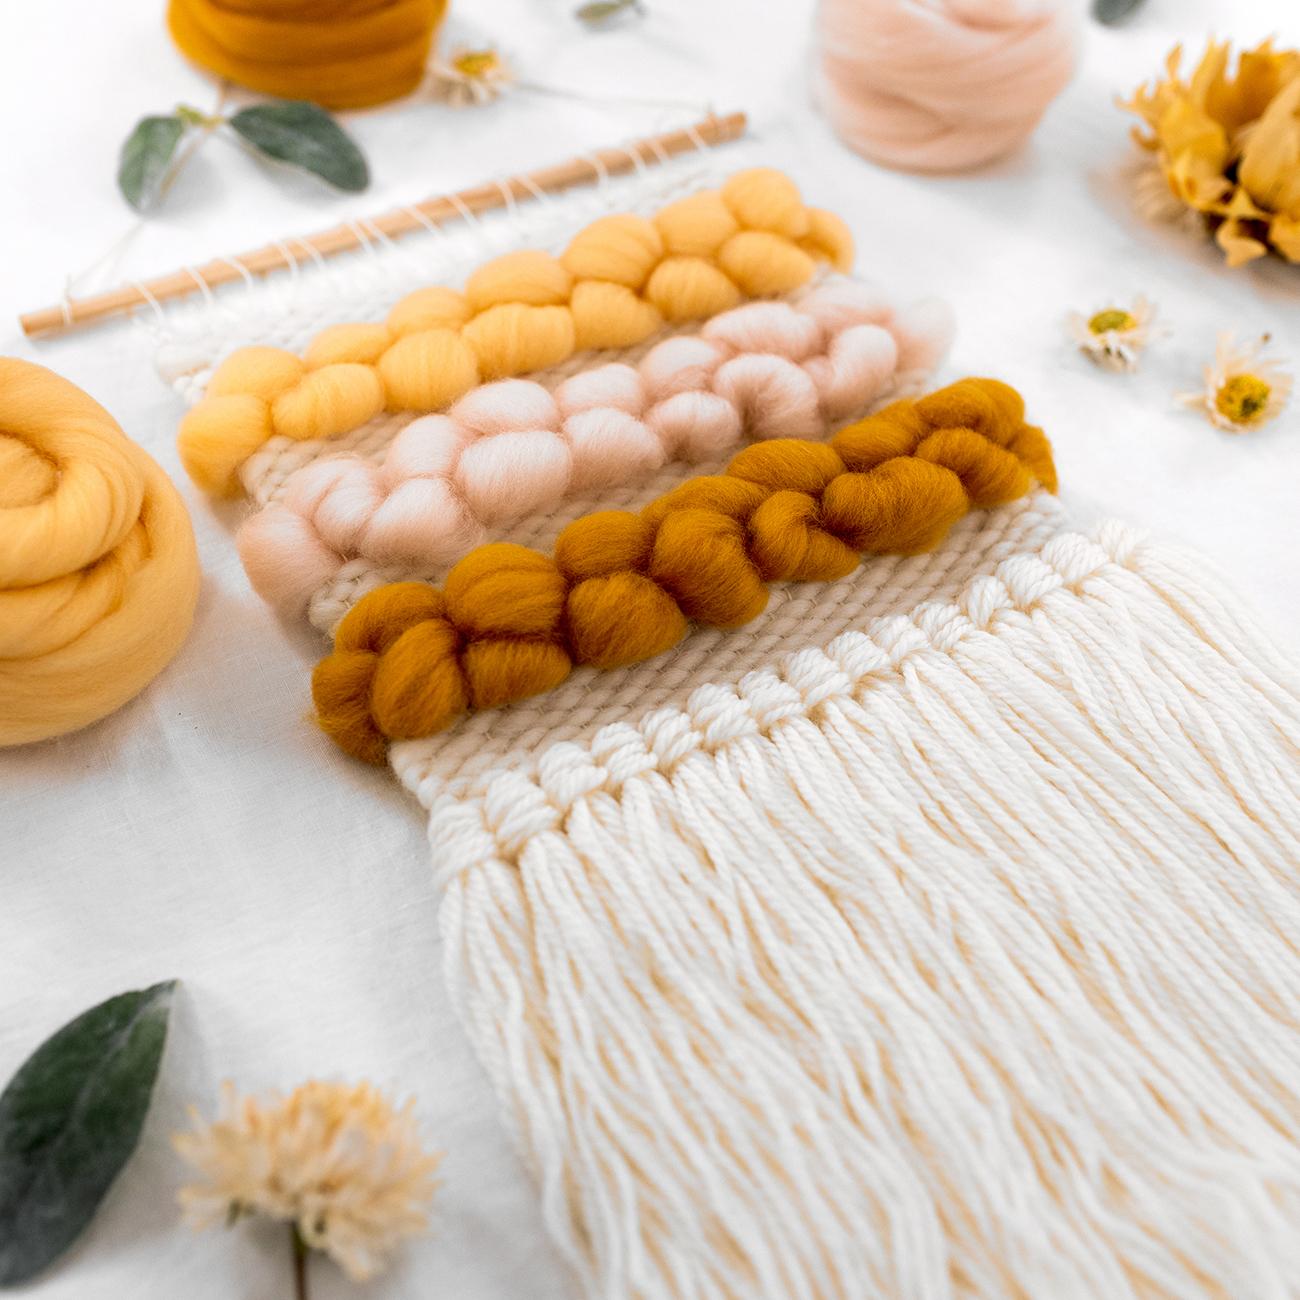
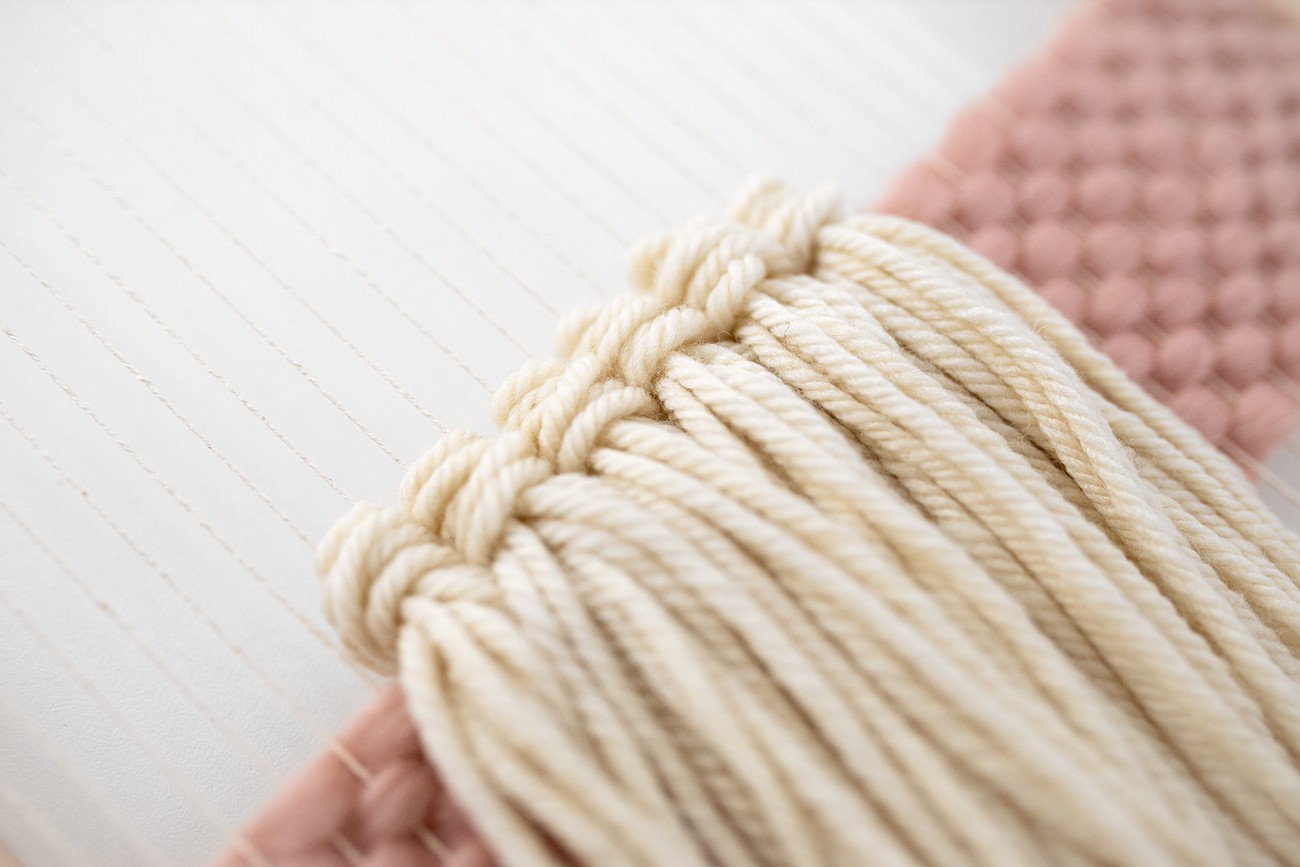
Rya Knots are such a key component of woven wall hangings! You’ll probably recognise them as tassels, which are often displayed in a row at the bottom of a woven wall hanging, creating a lovely fringed effect. You can also use Rya Knots in the body of your woven wall hanging to add texture and design.
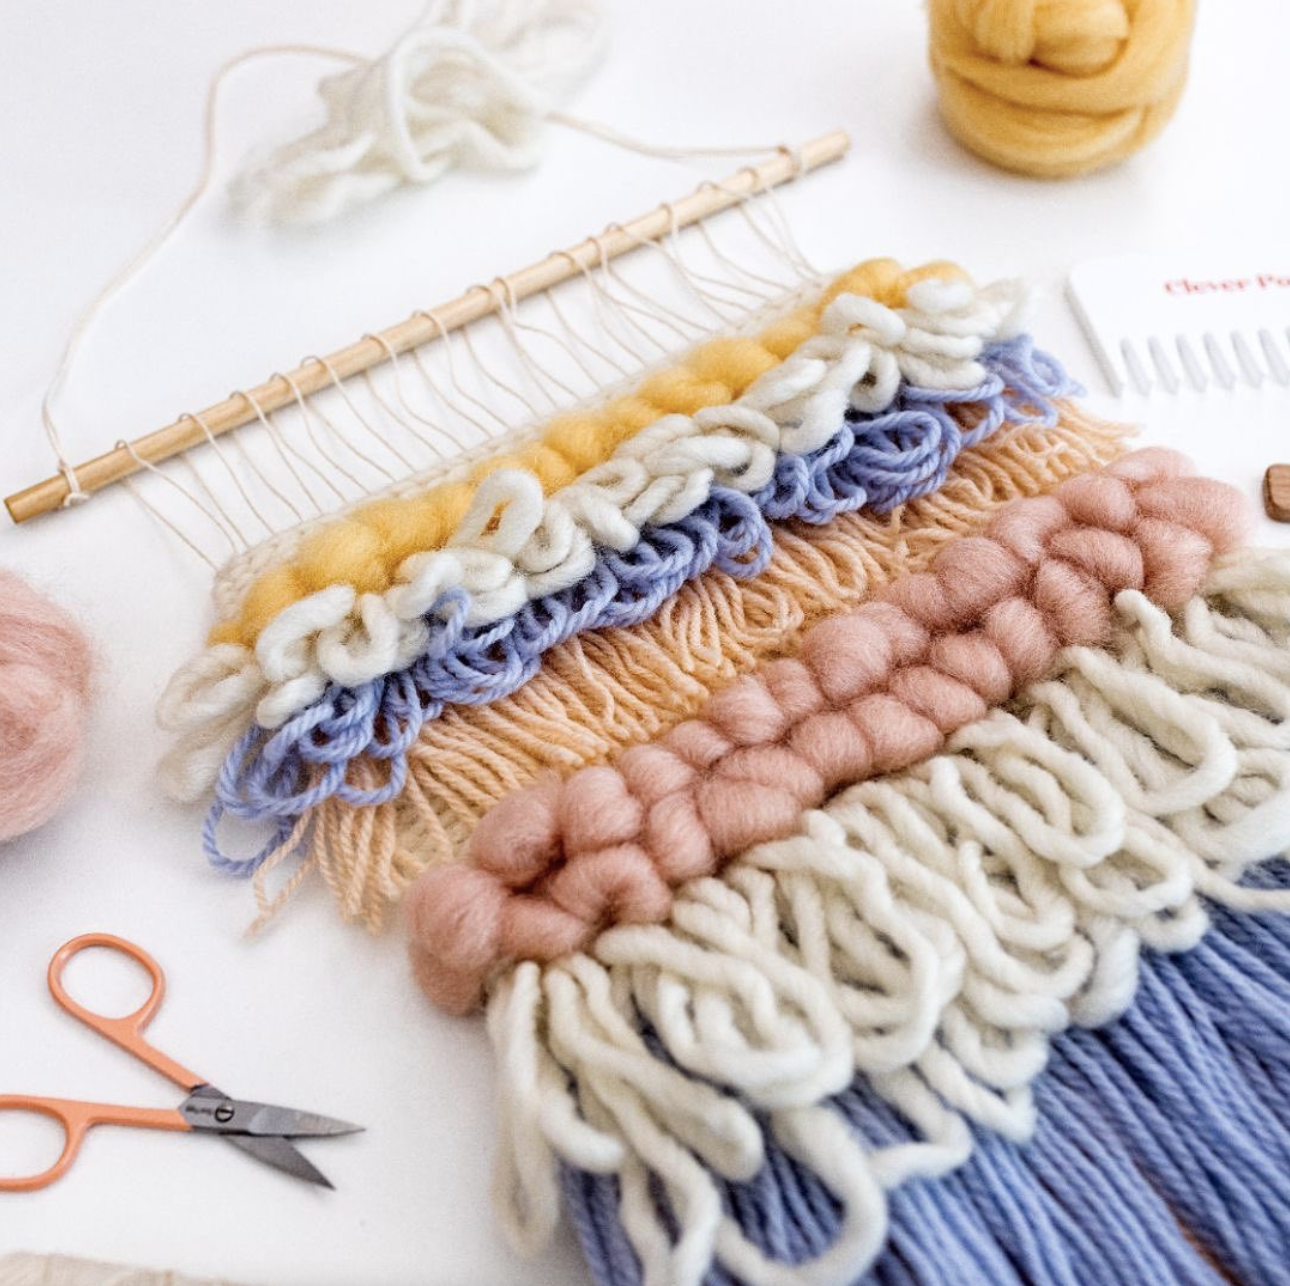
In this tutorial, I’ll teach you how to add individual Rya Knots in rows for the fringing effect. You can also check out this tutorial, where I’ll teach you how to make continuous Looped Rya Knots for quite a different look.
Something to note: you always need some structural weave (e.g. Tabby Weave or Twining) below and above your Rya Knots to lock them in. This keeps the warp threads nicely in place and ensures good overall tension in your woven wall hanging.
Preparing your yarn
Before we make the Rya Knots, you’ll need to cut out your lengths of yarn and decide how many strands of yarn to include in each knot. This will depend on how chunky and long you want the tails of each Rya Knot to be.
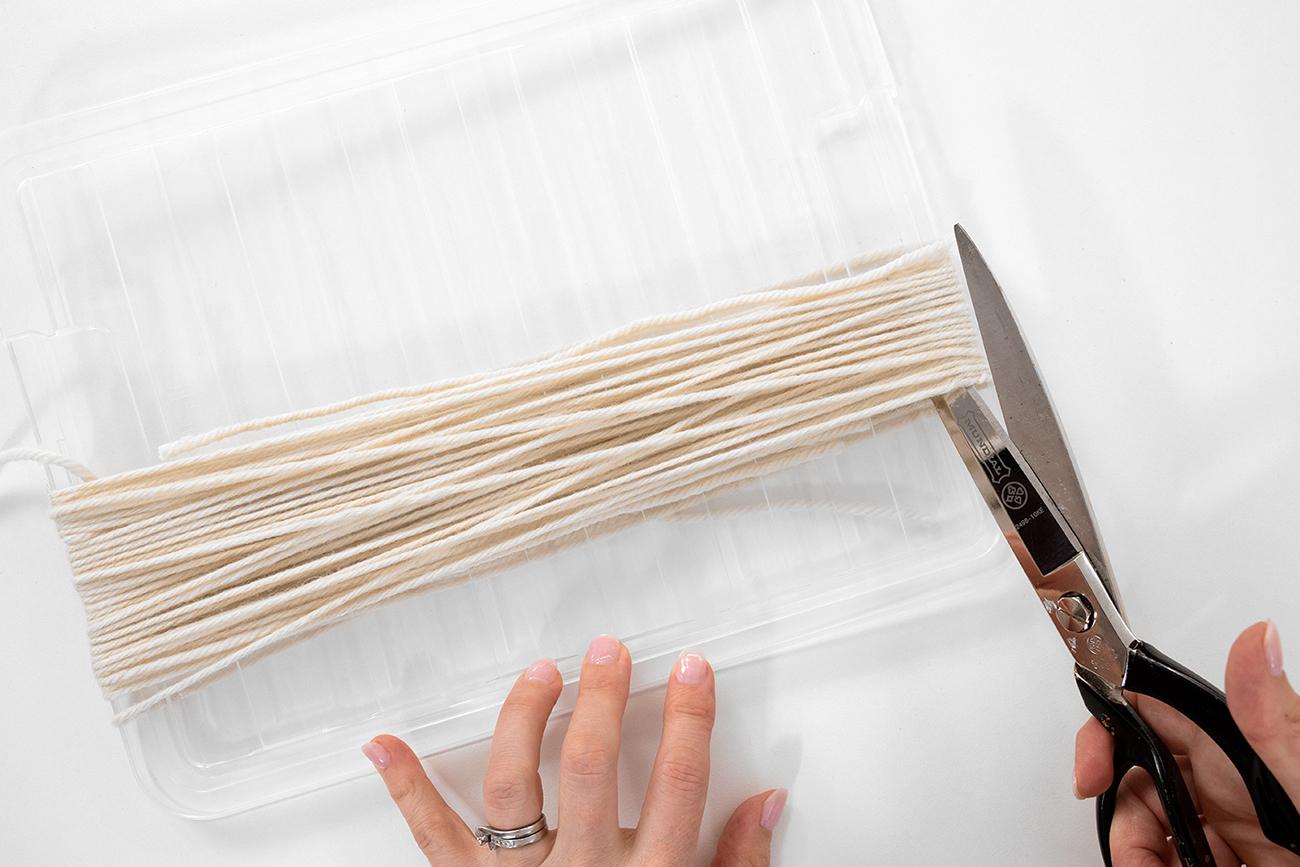
You can cut out your pieces of yarn individually, or once you get into the swing of it, you can try a method that speeds the cutting stage up. For example, you can wrap your yarn again and again around something large, flat, and sturdy (e.g. a container lid or piece of cardboard), then cut multiple lengths at once in the same spot. This saves time for sure!
When you are deciding on how long to cut the yarn, bear in mind that your Rya Knots will end up with tails just under half of the original length.
For this tutorial, I was using 12 ply yarn and made Rya Knots with 8 strands of yarn for each tail. This means I used bunches of yarn 4 strands thick for each knot (each bunch gets folded in half to give 8 strands of yarn per tail). And I cut each strand about 30cm long.
Ok, let's look at the step-by-step method for making a Rya Knot...
Step 1
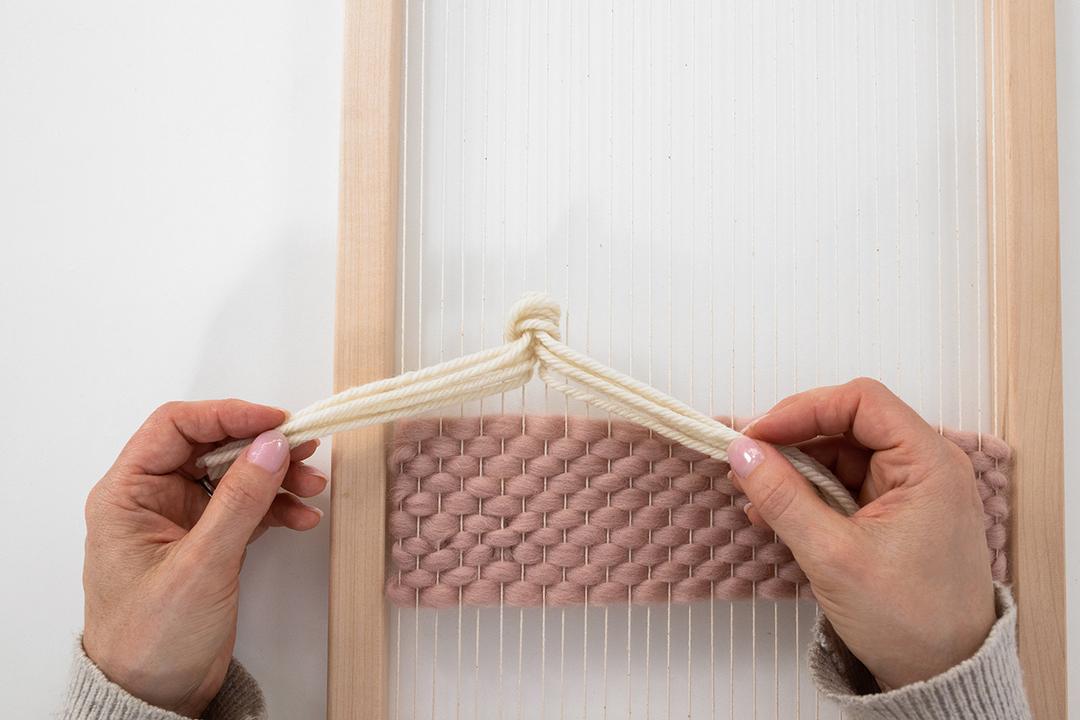
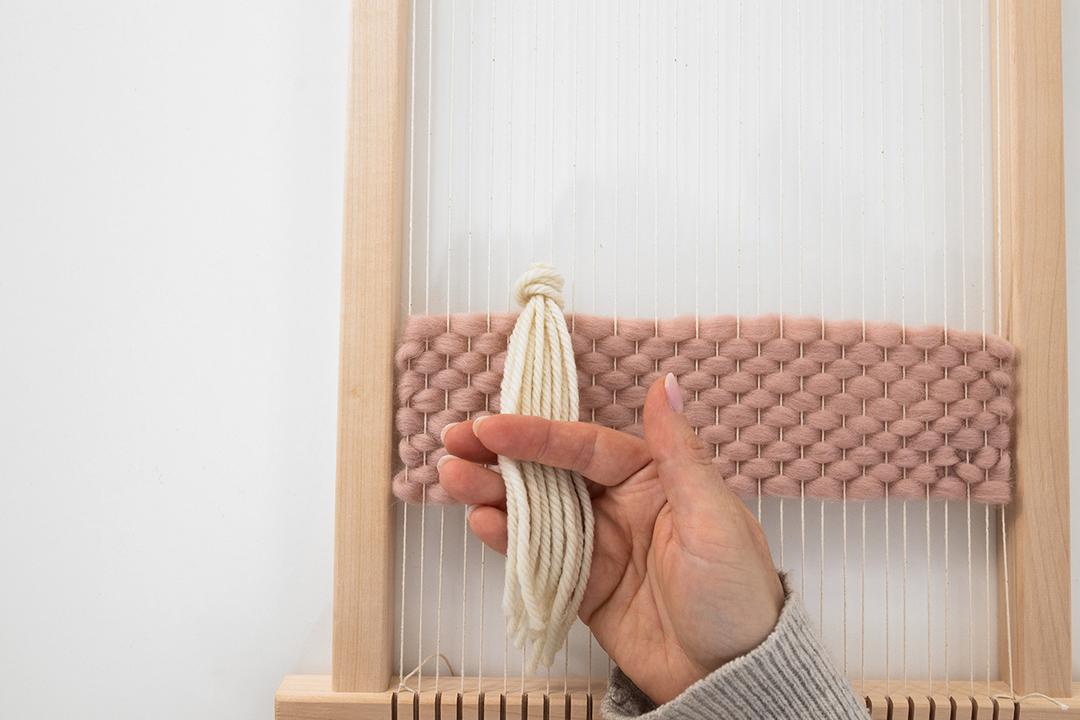
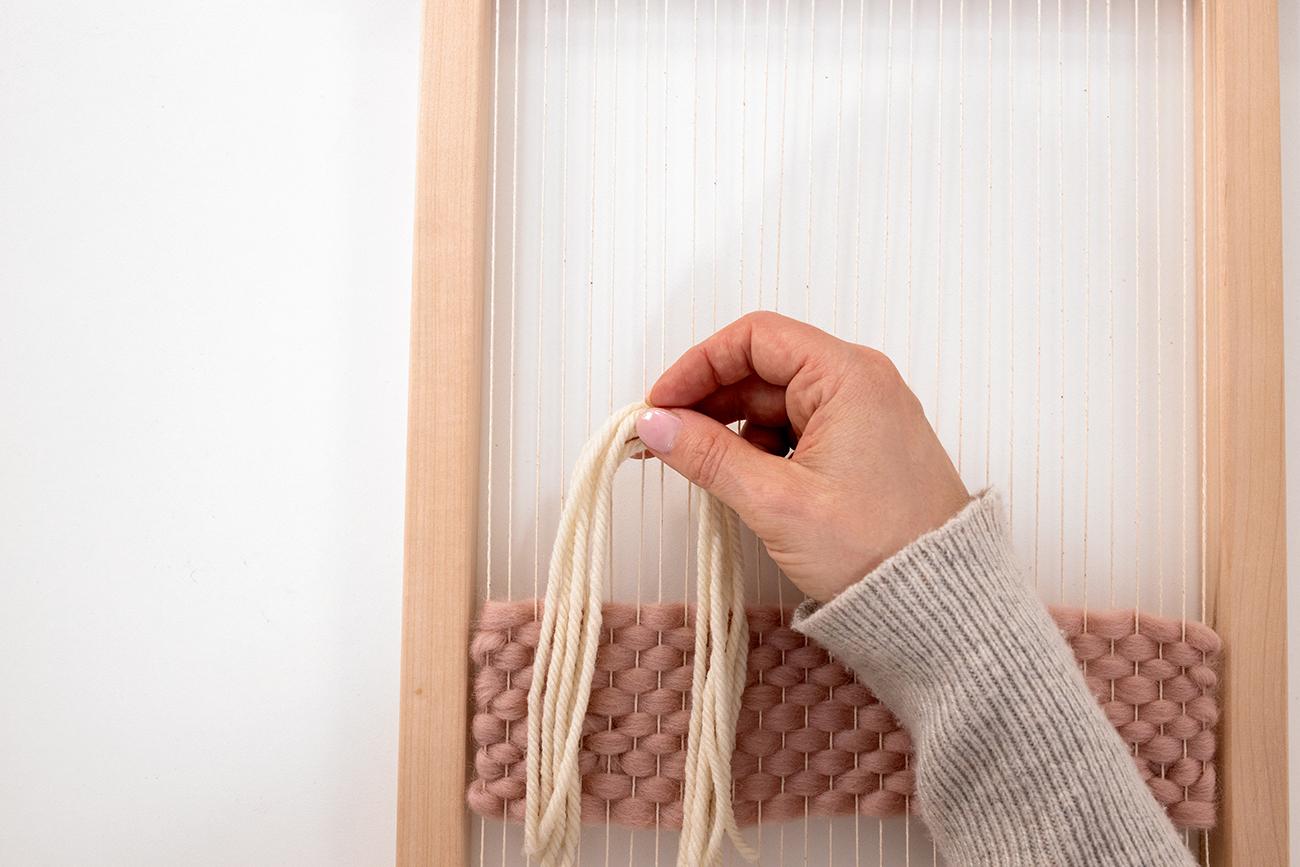
Grab a set of yarn to create your first tassel and fold it in half.
Step 2
Take that set and hold it over a pair of warp threads, with the loop at the top and the tails hanging down. Make sure it’s centred so that an even length of yarn comes down on either side.
Step 3
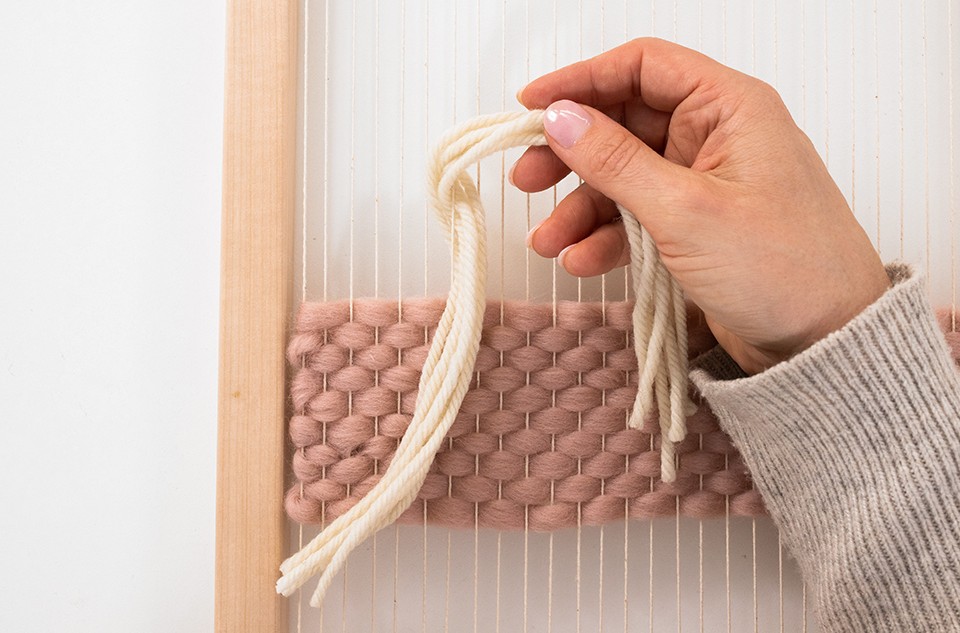
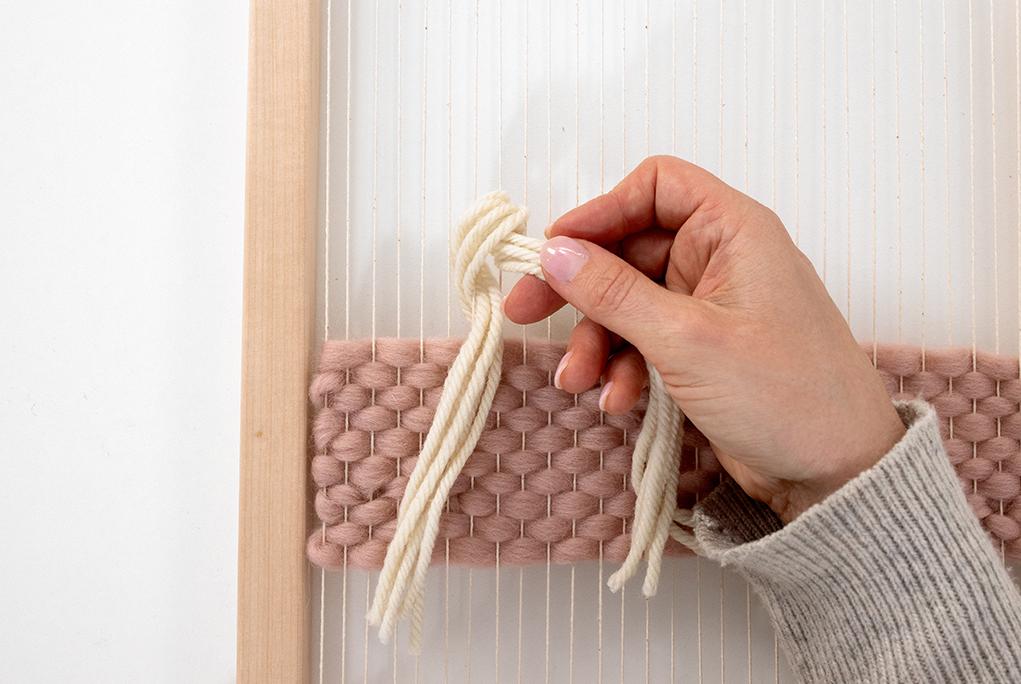
Grab the left side tails and wrap them under and around the left warp thread, bringing them through from the back to the front space between the pair of warp threads. It can be a bit fiddly, but if you hold the top of the loop firmly against the left warp thread with one hand, then that keeps the loop in place while you negotiate the tail into place with your other hand.
Step 4
Do the same with the right-hand side of the tassel (bringing the right-hand side of the tail behind and around the right warp thread). Use your other hand to keep the loop in place while you pull the tail through.
Step 5.
Now pull the tails firmly down together. See how as you do this, it creates the tassel shape with the Rya Knot? Easy peasy!
Step 6.
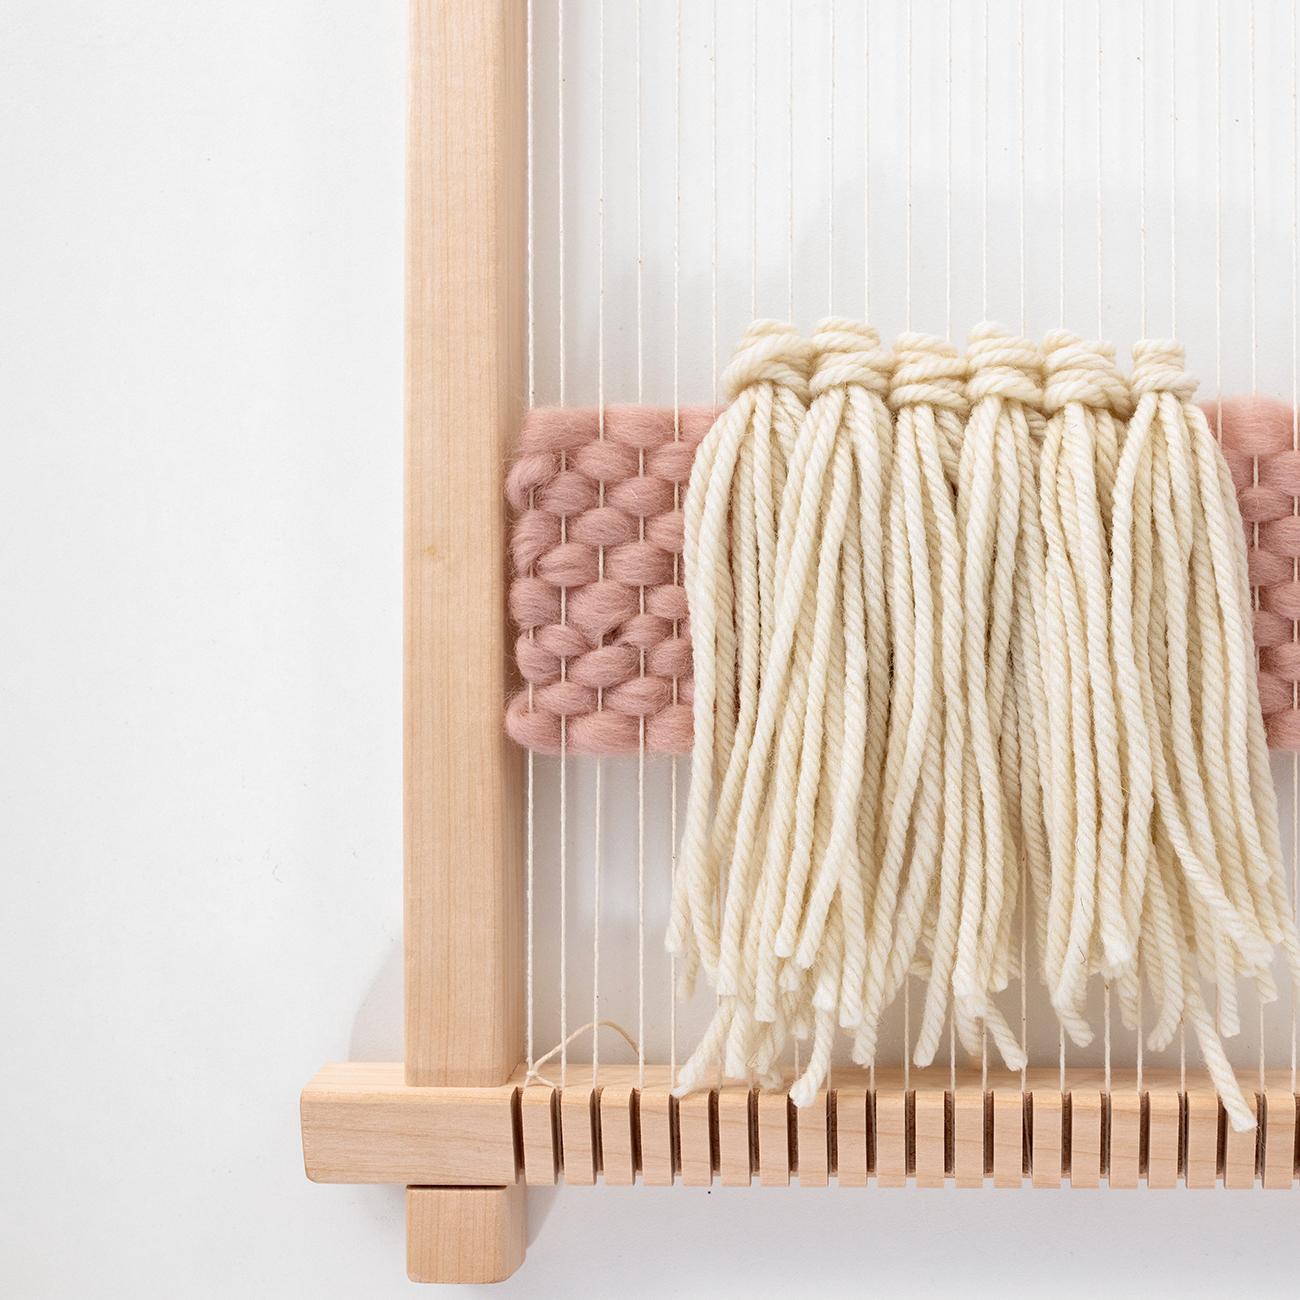
Keep making Rya Knots around pairs of warp threads. As each knot is formed, pull it down into place in the row of knots you are creating.
Tips for Rya Knots:
- Before you do your first tassel, count the warp threads to check you have an even amount of pairs. If you have an odd warp thread left over, then do one of your tassels using three warp threads (just double 2 up on one side).
- Wait until you are finished before you cut the ends to the final desired length and tidy up the fringe. You can always re-cut them shorter, but bear in mind they bounce up a bit so don’t go crazy on your first cut!

Examples of Rya Knots in my patterns:
I use Rya Knots as the fringing on the bottom of lots of my patterns.
First of all, here is my Marshmallow Dream pattern. This is the perfect project for beginners and features a fringe of Rya Knots along the bottom.
Another pattern that features lots of Rya Knot fringes is Woven Waterfall. This pattern is great for makers who are confident with weaving.
Lastly, this pattern Coral Curves has a beautiful Rya Knot fringe at the bottom. This pattern is wonderful once you've become super confident on your weaving journey.
What's next?
Congrats on learning this gorgeous weaving technique - Rya Knots. This is such a fun technique with a gorgeous look. It may take a little perseverance to get the hang of but the result is so worth the effort.
I use Rya Knots in all my patterns, and you are going to love using them in yours too!
What's next?
If you enjoyed learning how to do the Rya Knots technique, you may also enjoy exploring more weaving techniques to create your own woven designs.
Learning Rya Knots is a great foundation, and there are plenty of ways to expand your skills, whether you're looking to add texture with unique techniques or refine your craft.
P.S. Have you checked out this blog yet, 'What Beginner Weaving Supplies do you Need to Create your First Woven Wall Hanging?'
So, are you excited to make your weavings with a gorgeous Rya Knot fringe?


