Tips For Embroidering Letters
Introduction
One of the best parts about embroidery is the ability to personalise and create pieces that are so treasured by their recipient. Adding names or initials to your creation will often give it the perfect finishing touch. So I wanted to include some tips on stitching letters and words onto your designs:
Tips
-
Draw or trace your words onto the fabric first, just like you would a normal design, rather than trying to freehand stitch as you go.
-
If you are drawing freehand letters to stitch, I suggest you add a guideline to keep your letters straight.
-
In general, I find my words drawn in freehand never look as nice as I want. So instead, I like to type out the words online in a font that I like, then trace that onto the fabric. This will definitely get you a slicker result, and means you can experiment with different fonts. You can either print out and trace on your design, or simply hold your fabric up to the screen and trace over it.
-
As you stitch, try not to trail the thread between each letter underneath (unless its script where the letters actually join up). This means you won’t be left with lines of thread underneath which might be visible through the fabric later.
-
When you stitch each letter, don’t stitch paths as if you’re writing them by hand (e.g. don’t double up your path strokes like with handwriting). You’re better off constructing one single-lane path that covers the shape of the letter. You can either stop and start new thread where needed, or sneakily weave back on the underside to get to the point where you want to start again.
-
You will find that as you go around curves, smaller stitches look best and are easier to use. As you go around sharp corners, either use super short stitches, or treat it as two lines where you finish at the pointy end of the curve, and then start afresh.
These are some ideal stitches to use:
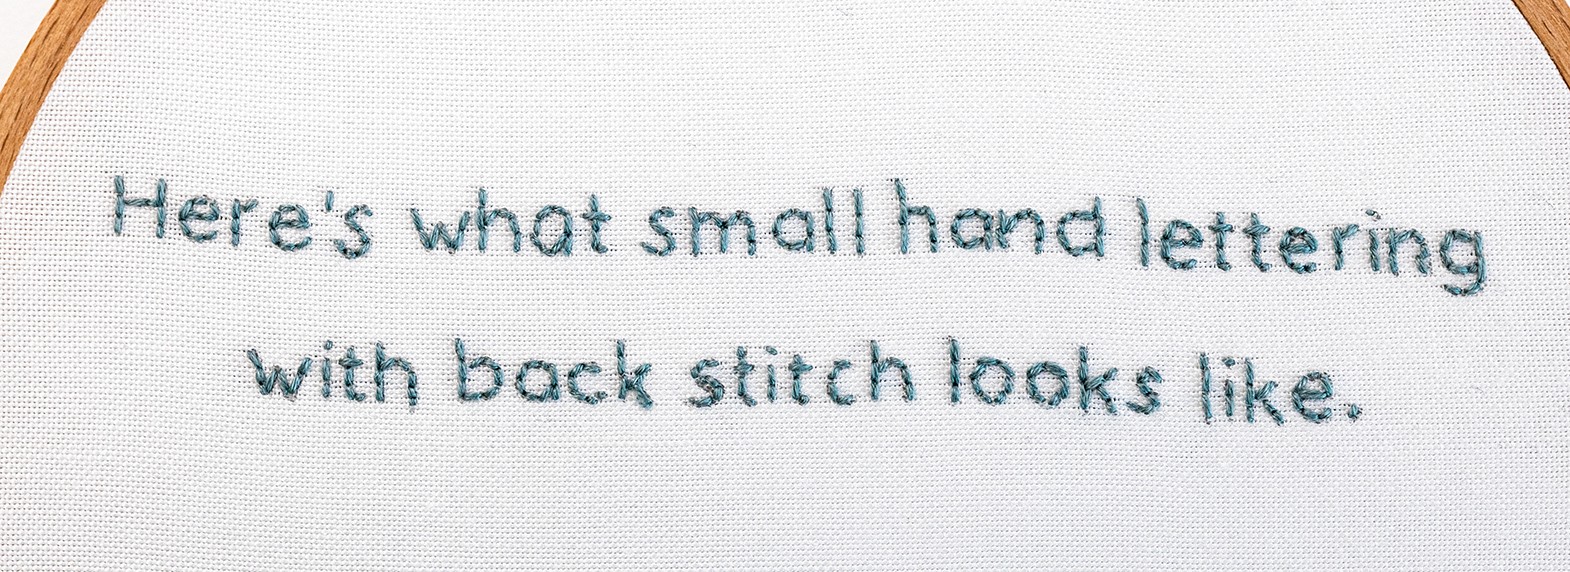
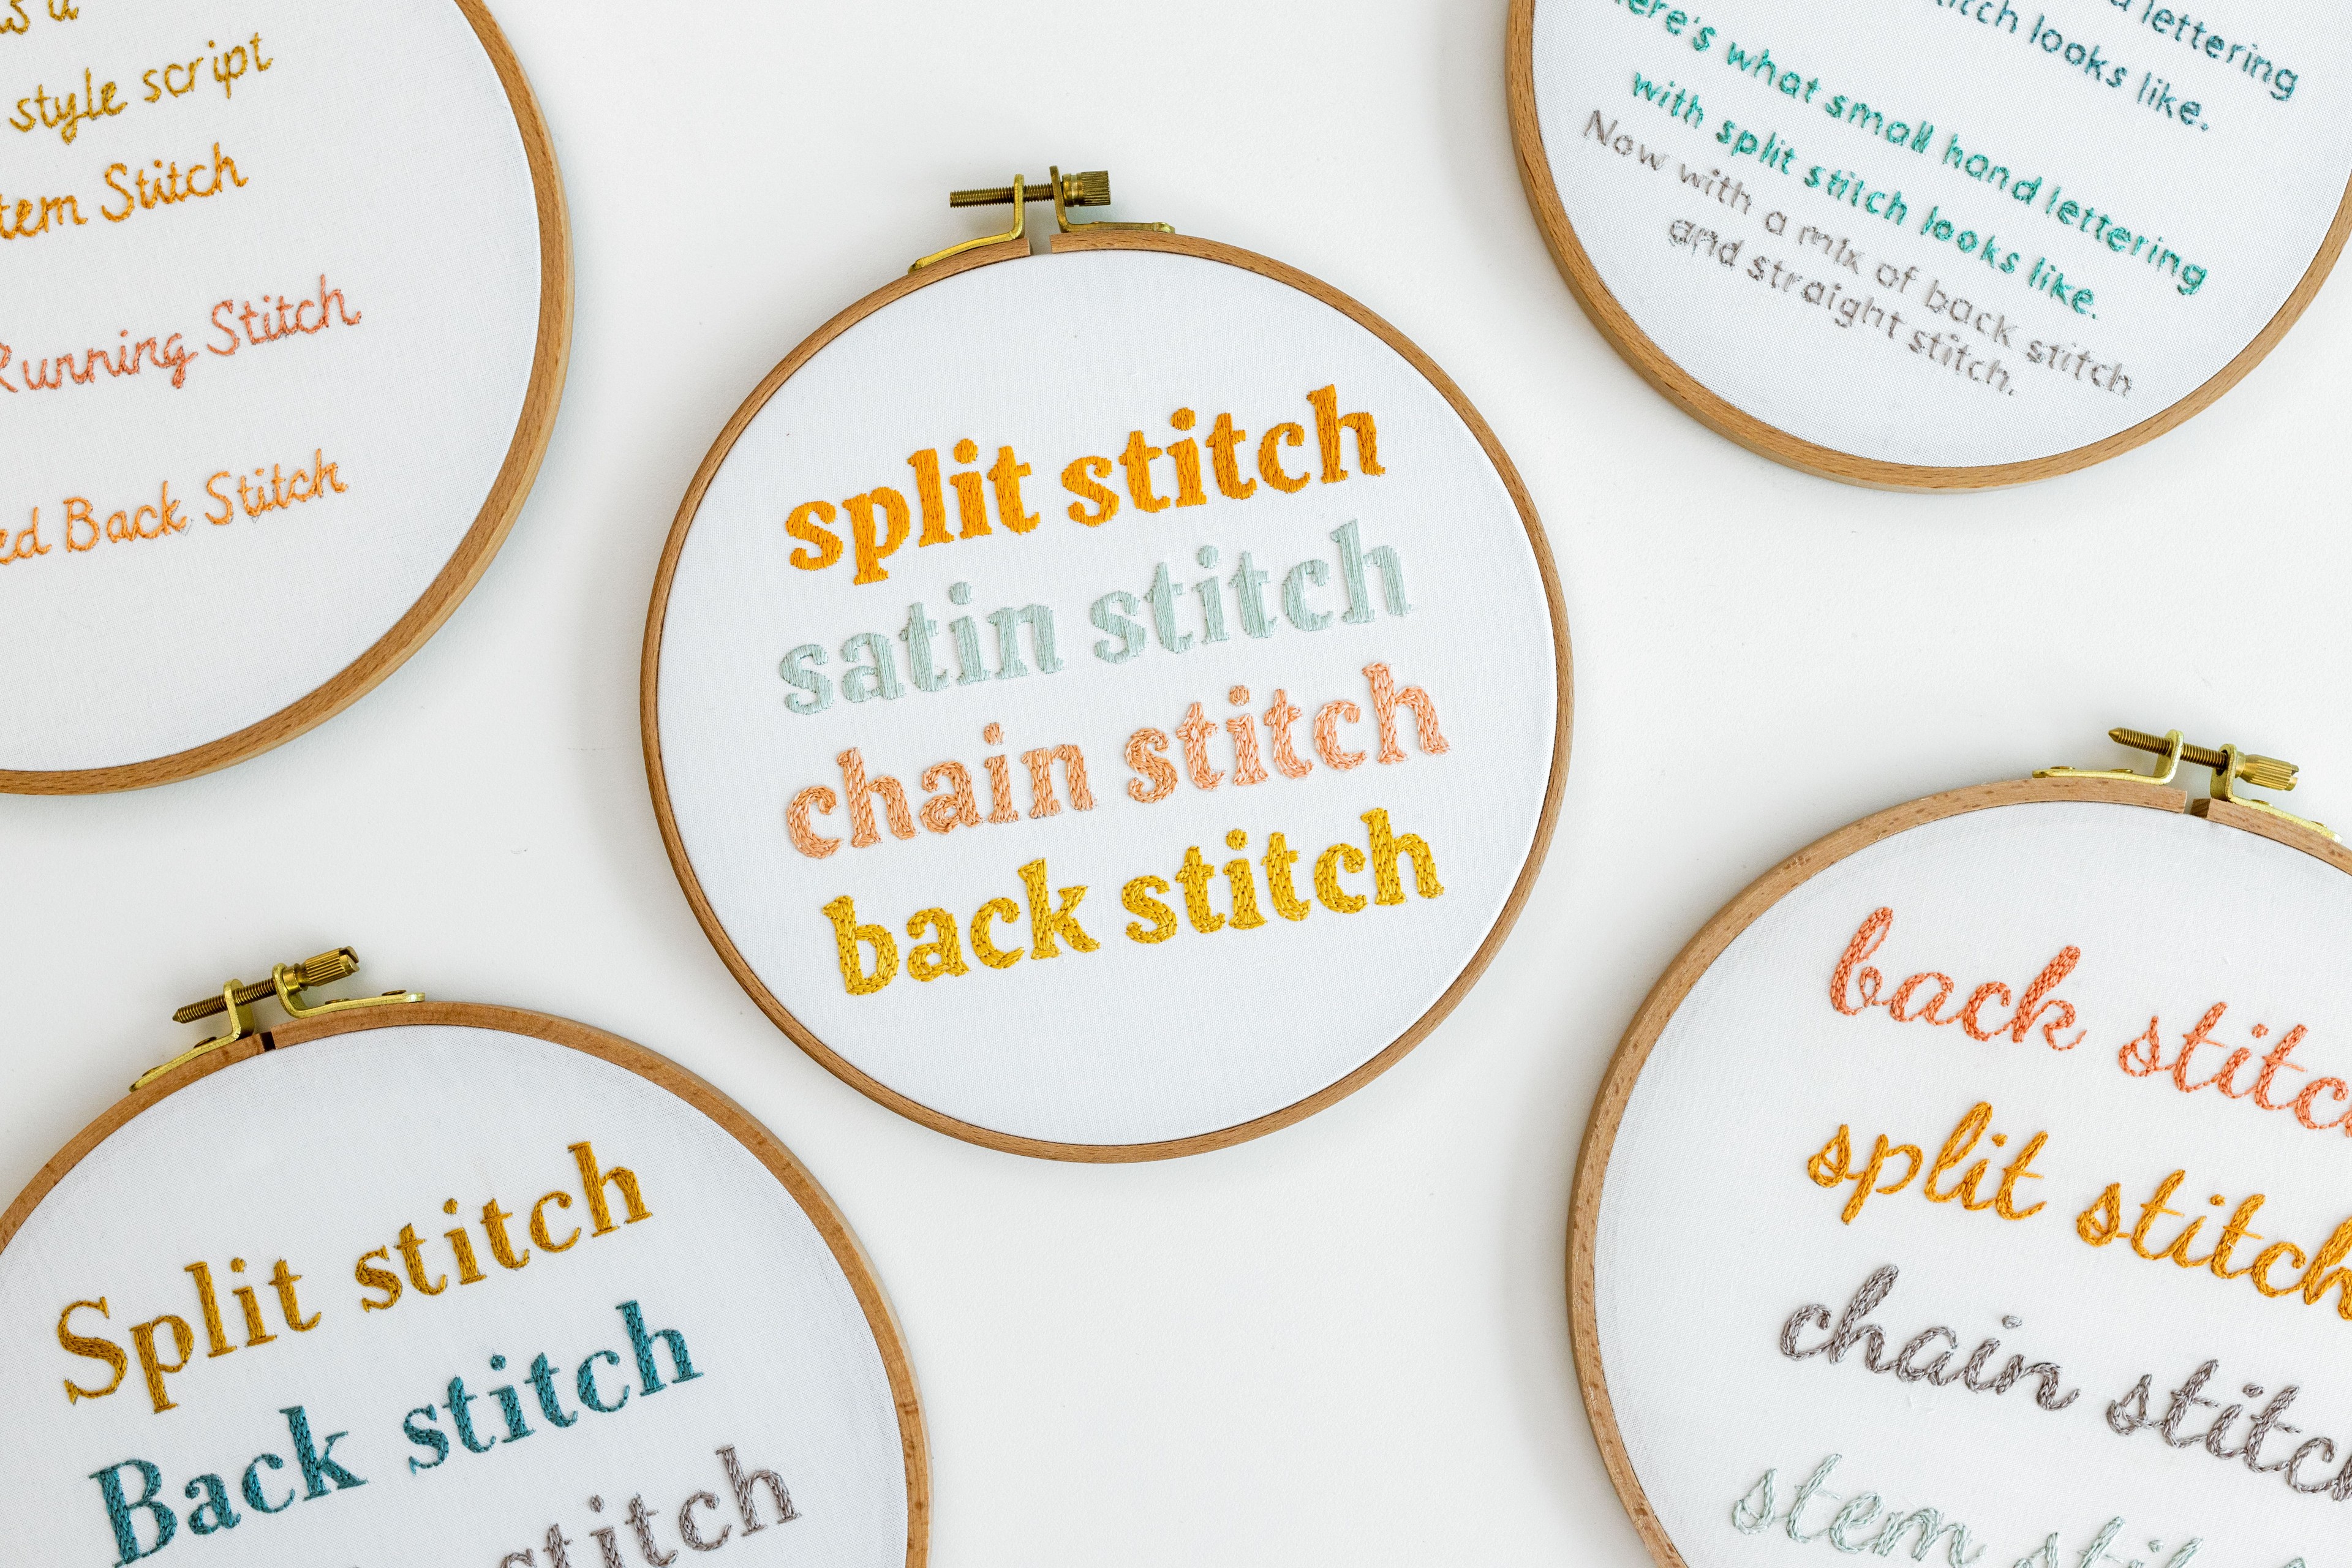
BACK STITCH: super easy and quite quick to work with.
SPLIT STITCH: creates a nice even line, good for corners, and can also be used for filling in thicker shaped letters with a textured effect.
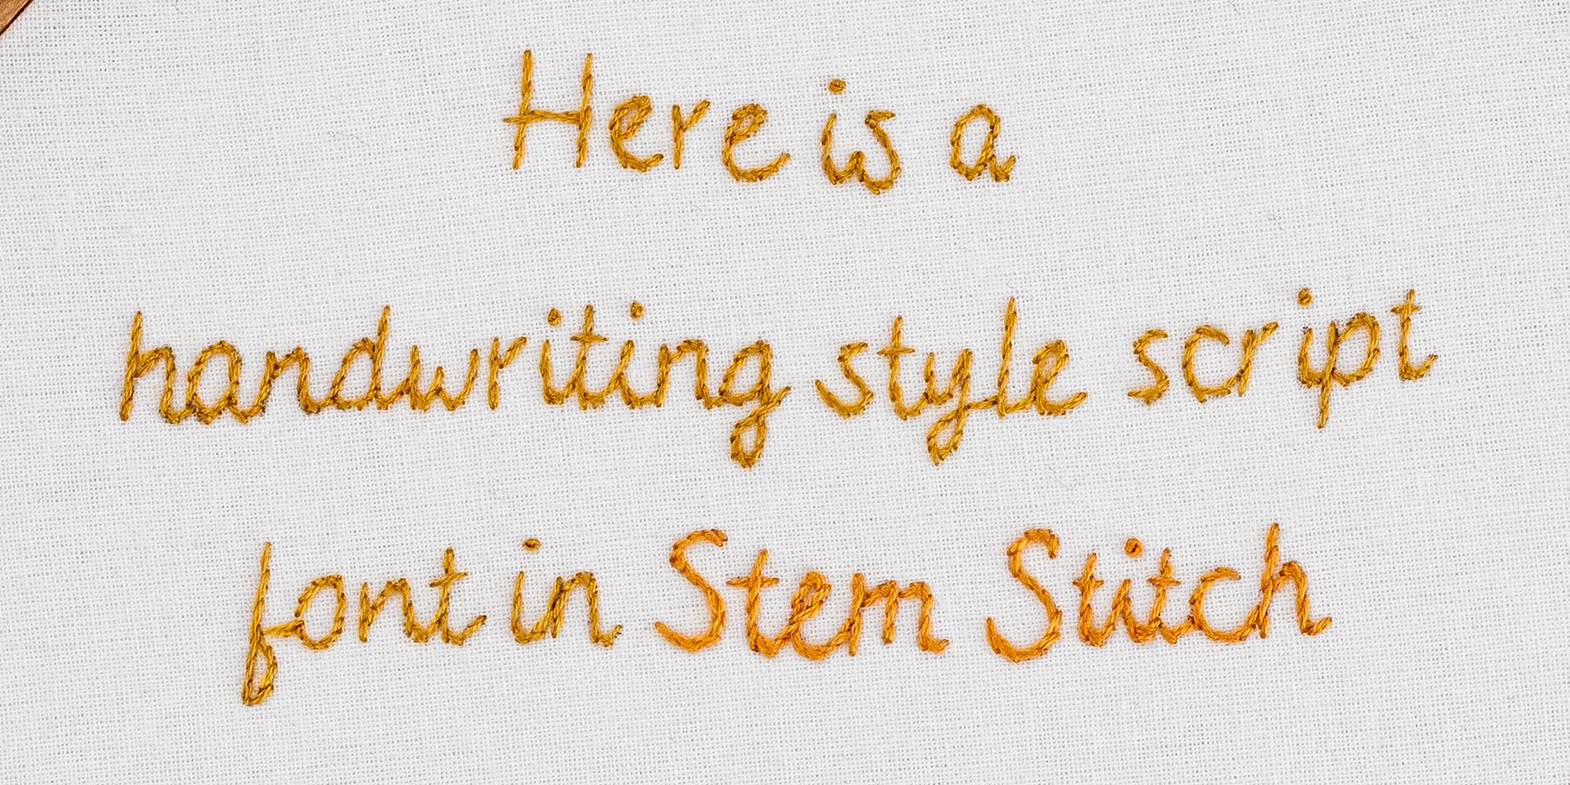
STEM STITCH: this is quite elegant, also great for navigating around corners and for filling in thicker shapes with a smoother look.
In this video, I’ve shared my top tips for lettering, which you will hopefully find really helpful.
Examples of embroidered words
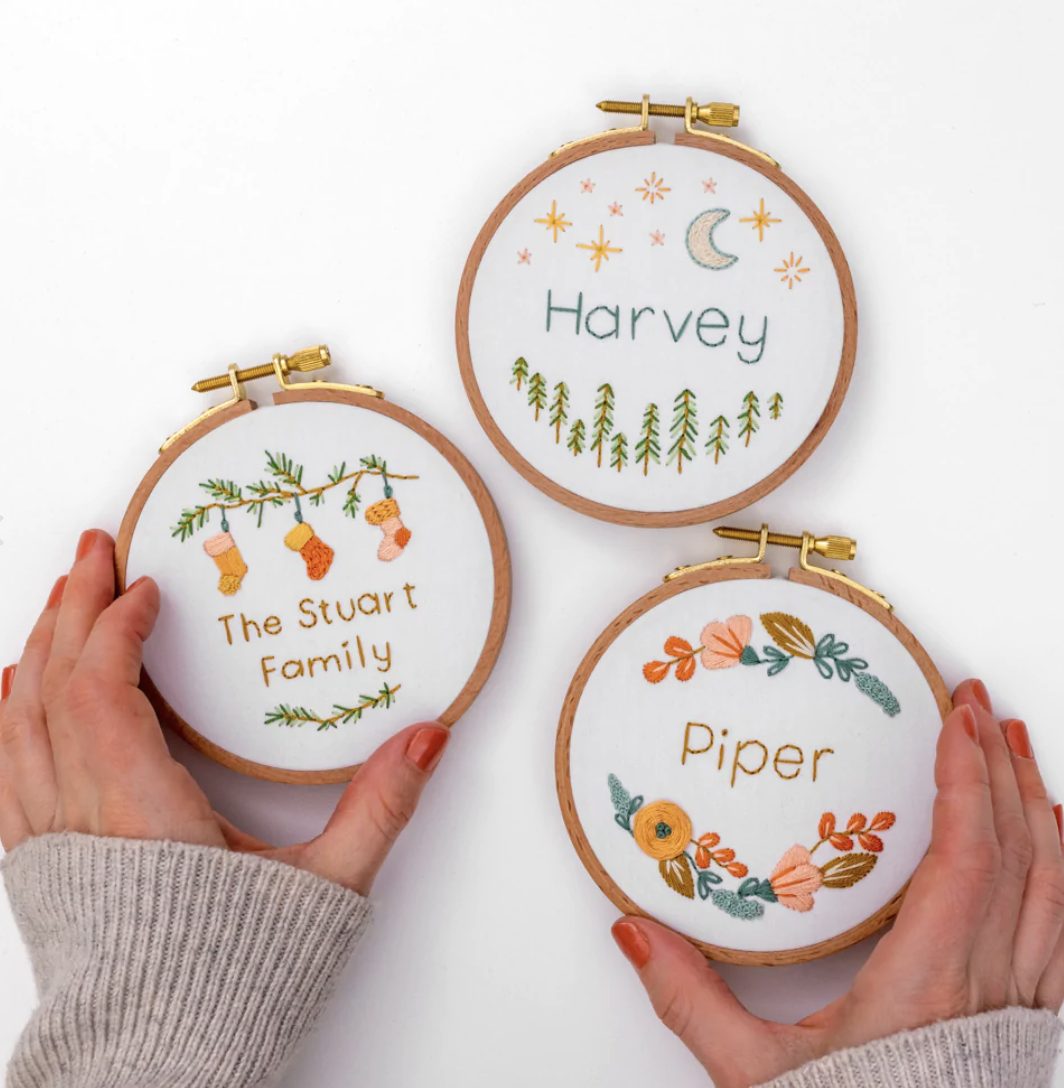
Embroidered words add a lovely personalised touch to your embroidery creations. I've used embroidered words to add that special touch to these Personalised Baubles.
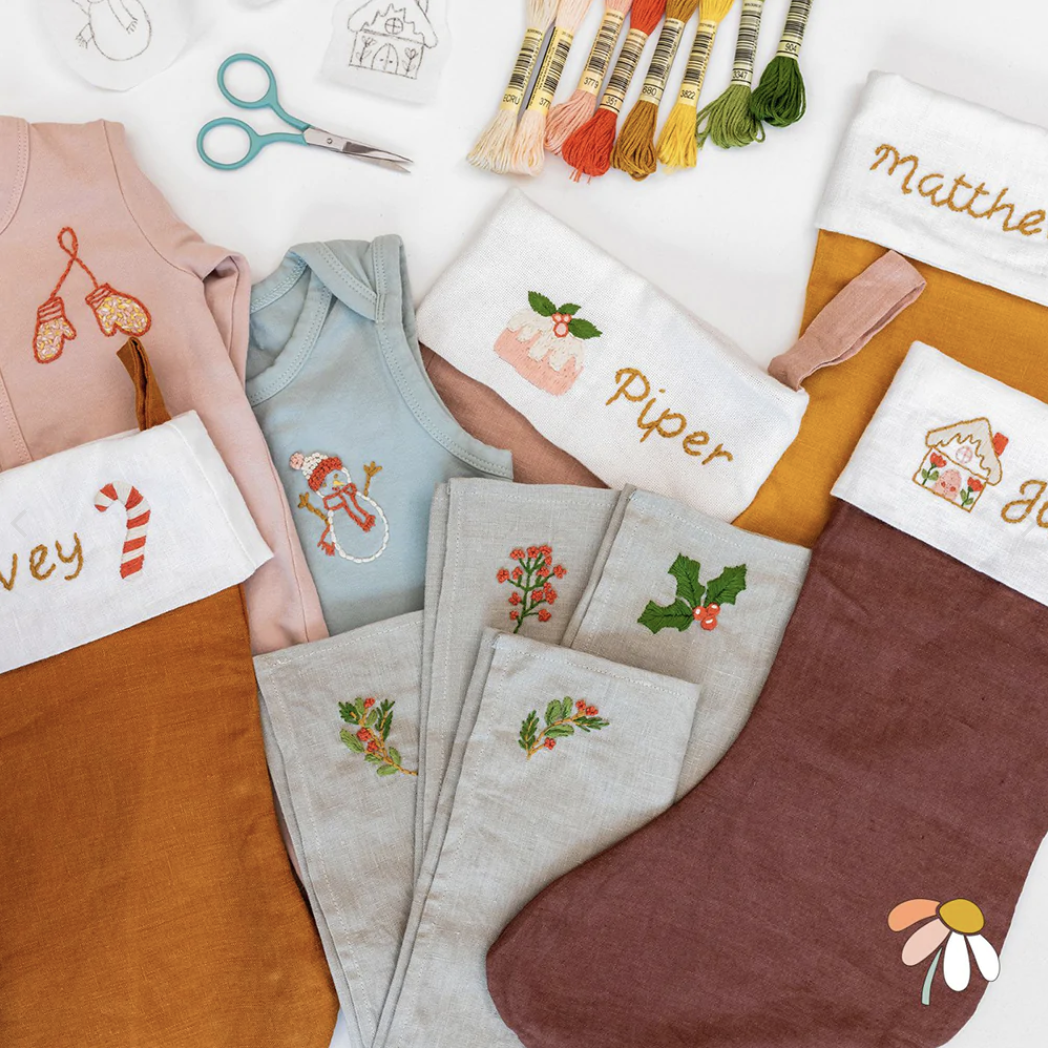
I have also used embroidered words to add names to this Festive Motifs Pattern.
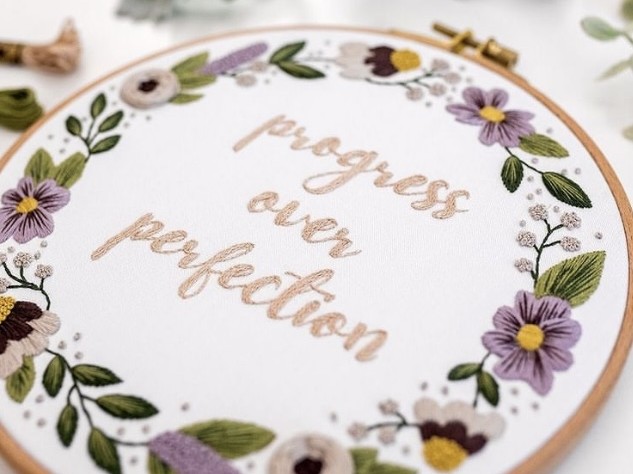
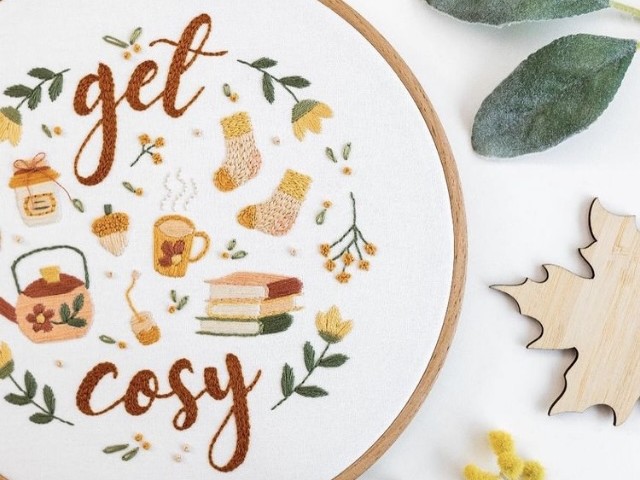
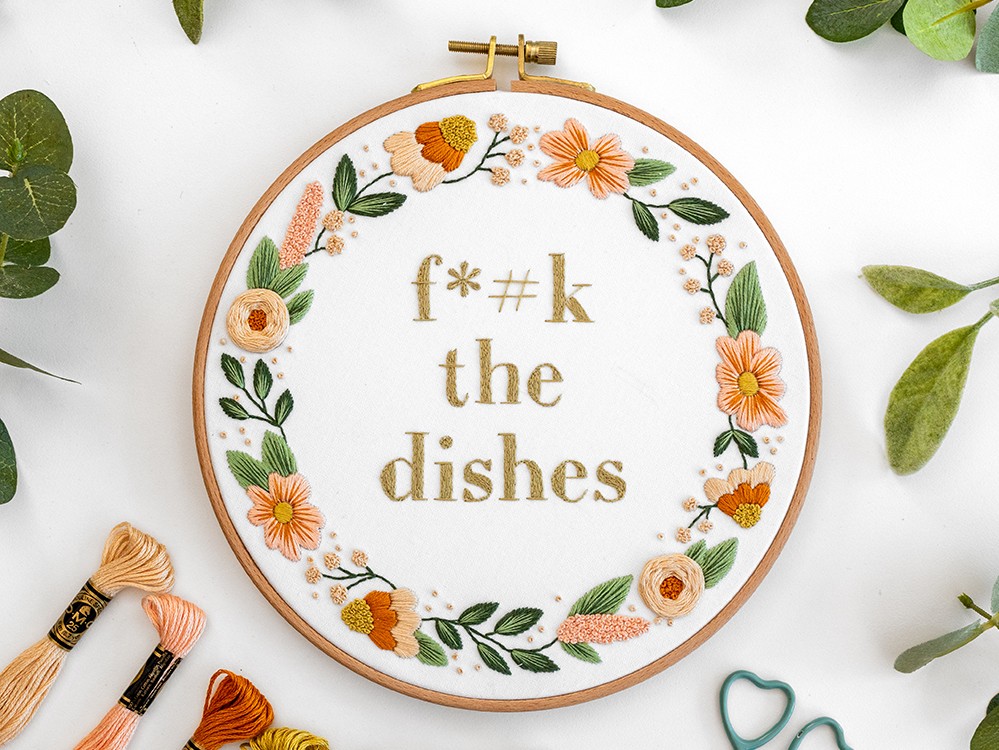
I have also used embroidered words in my patterns F*#k the Dishes, Progress over Perfection, and Get Cosy.
These words add a fun touch to these patterns.
Conclusion
So there you have some tips to get you started embroidering letters and words. I just know you'll love personalising your embroidery creations with initials, names, special words and quotes!
I really hope you now feel a bit more confident about how embroidering letters and names works. But most of all, I hope you feel super excited to dive into this area of embroidery.
Because I know how rewarding it is – not only do you get some lovely rewarding me-time... you get to enjoy personalizing your special creations!
We would all love to see what you make, so make sure you share
your progress.
Happy stitching!
What's next?
And there you have it—now you know how to embroider letters! It’s such a fun and creative way to personalize your embroidery projects, and I just know you’ll love it.
If you’re excited to put your new skills into practice, why not try my Lettering Sampler Beginner Kit? It’s designed for all experience levels and is a great way to explore different lettering styles in embroidery. Grab yours today!
P.S. You should check out my blog, A Beginner's Guide for Embroidery onto Clothing.


