


Using Knots to Start and End Threads - Learn This Modern Embroidery Technique
Introduction
You might be wondering how to secure your threads as you stitch along, so that they don’t unravel over time? I think the best thing is to simply use knots to start and end threads as a beginner. Later on in your embroidery journey, you can learn how to embroider without knots (and there are lots of reasons why this is great). But for now, let’s keep it super simple and use knots.
Here's what this blog covers:
-
Adding a starter knot
-
Starting a stitch
-
Finishing a thread after different stitch techniques
Adding a Starter Knot
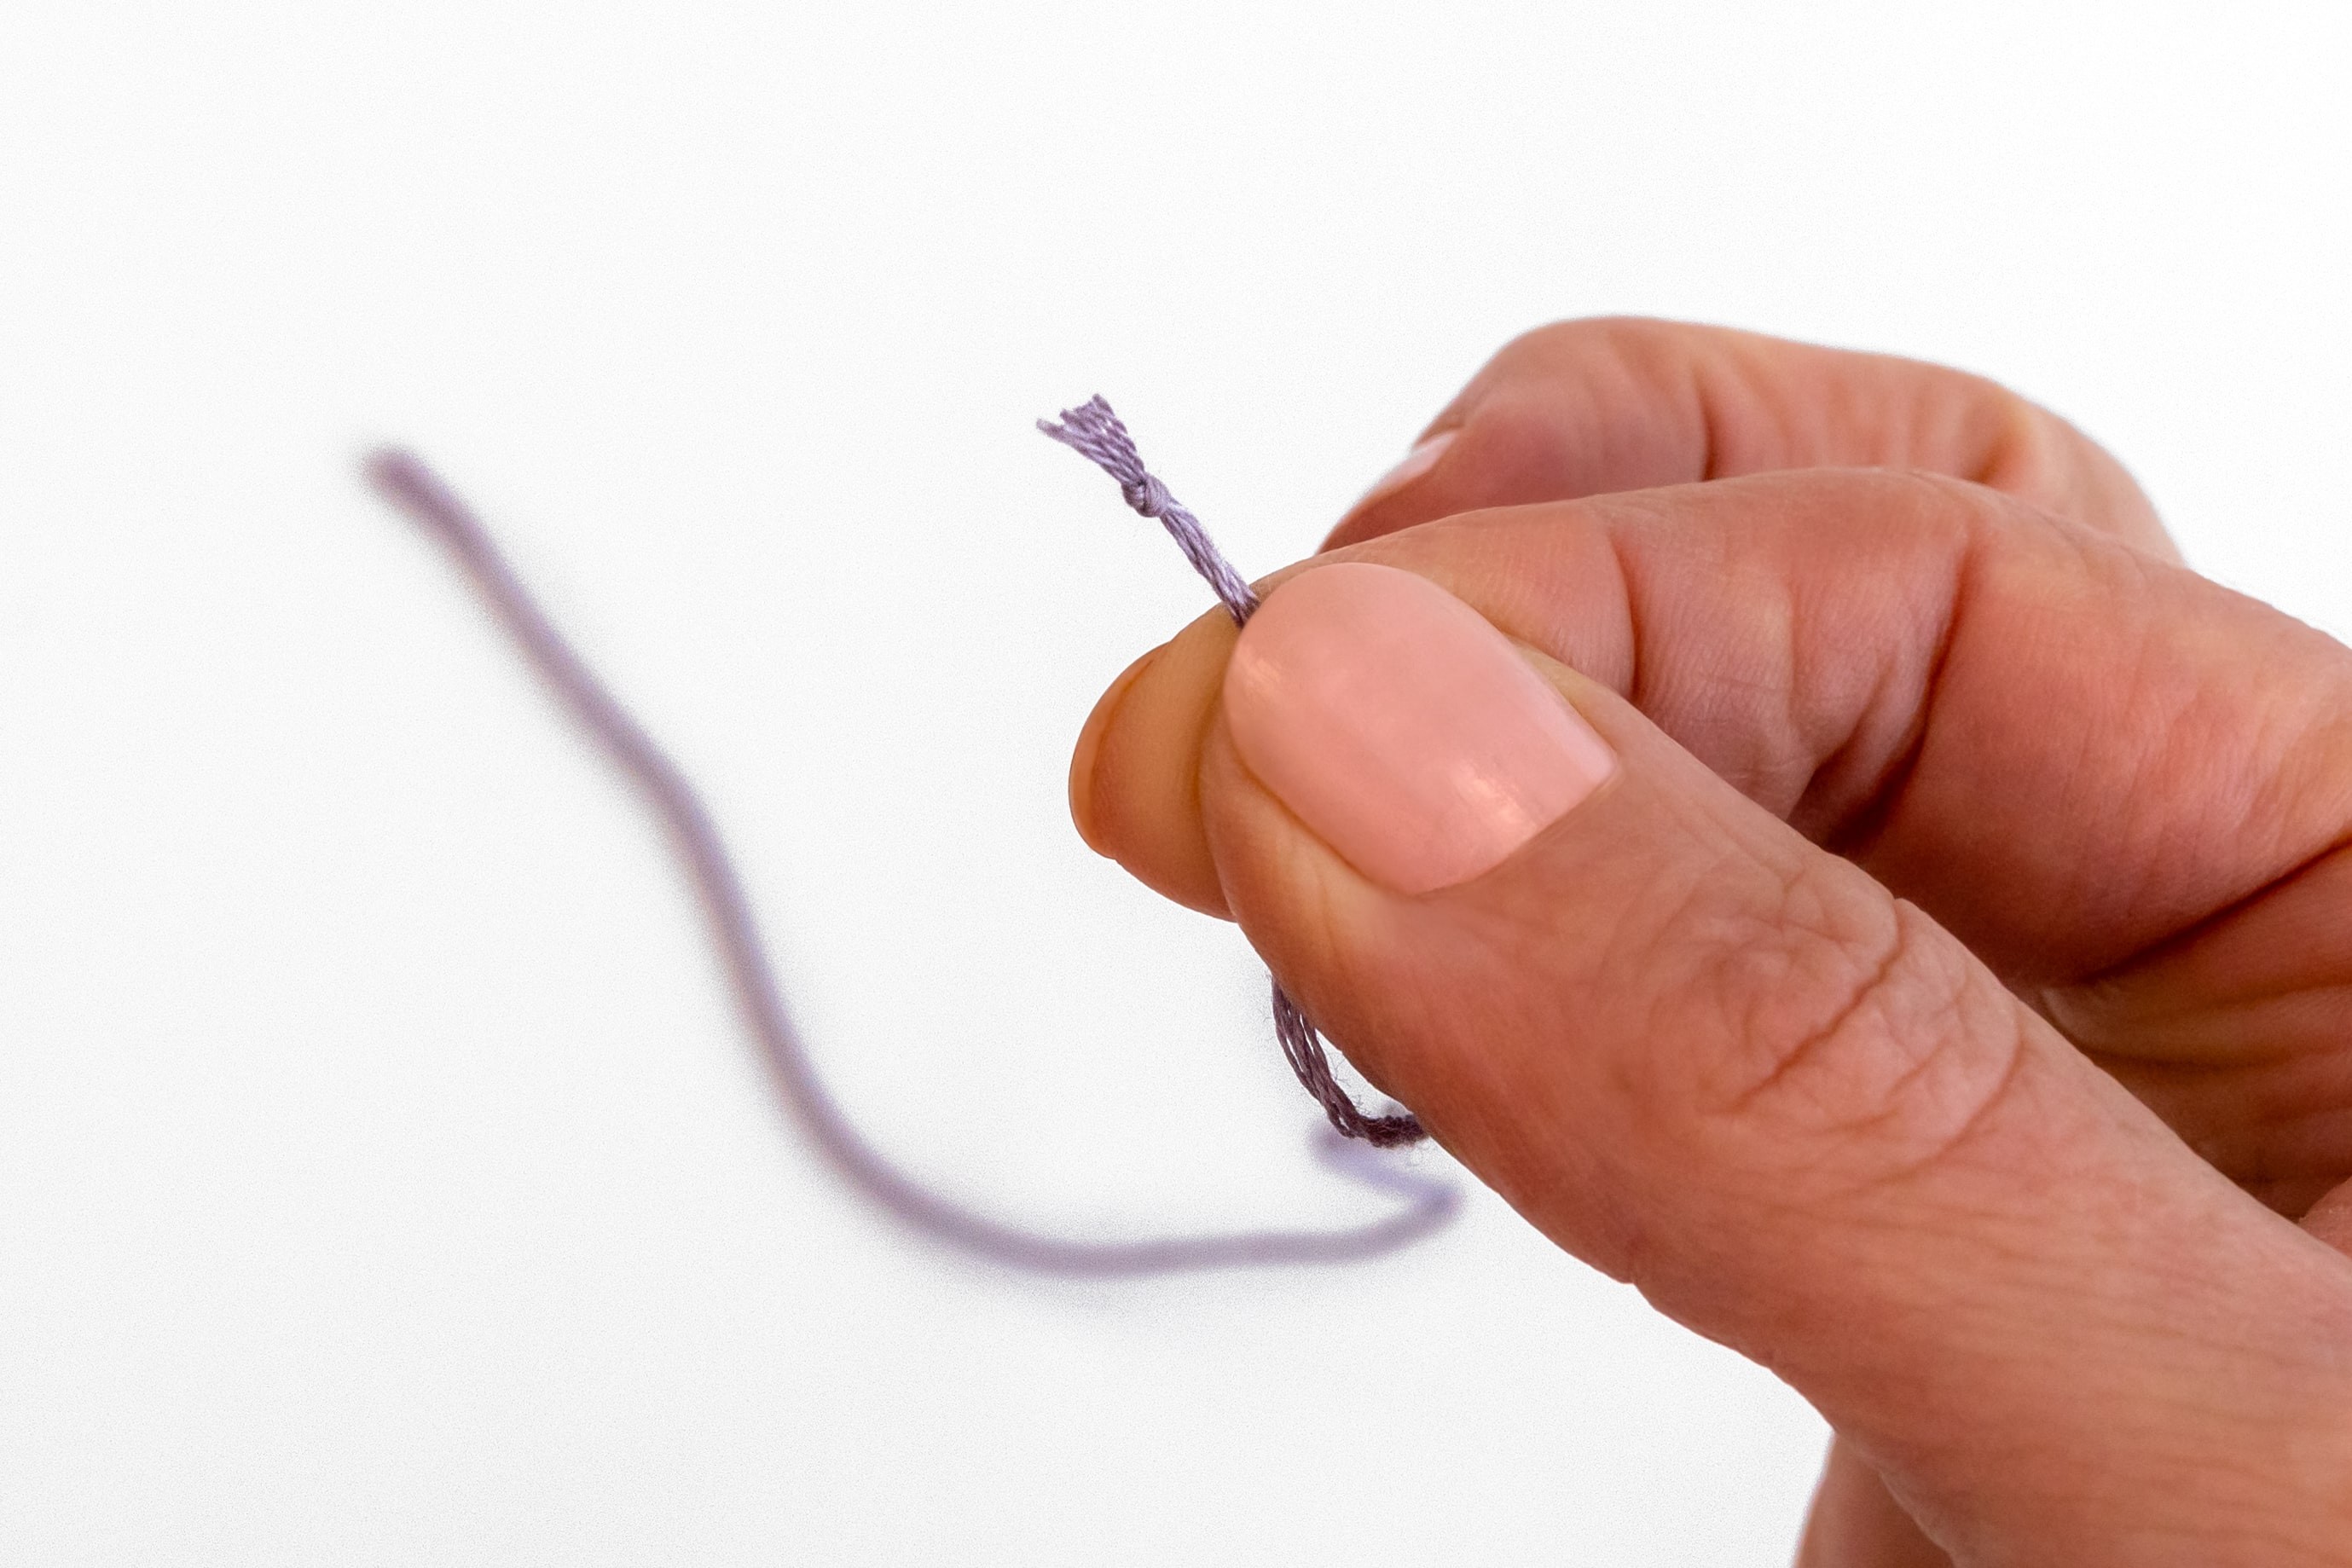
Tie a simple overhand knot at the tail end of your thread, placing the knot as close to the end as possible. You may need to tie a couple of knots on top of each other, if you’re using less than 6 strands of floss.
How to tie an overhand knot:
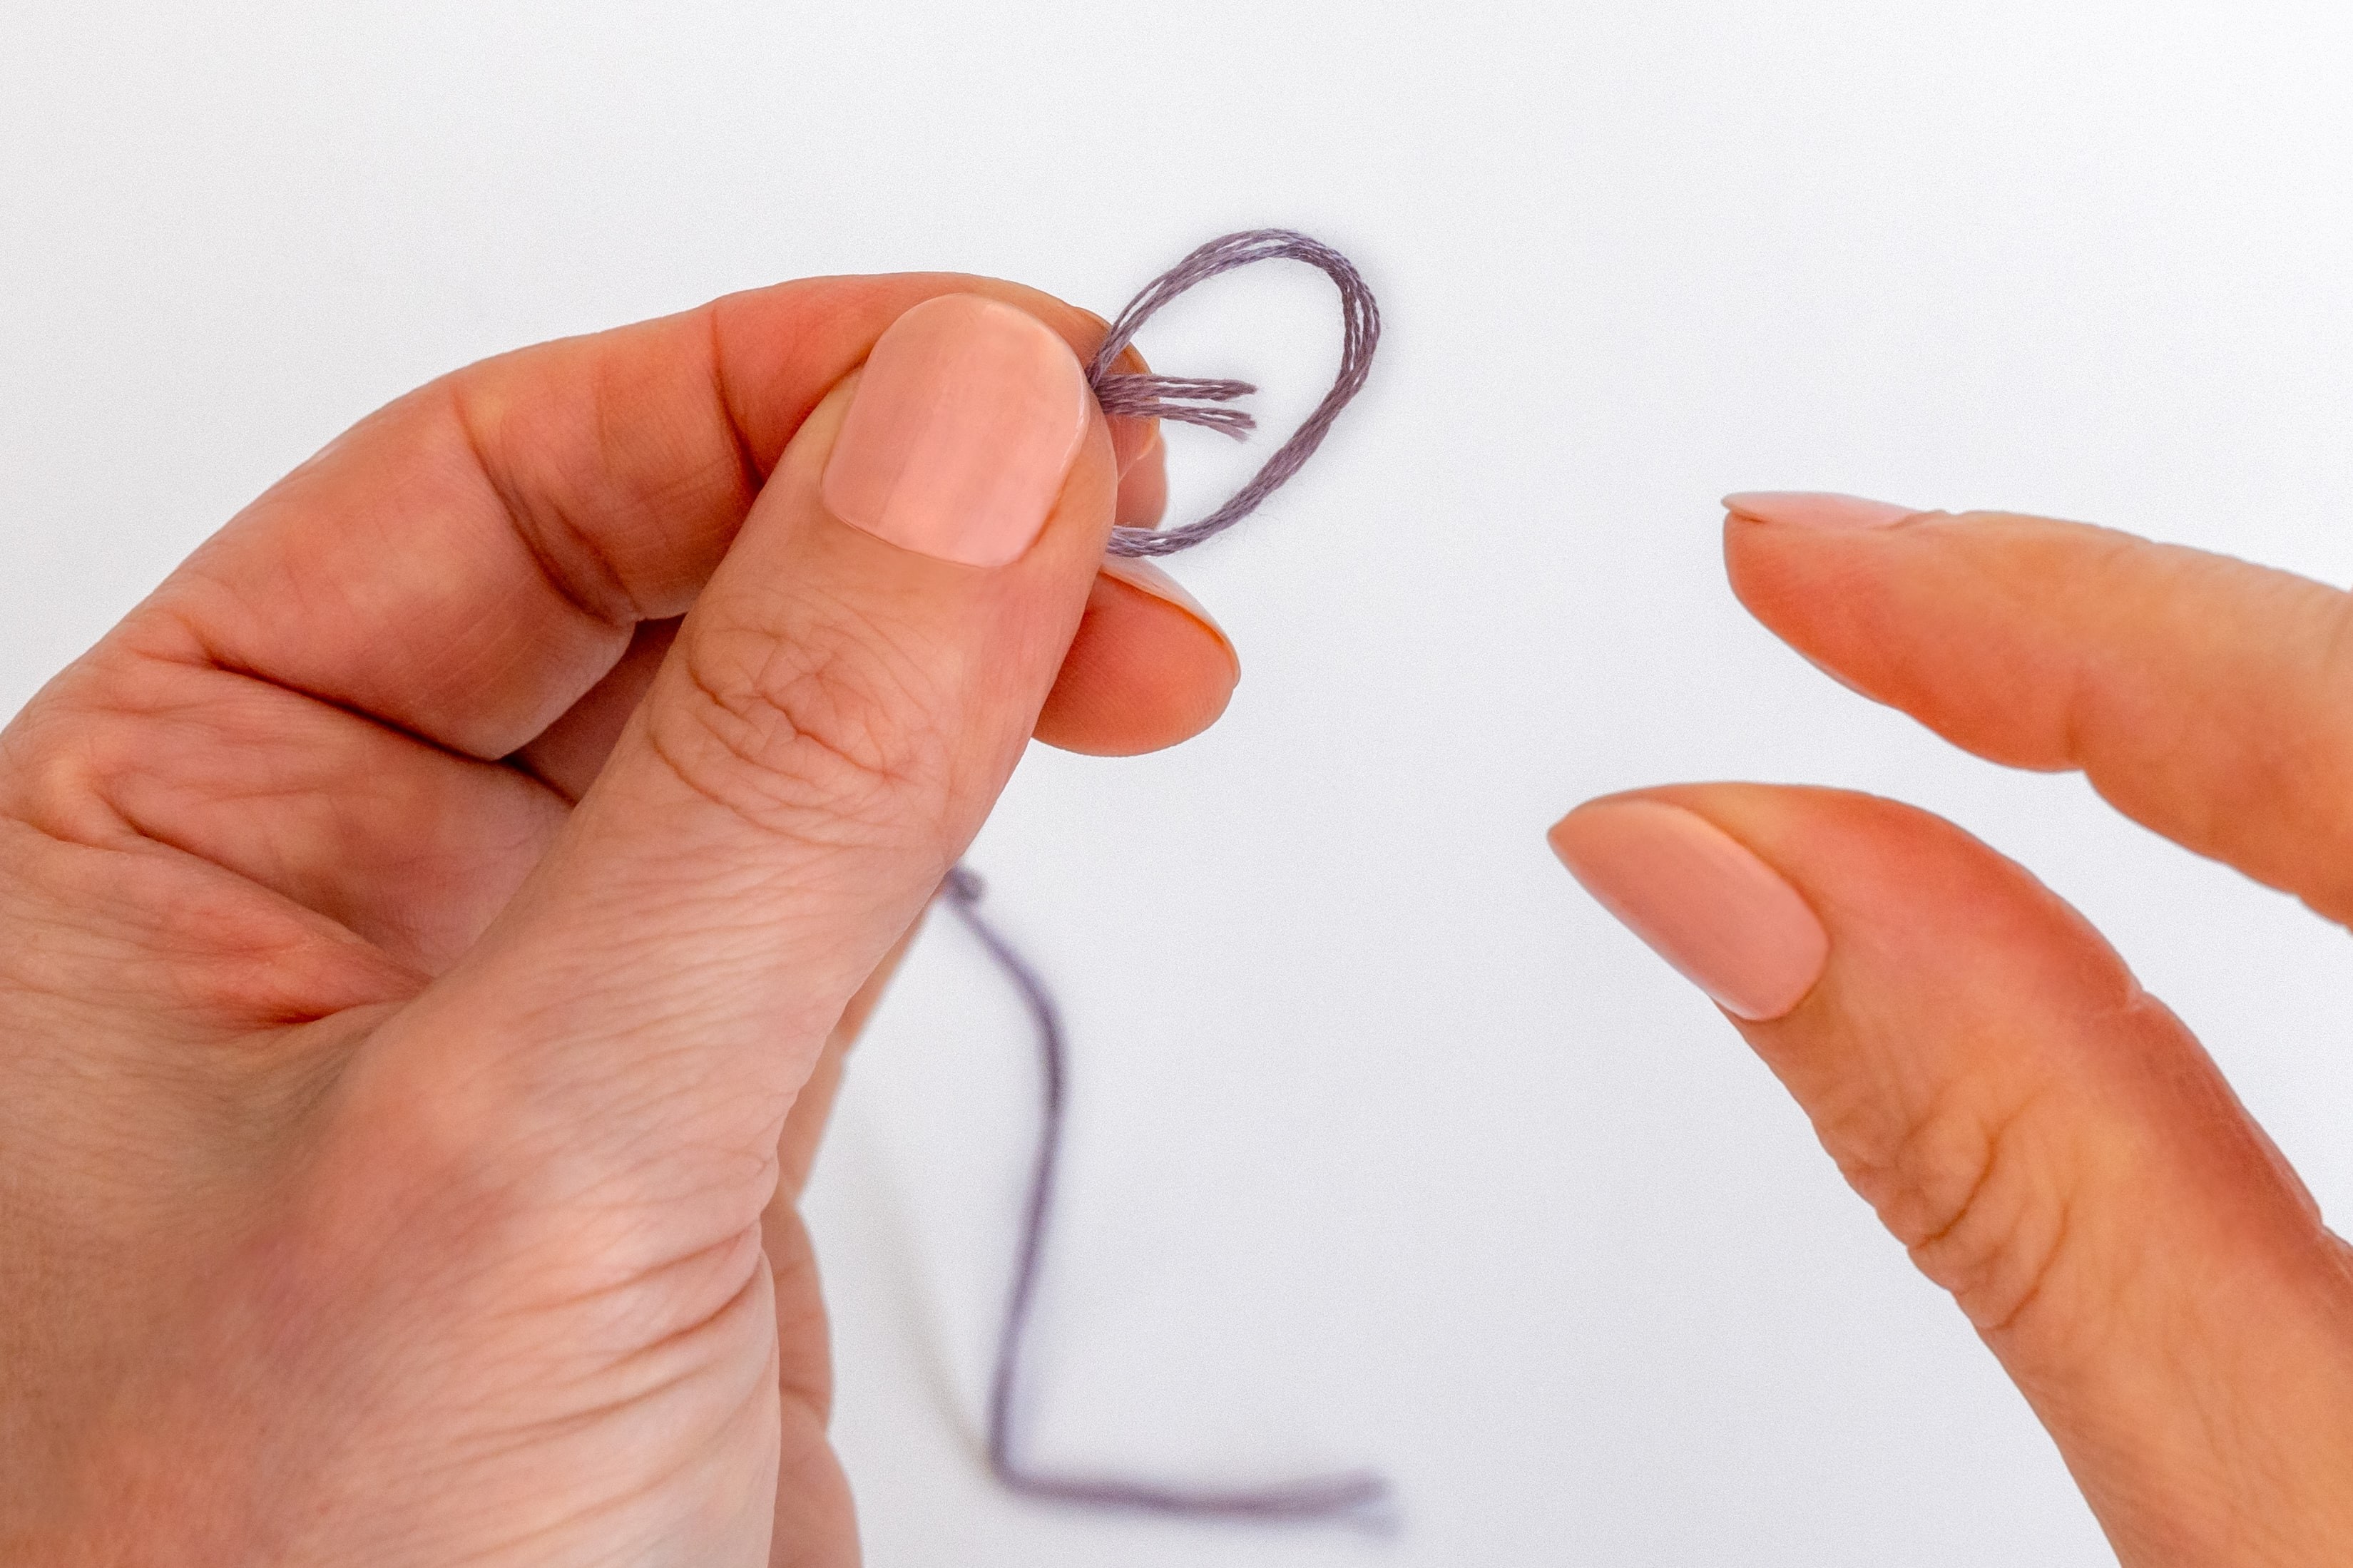
Step 1.
Hold the thread close to one end, and cross the tail over the main section (to make a small loop).
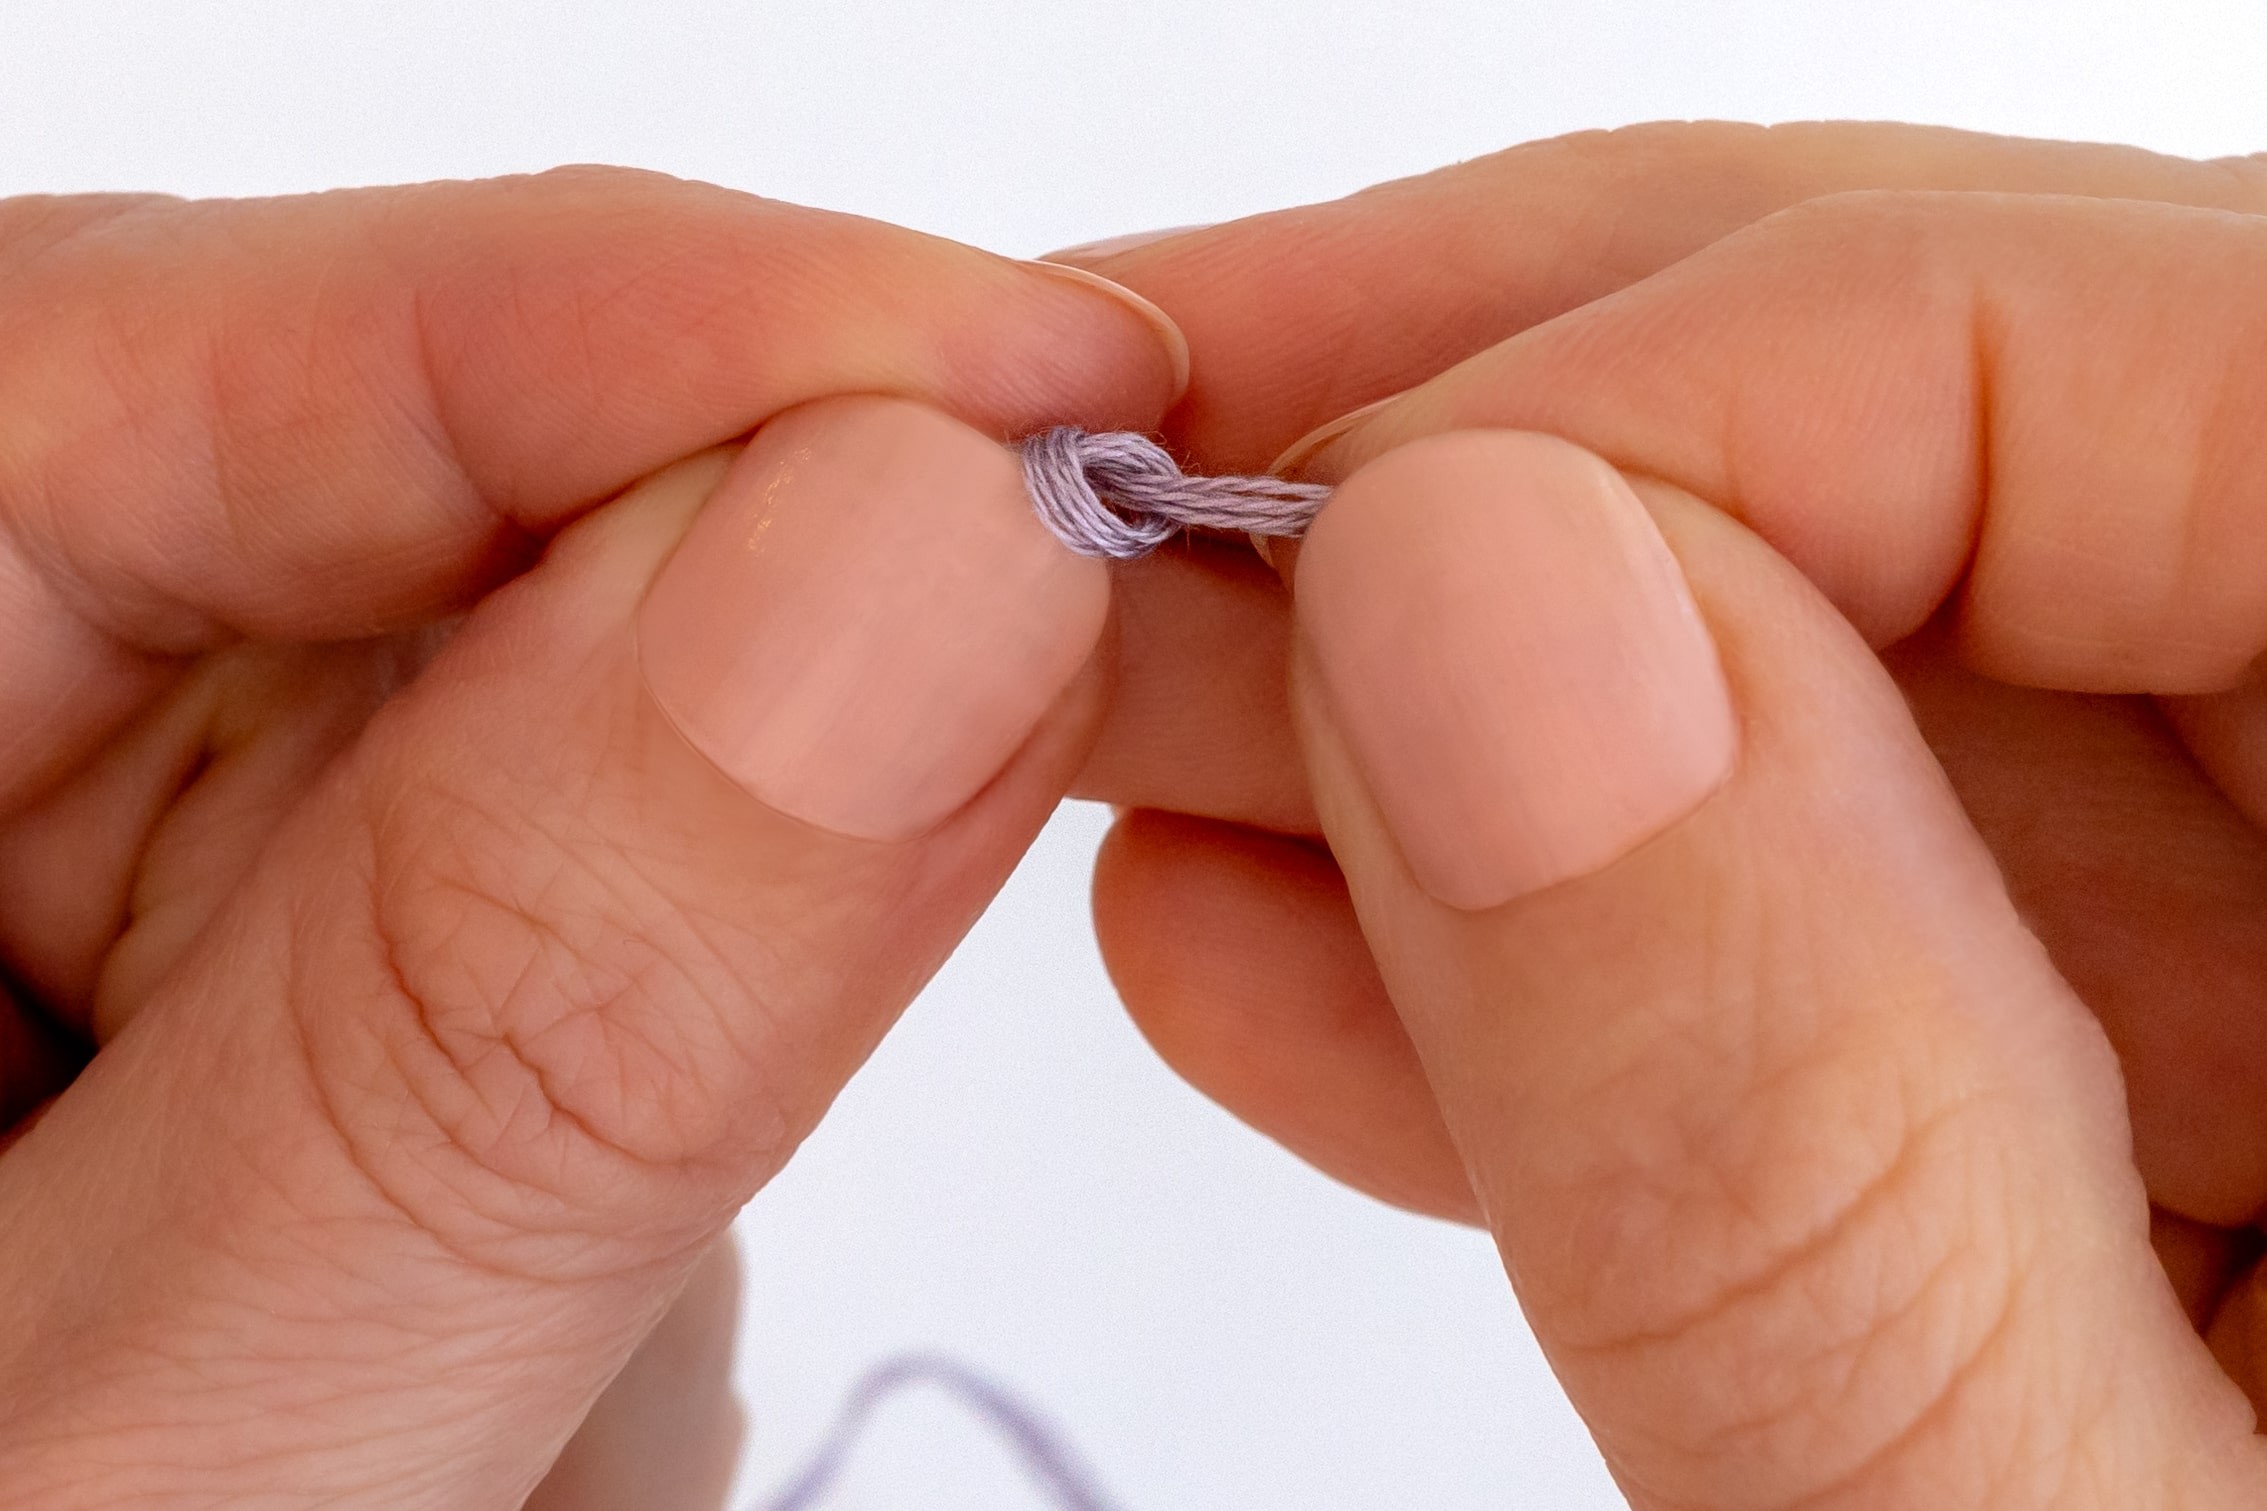
Step 2.
Tuck the tail around the back of the loop, and pull it through the loop to the front.
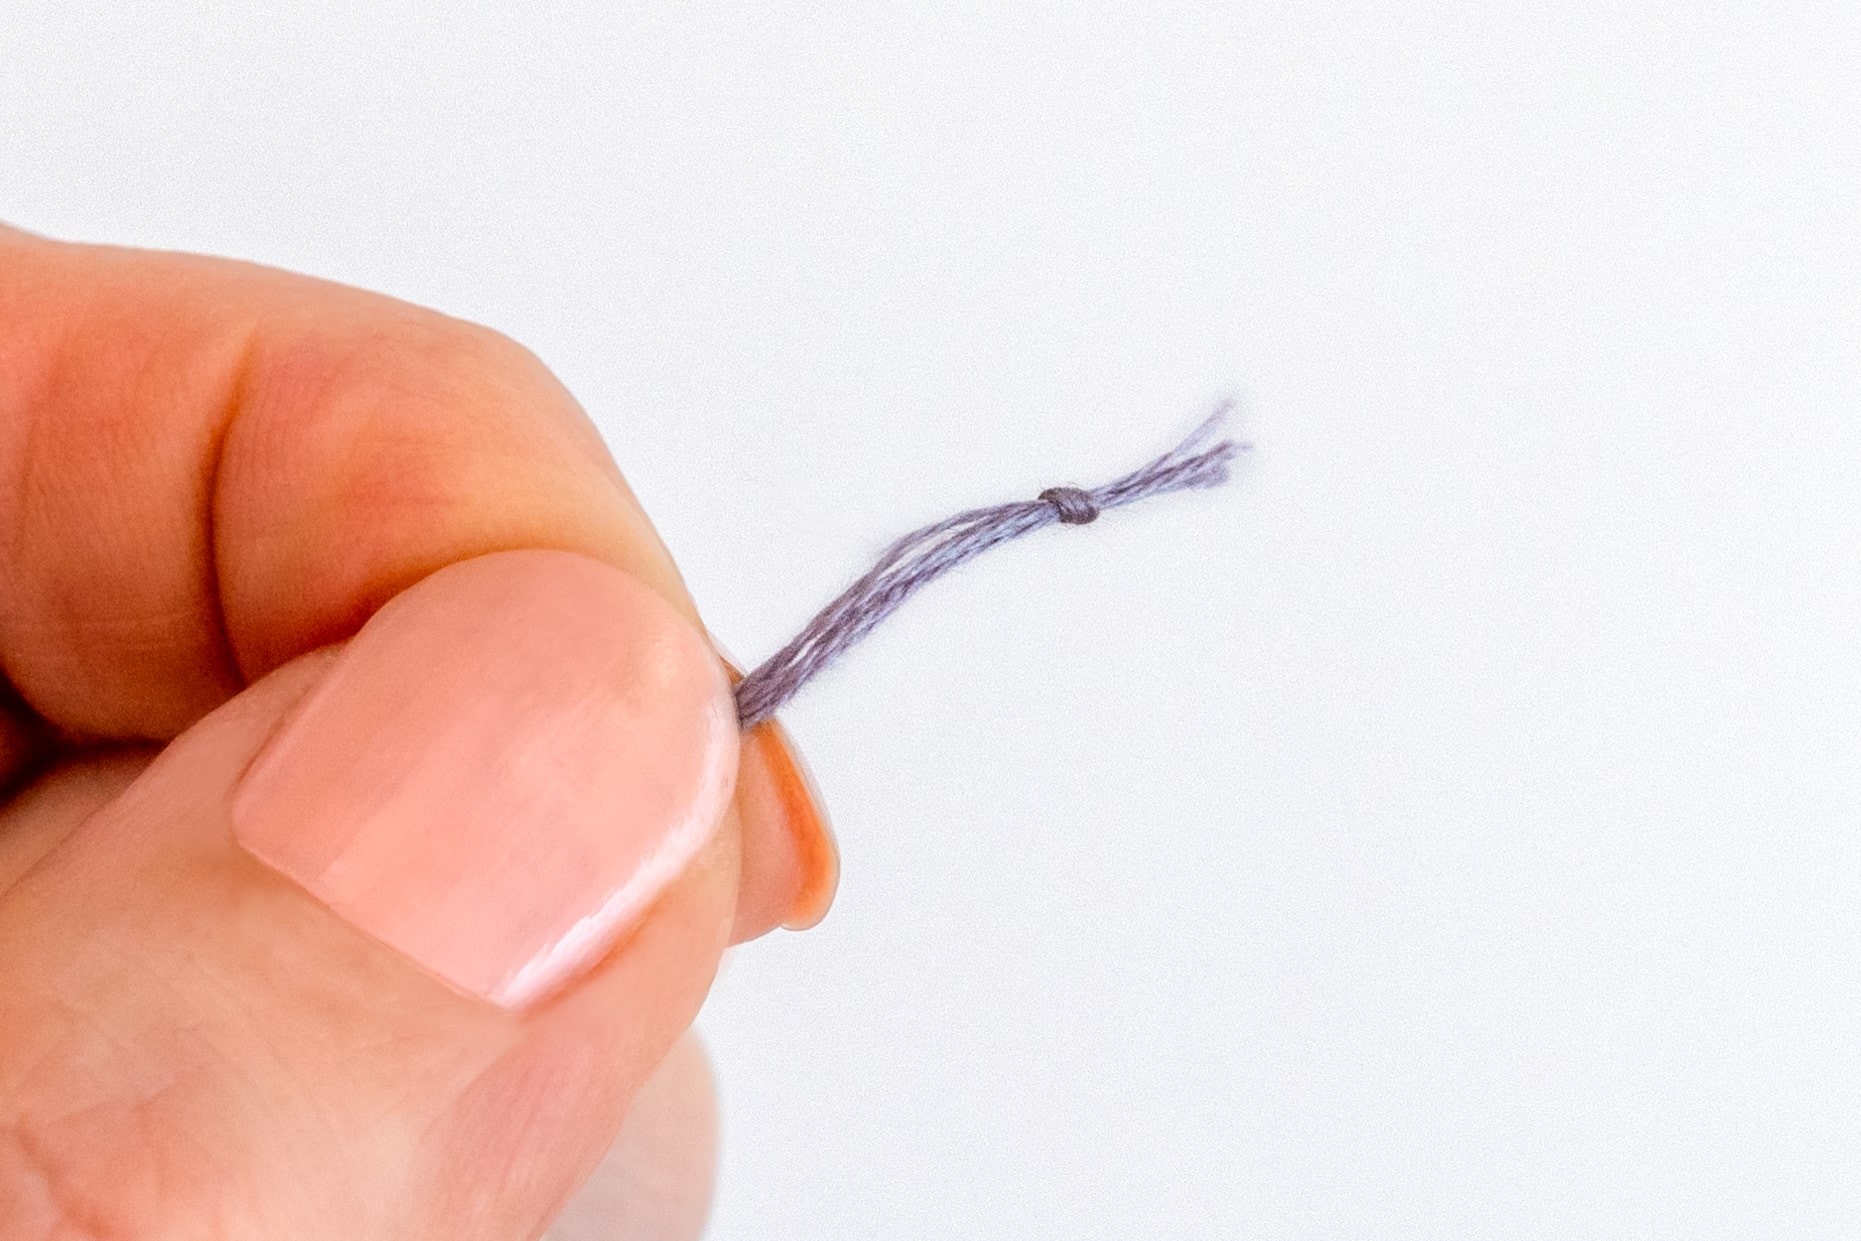
Step 3.
Pull both ends gently to tighten the knot – but as you do, use your fingers to push the knot towards the end of the thread.
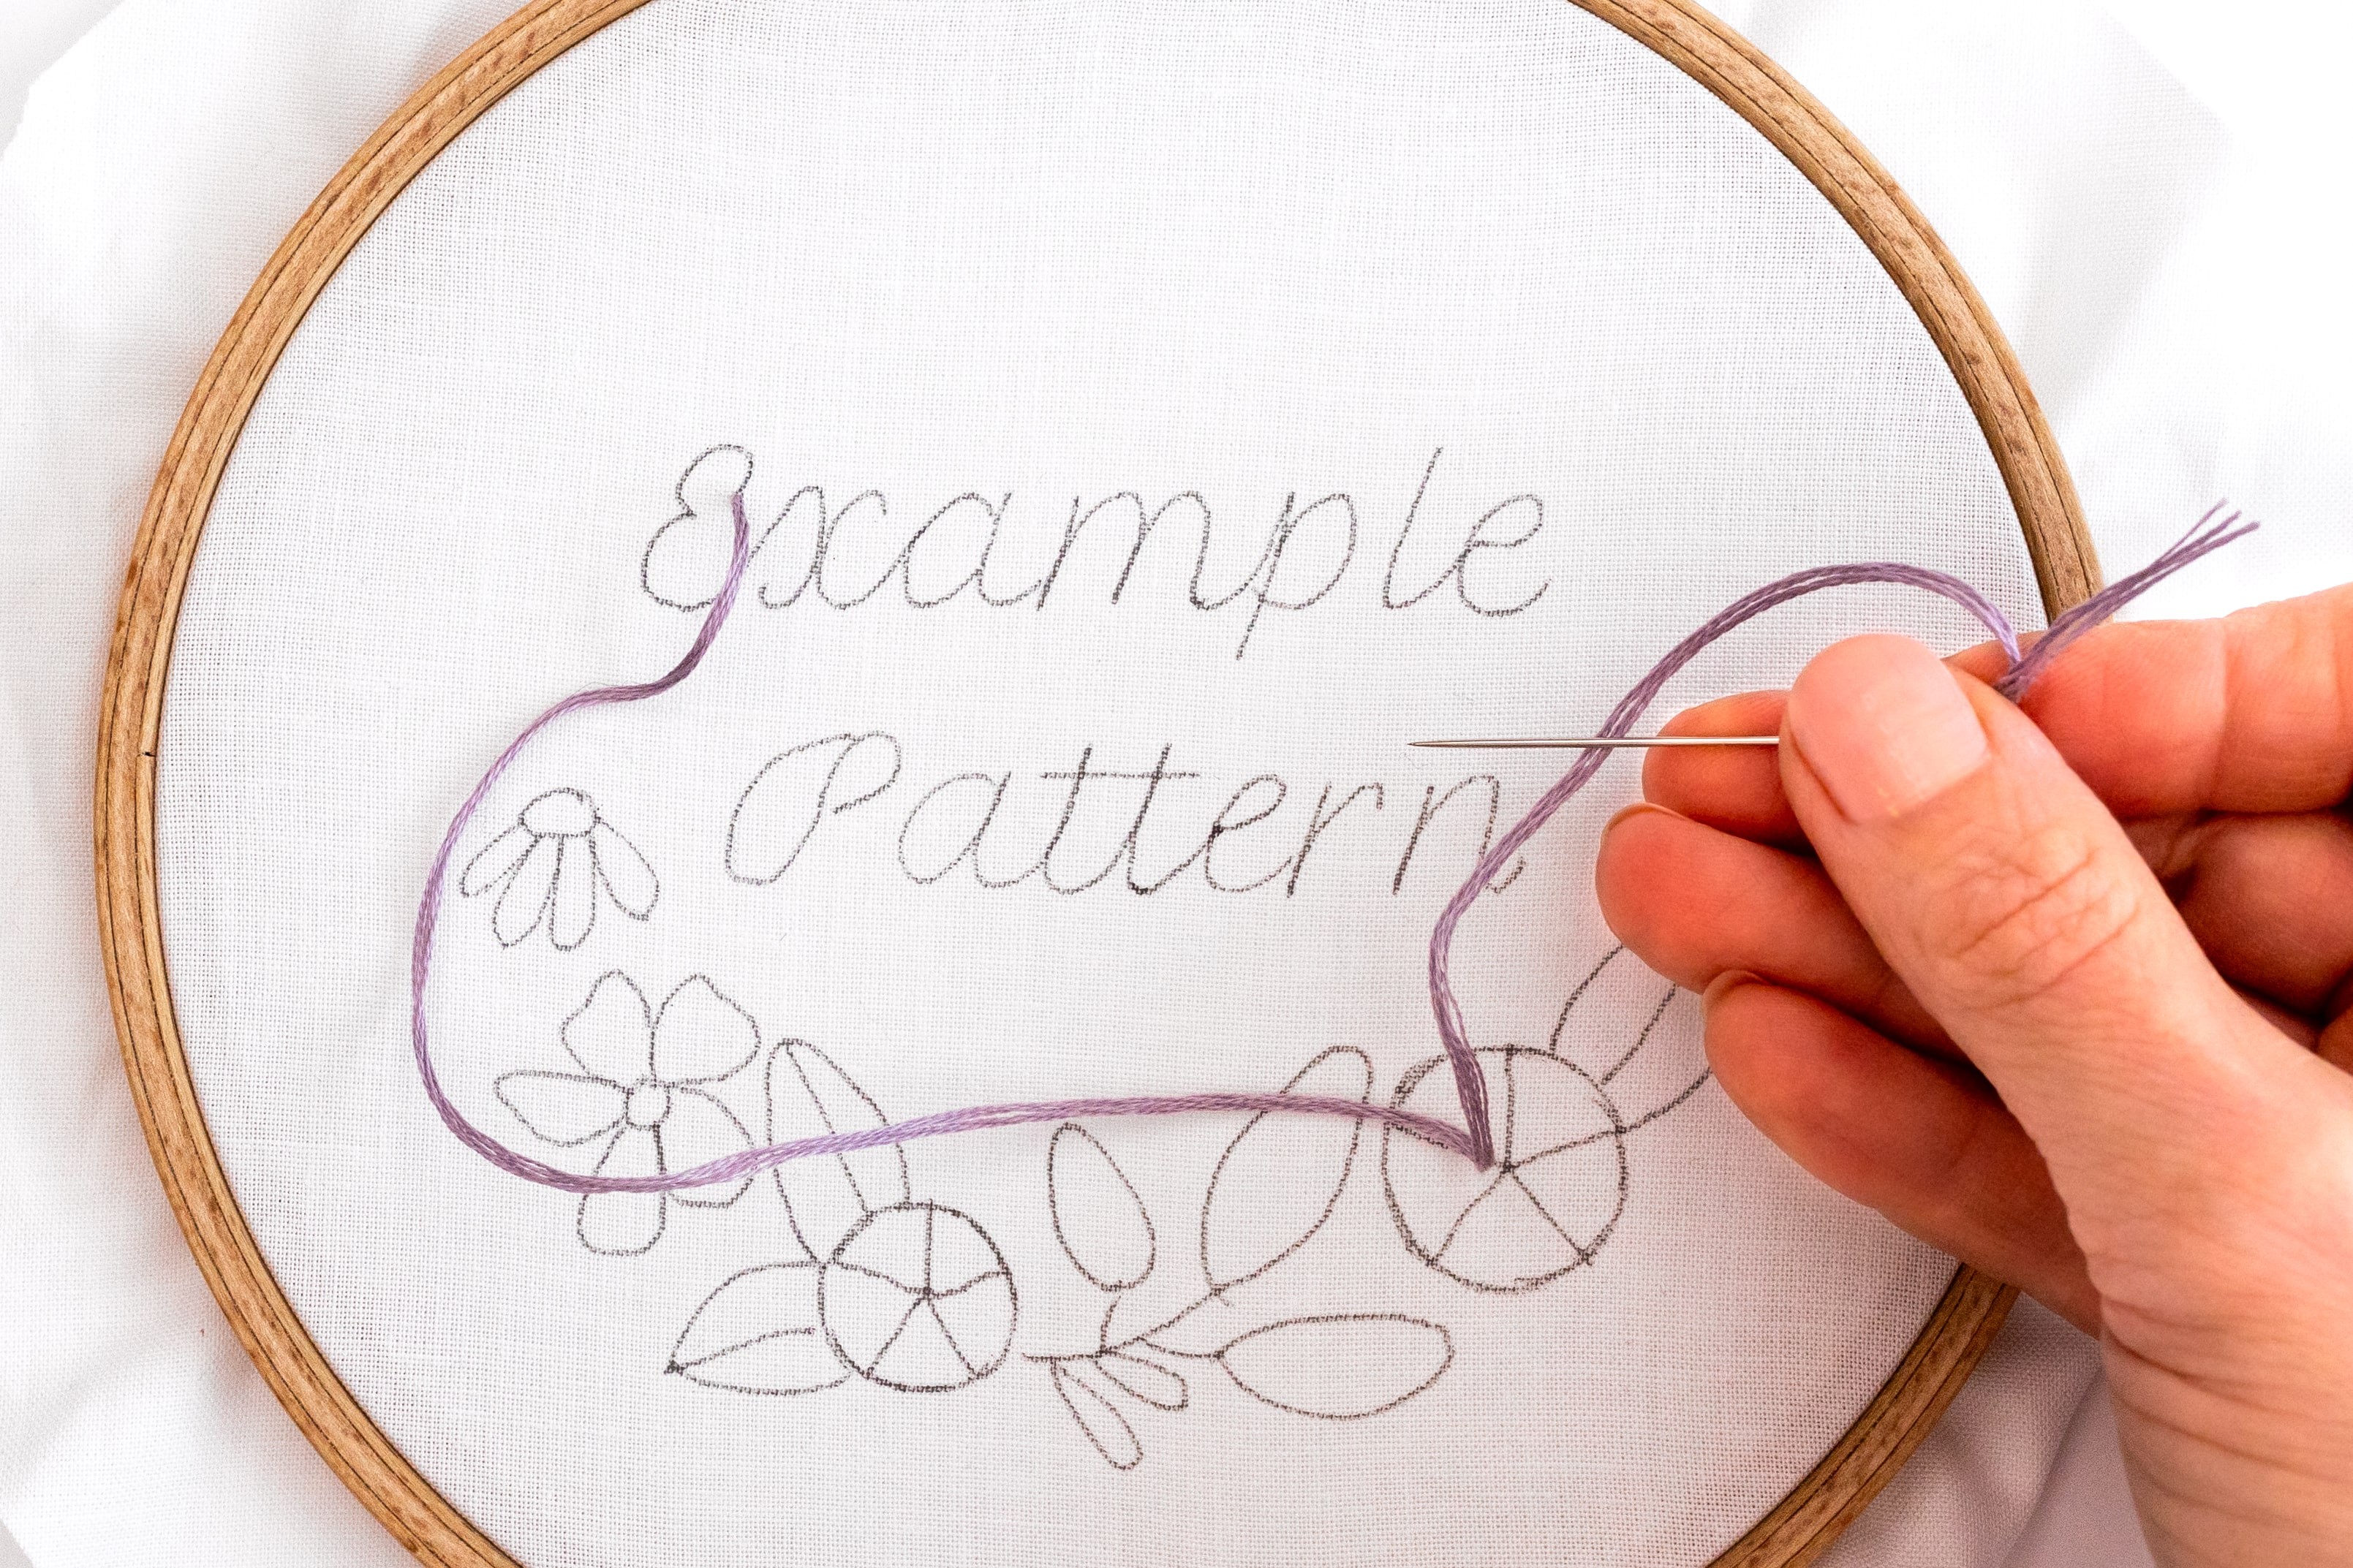
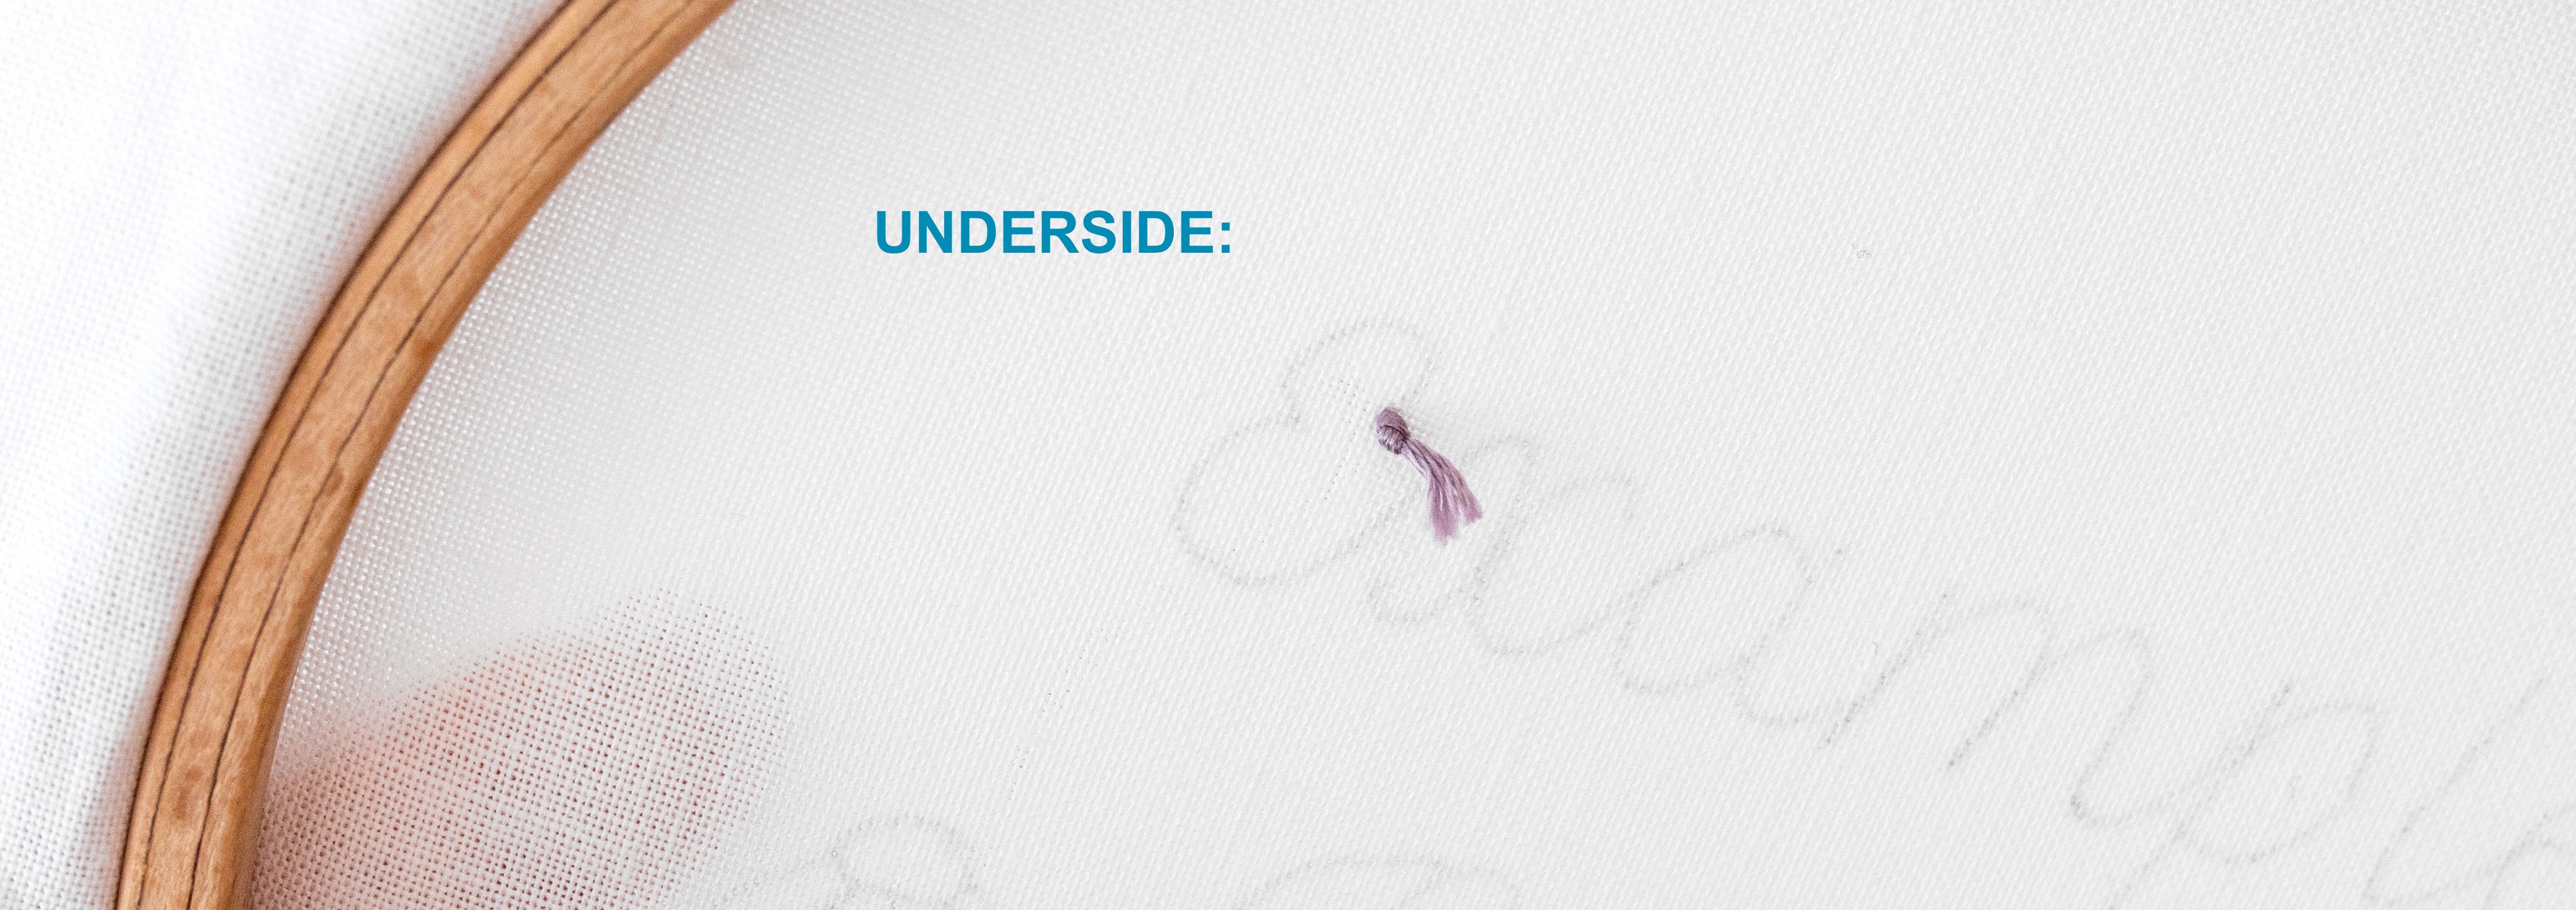
Starting a Stitch
Take your piece of thread (already knotted at one end and threaded on your needle at the other end). Then bring your needle up from the back to the front of the fabric. As you pull through all of the working thread, you’ll feel resistance – that’s your knot securing your thread in place on the underside of the fabric. Great work!
Finishing a Thread
When you finish stitching an area, or your thread gets too short, it’s time to secure it o and restart with anew piece of thread. I recommend doing this when your thread is down to about 3 inches (not including the tail)– any shorter and it will become quite tricky to manage. You can secure your thread with a knot and deal with the tail however you like, but let me show you my go-to method.
The Usual Method:
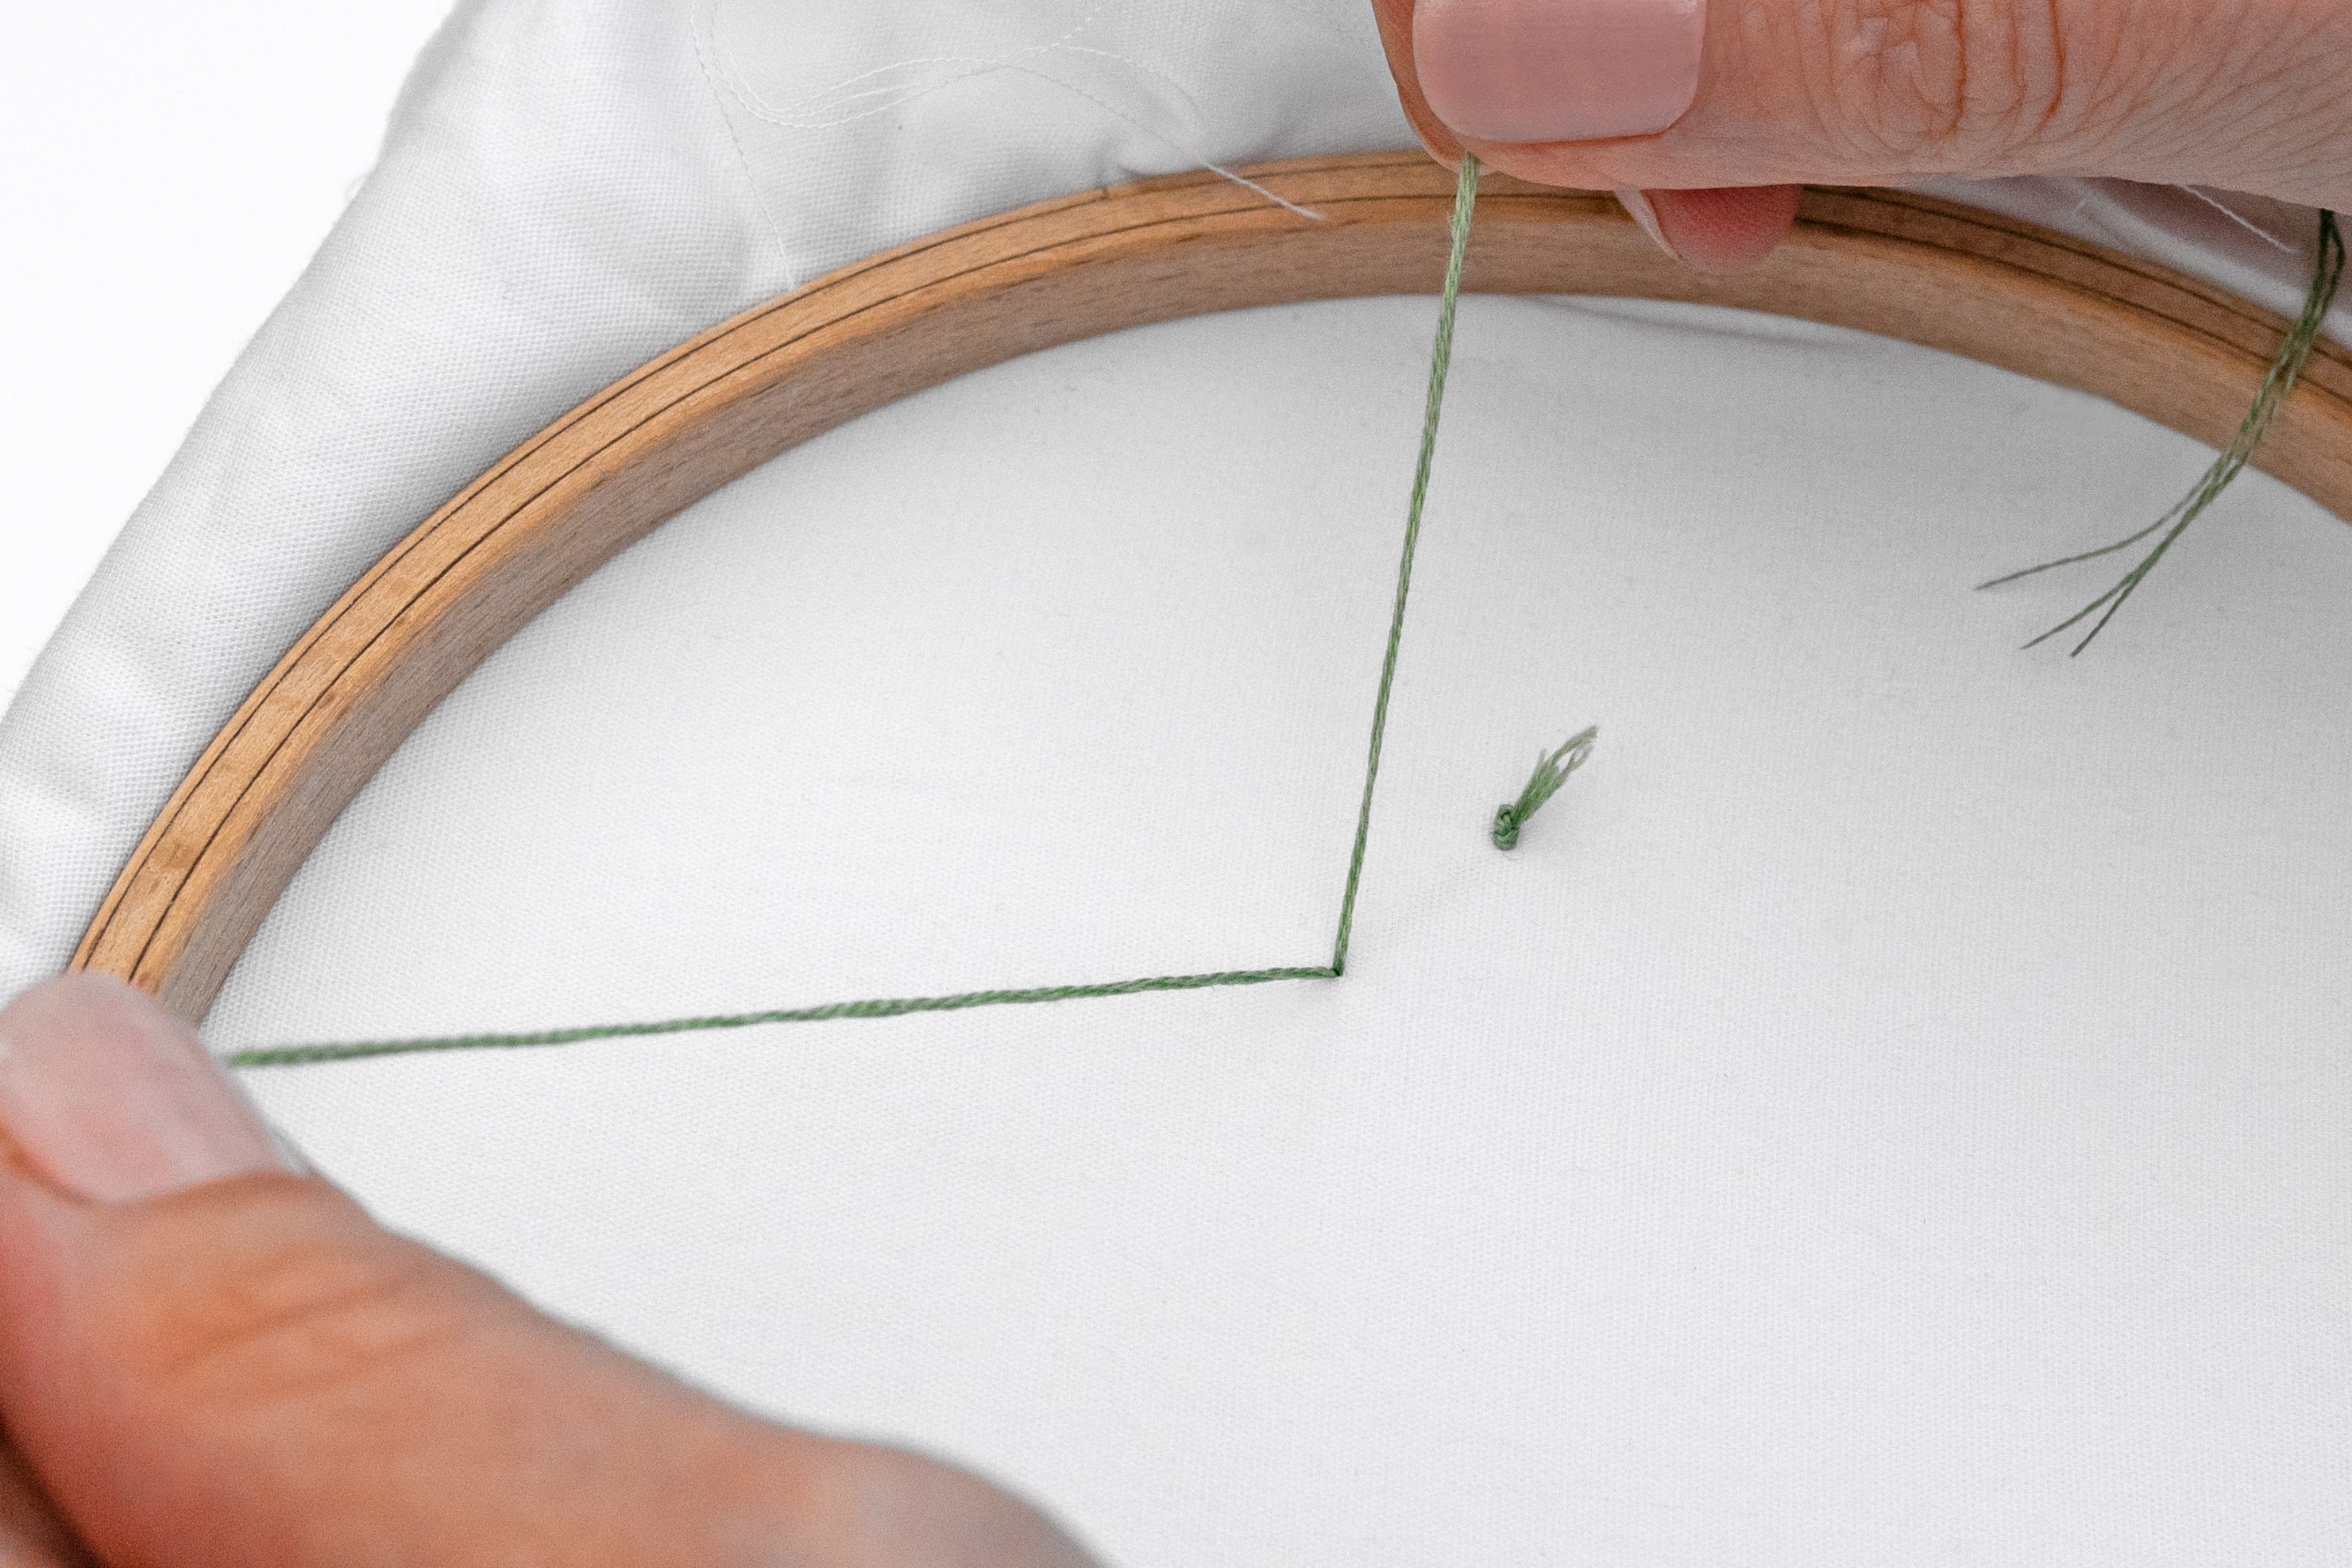
Step 1.
Weave your needle under a nearby stitch at the back (ideally this will be the underside of a sturdy stitch like Back Stitch or French Knots).
Step 2.
Pull through all of the slack. Now we’ve anchored our thread in an ideal spot.
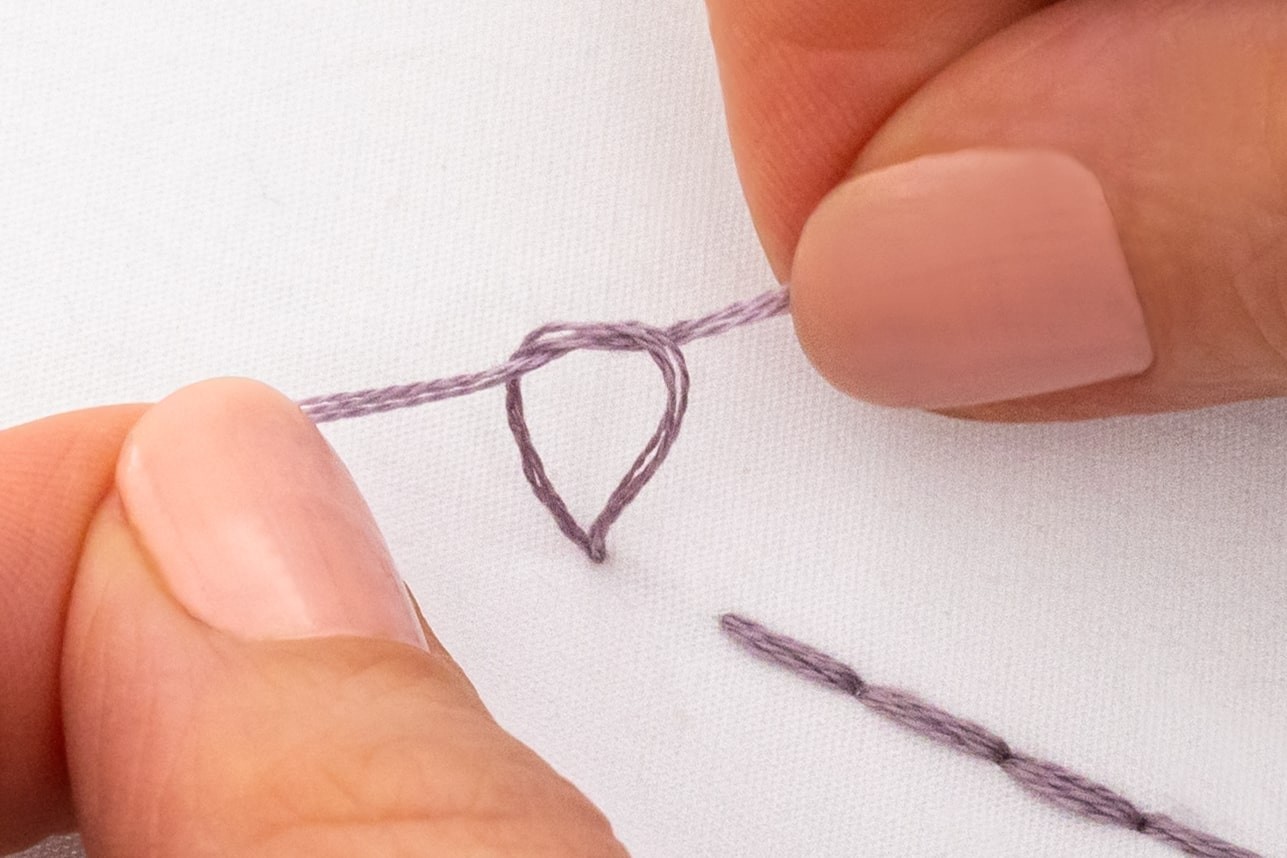
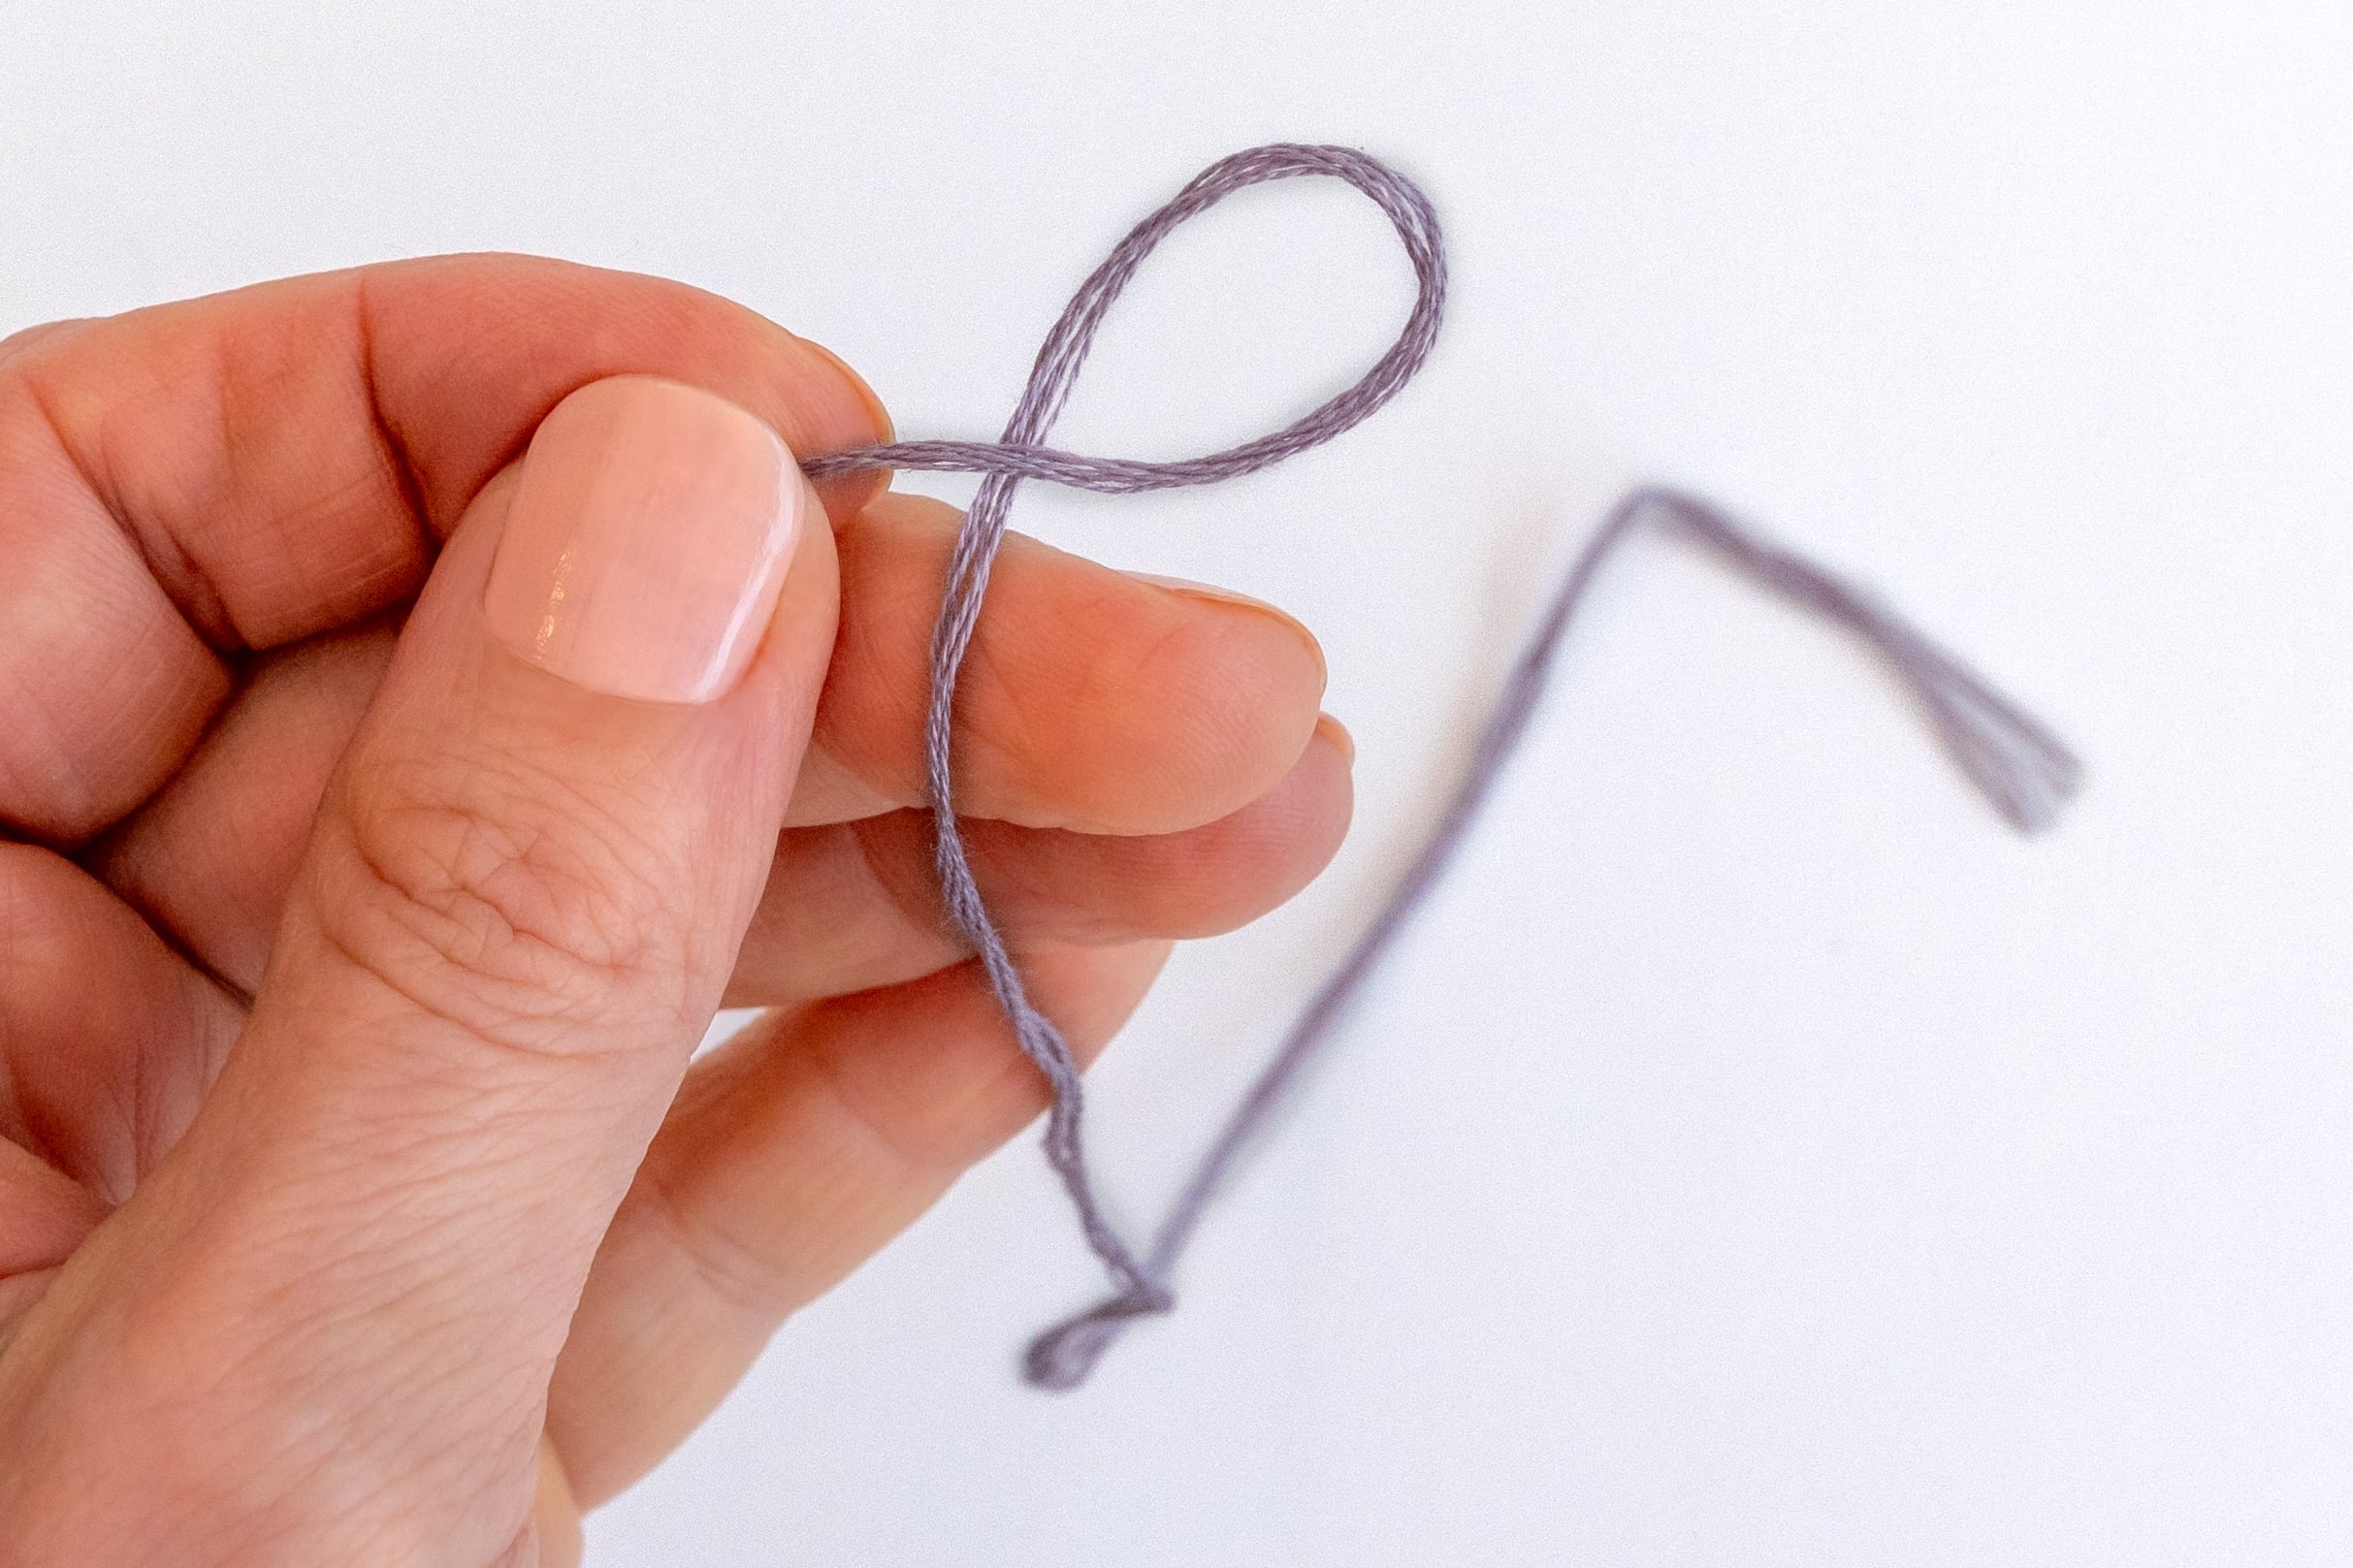
Step 3.
Now, do this again, but before you fully pull through all of the thread, leave a loop.
Step 4.
Poke your needle back through the loop.
Step 5.
Gently tighten it to create a knot. Take care not to pull too tight or you may distort your stitches on the front.
Step 6.
You can now snip the thread, leaving a tail of about 1/2 an inch. But here is an easy way to tidy that tail away –weave 2-3 times under nearby stitches, so that about an inch worth of the thread tail has been woven in.
Step 7.
Then snip off the thread, nice and close to the stitches. Doesn’t it look neat and tidy? Plus, this keeps the tail hidden and minimizes the chance of it getting in your way while stitching.
TIP: If weaving in the tail of the thread isn’t possible, simply snip it off and leave a tail just under 1/2 an inch.
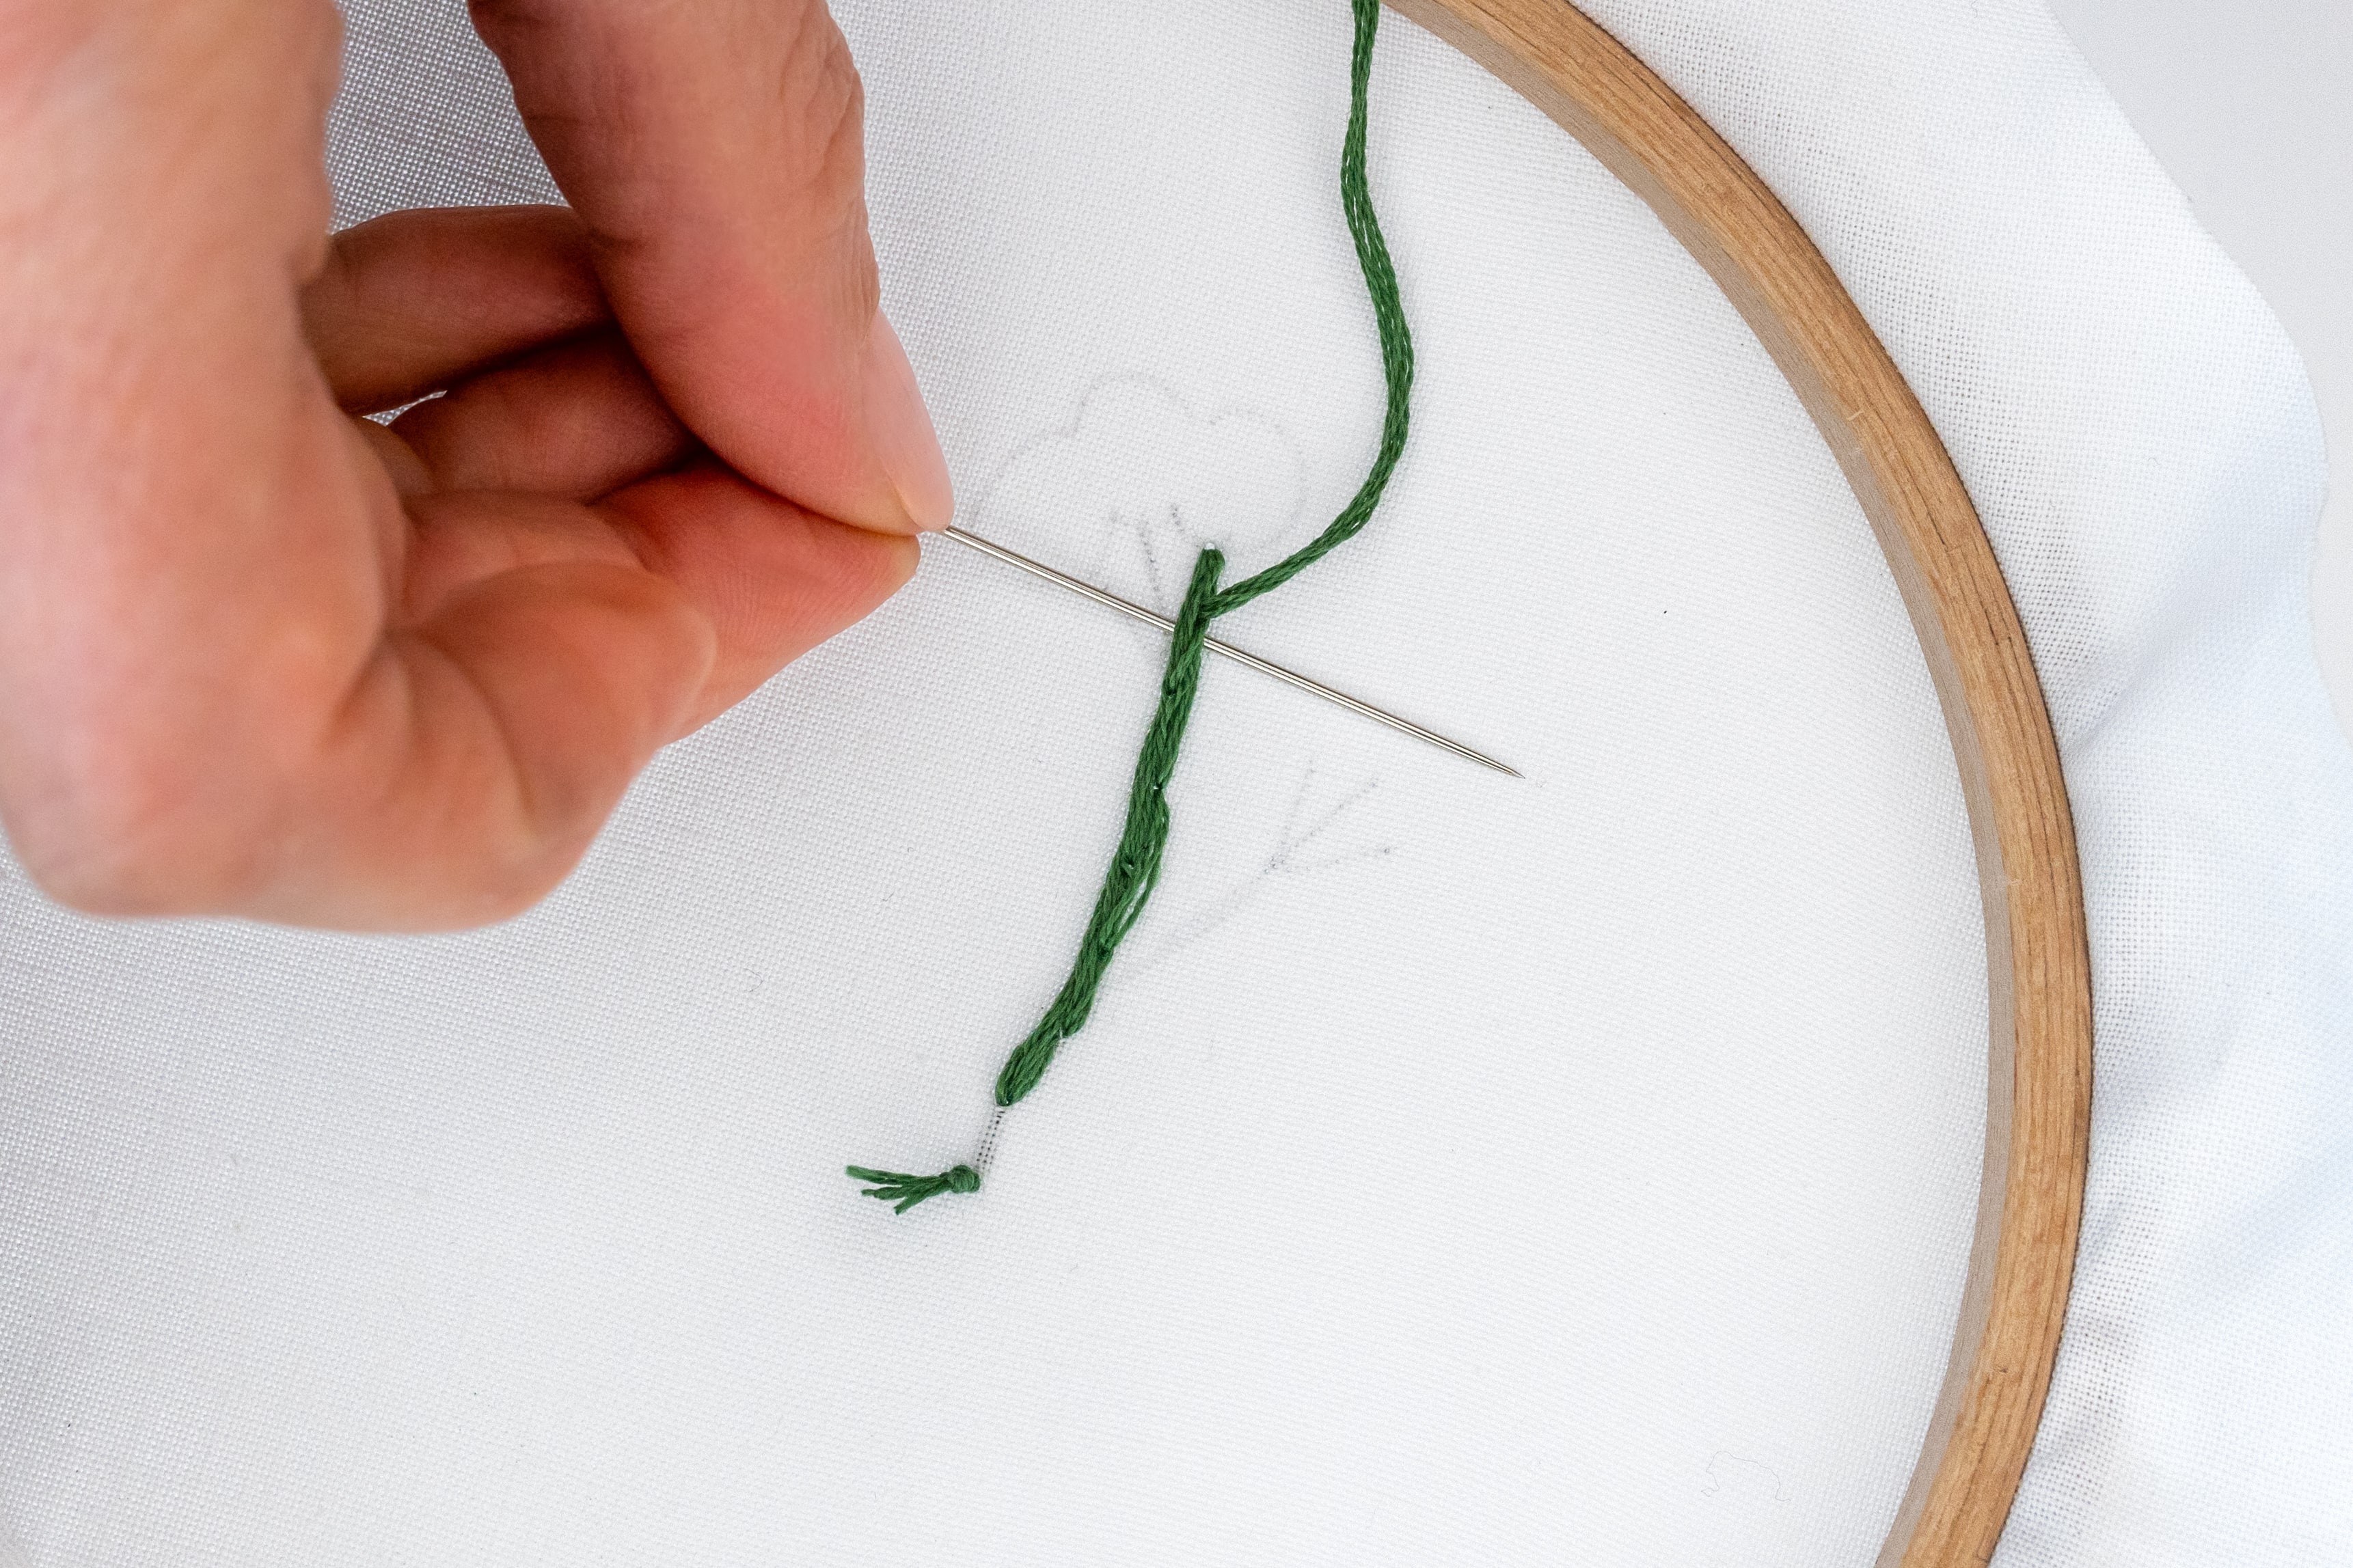
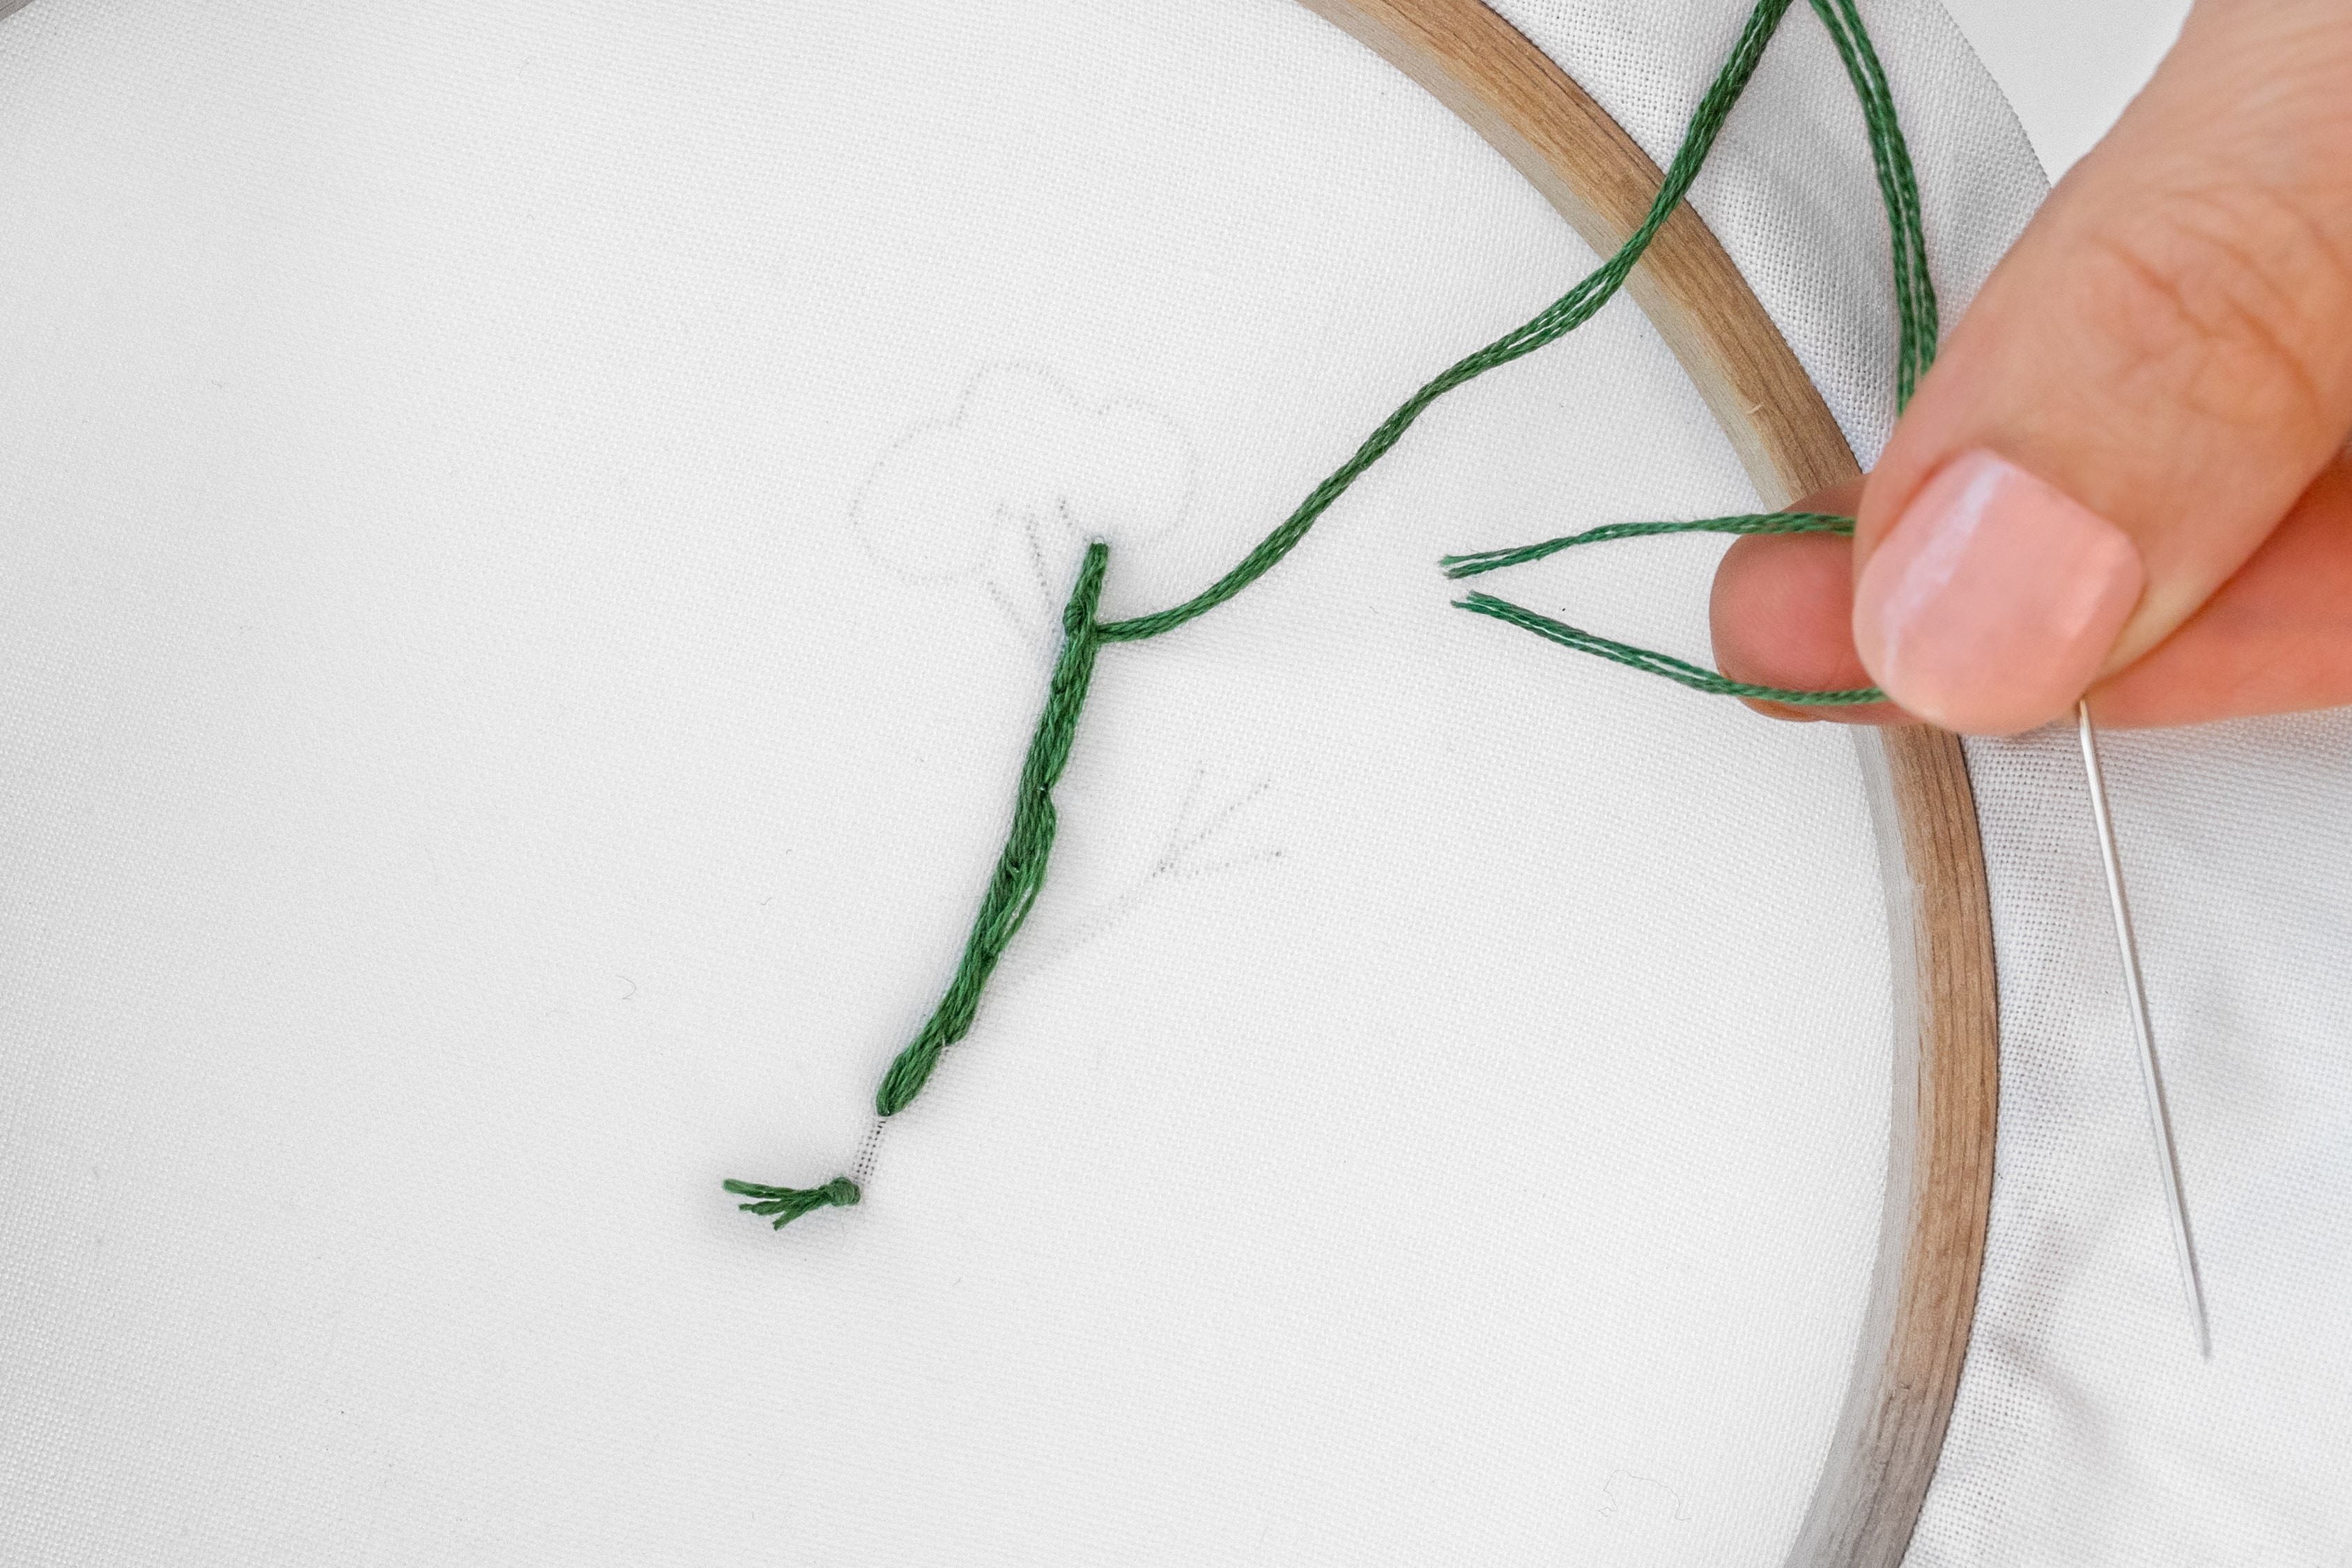
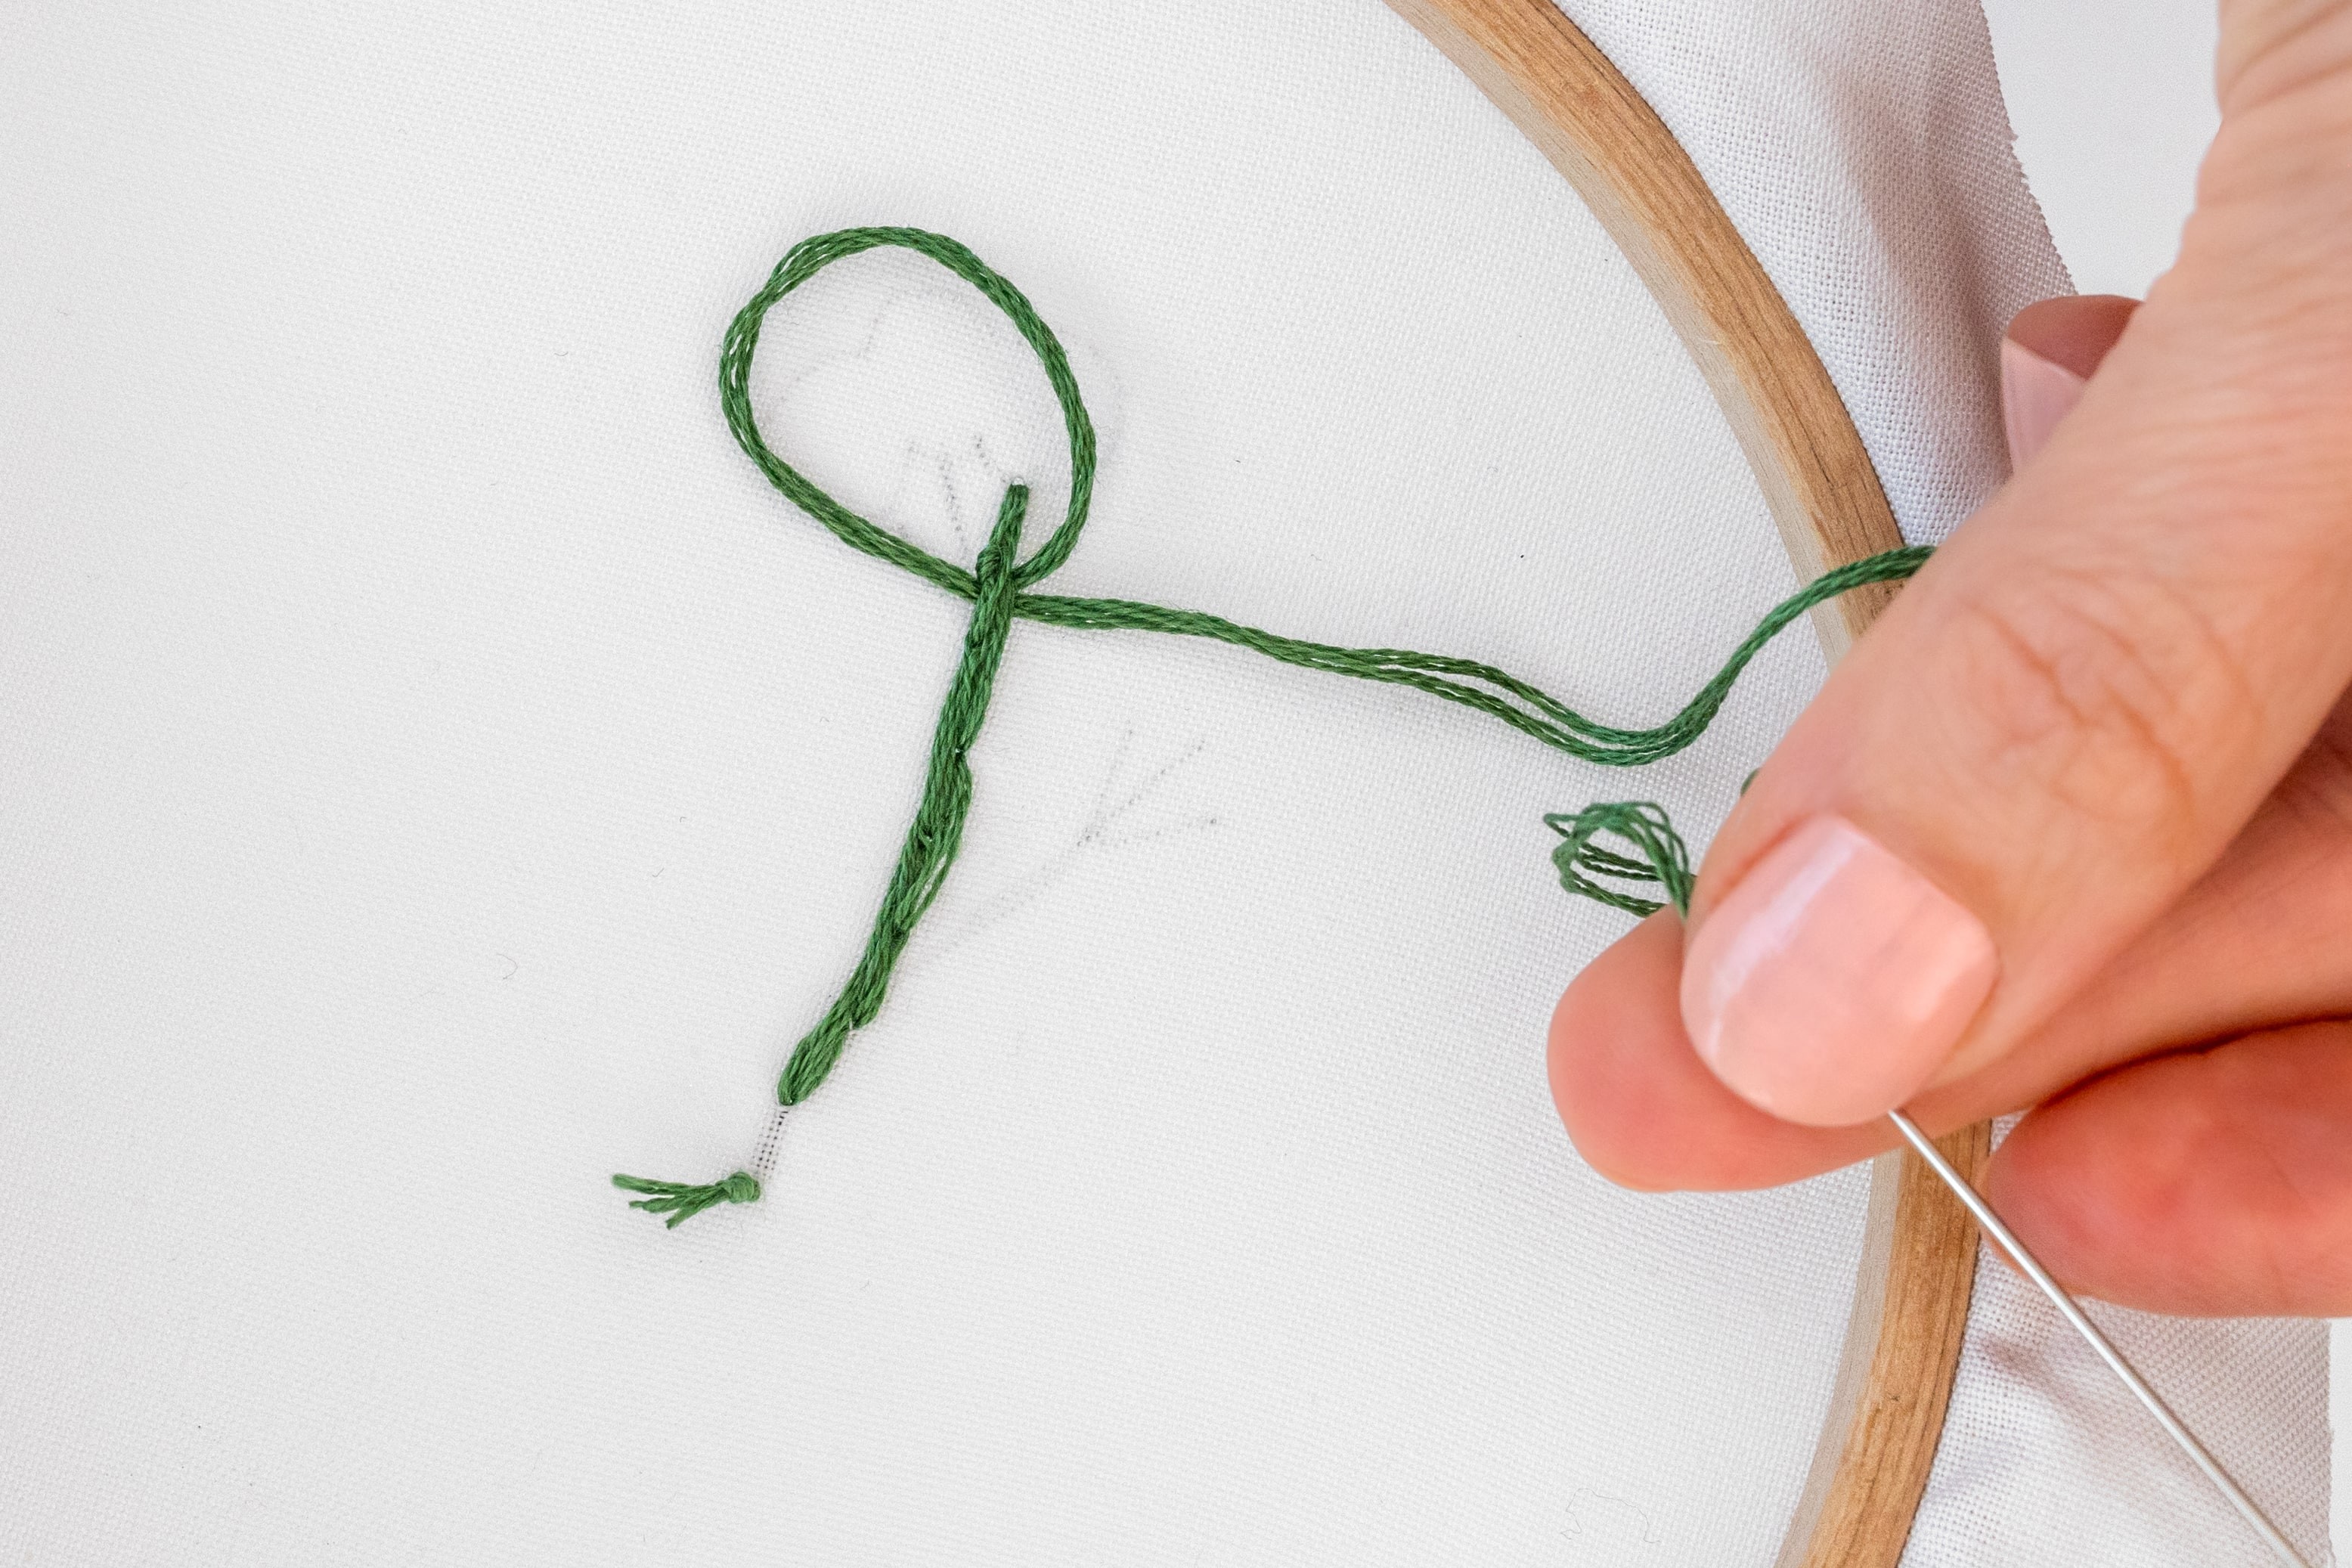
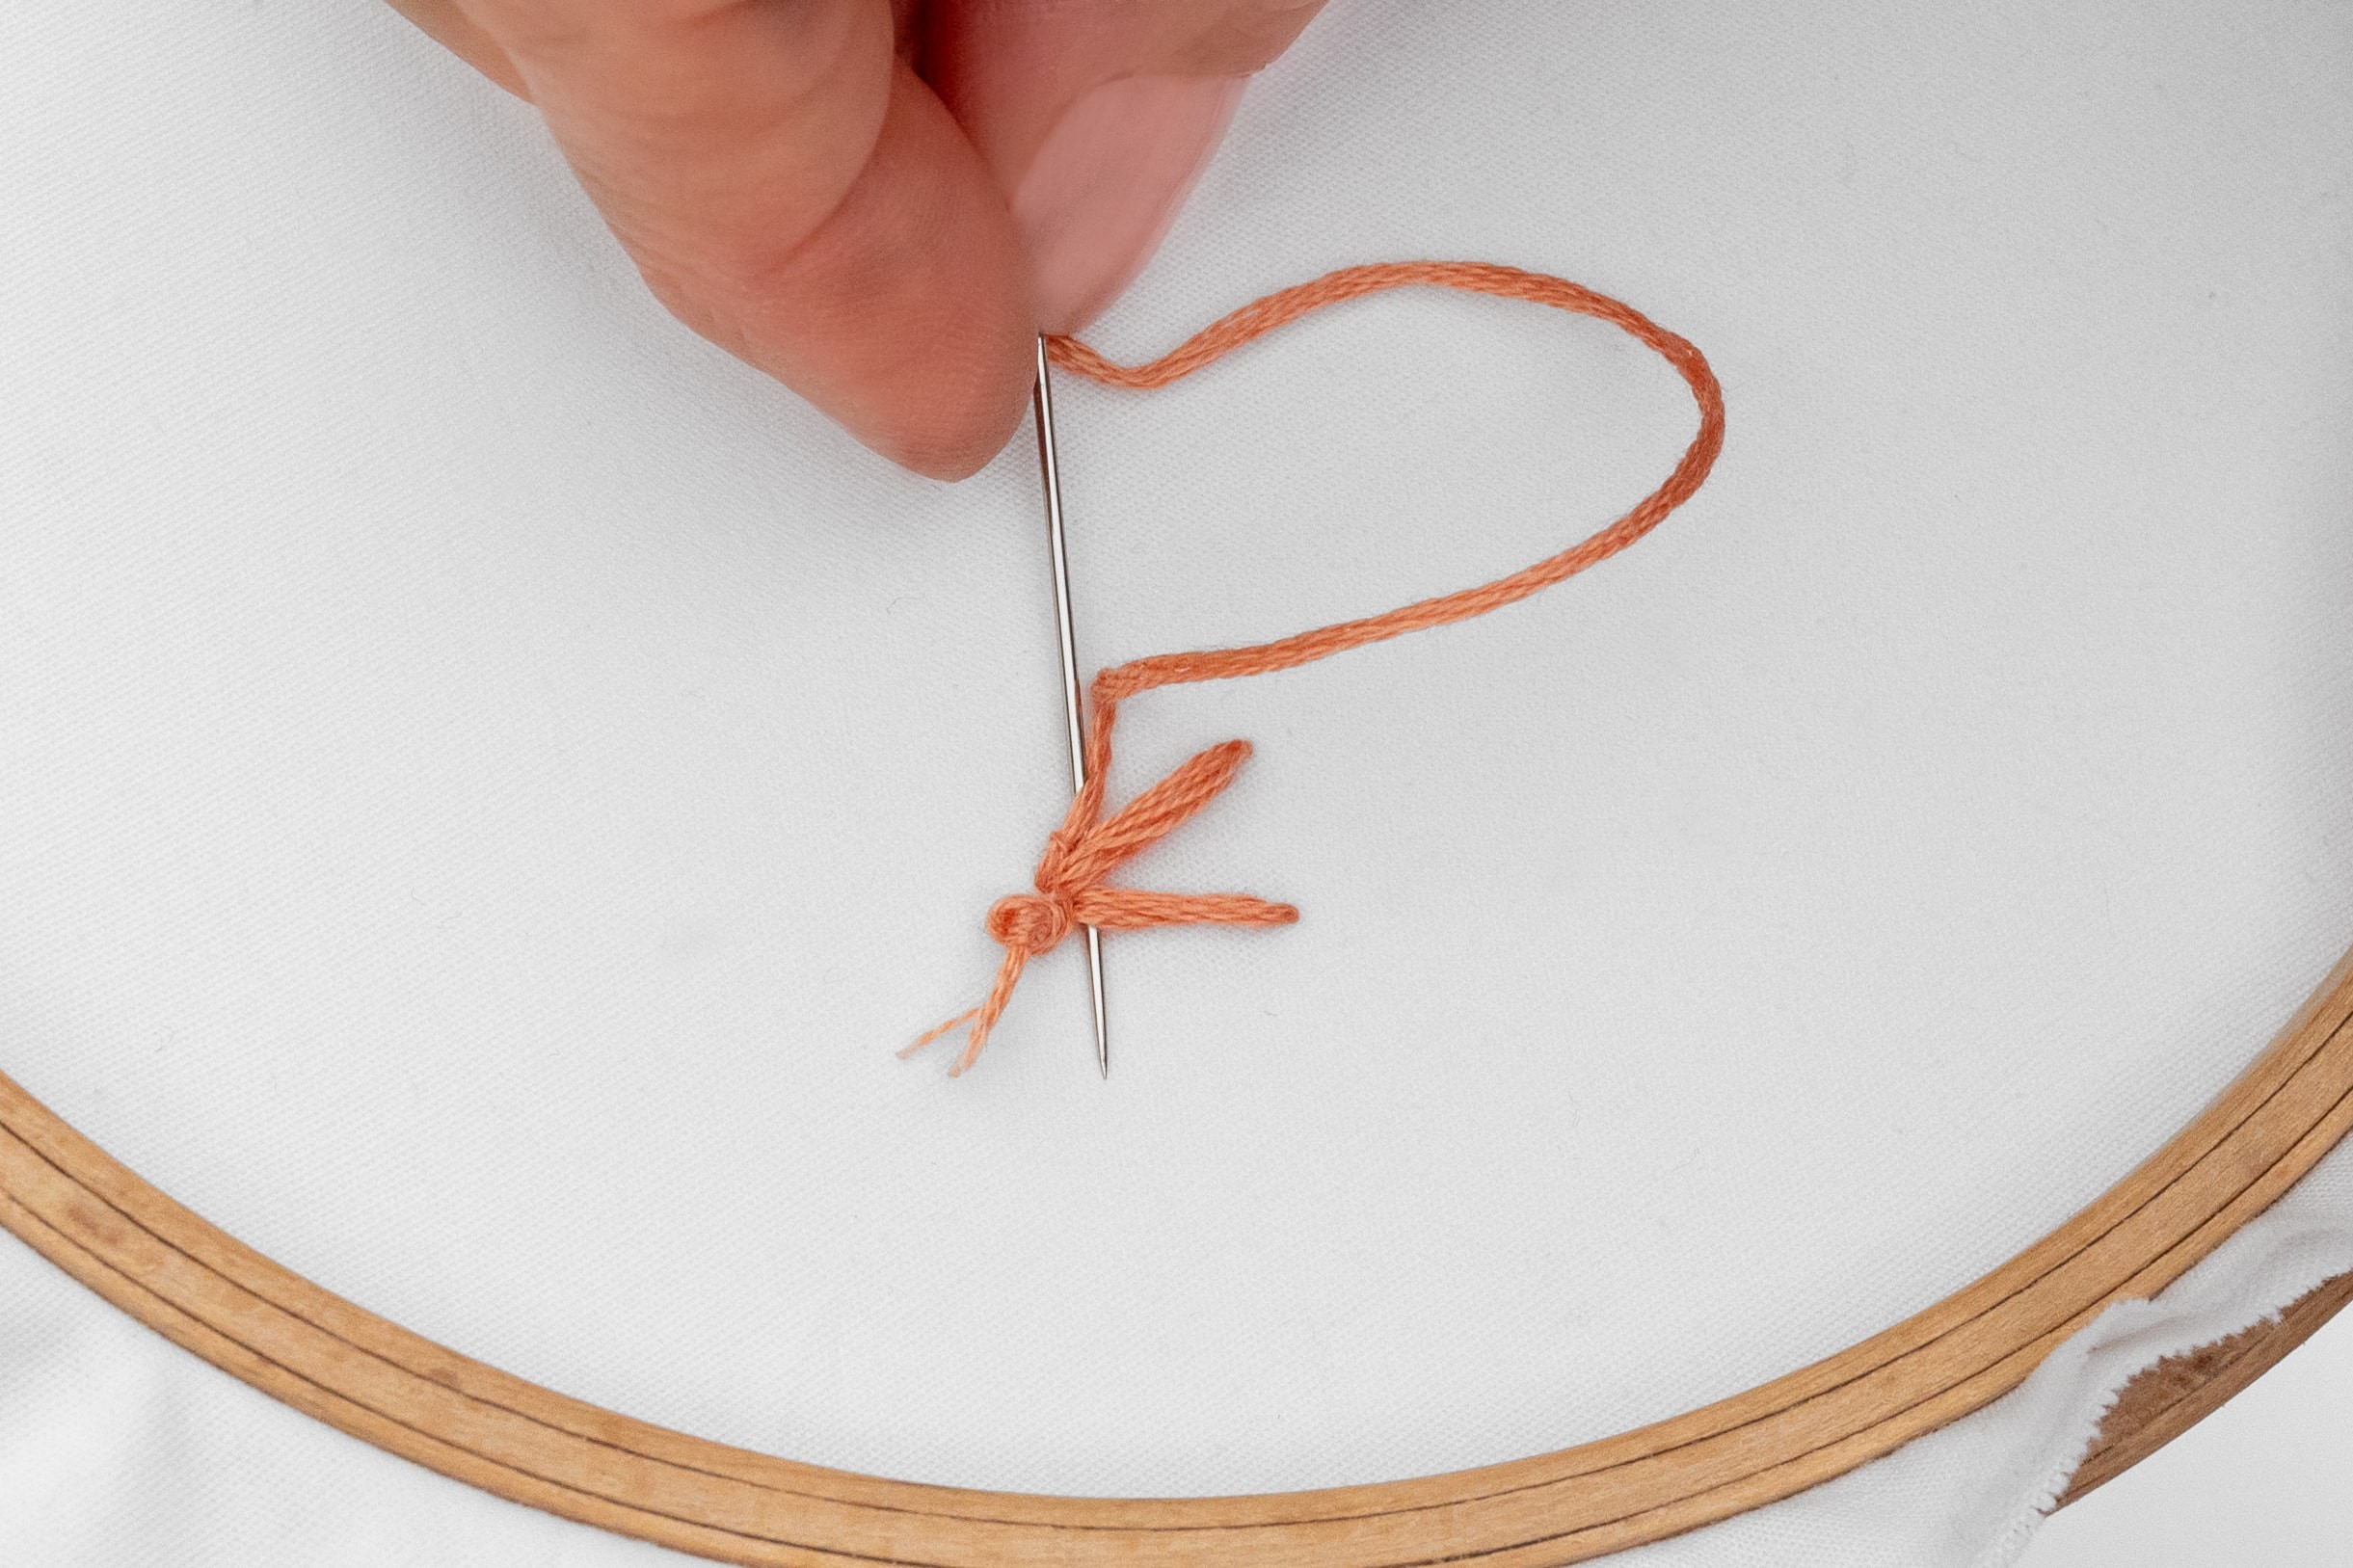
Finishing with a short tail:
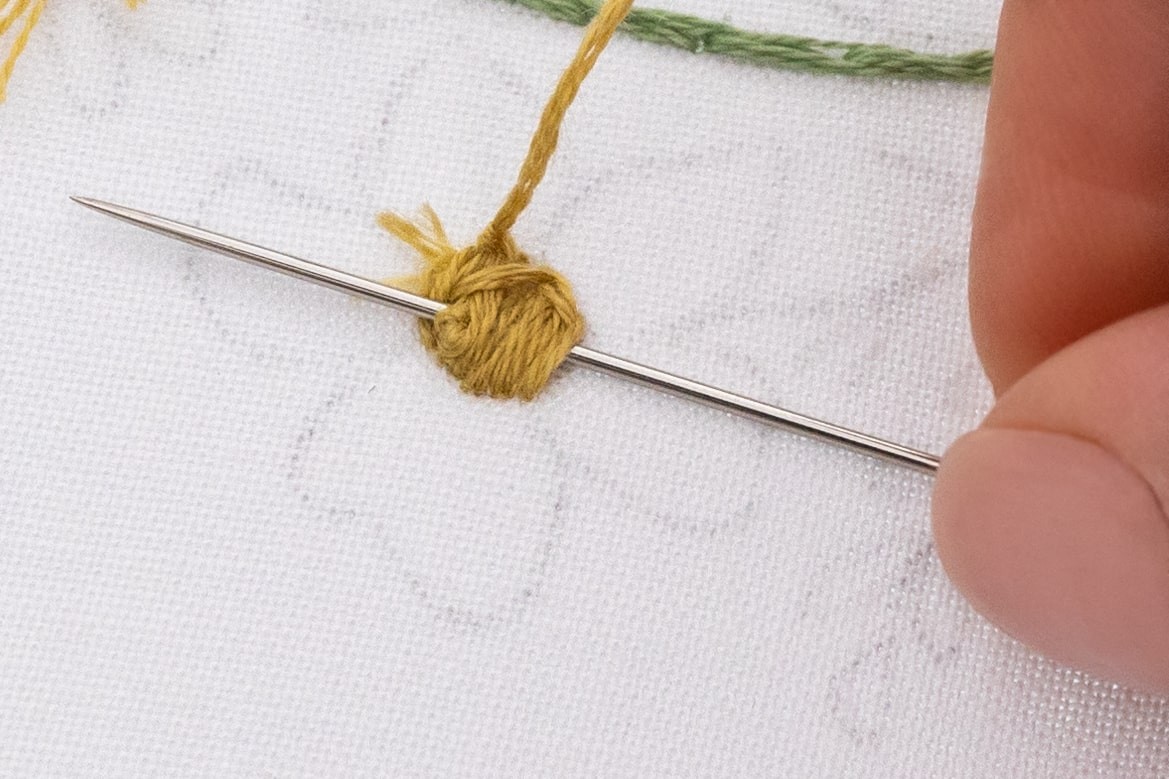
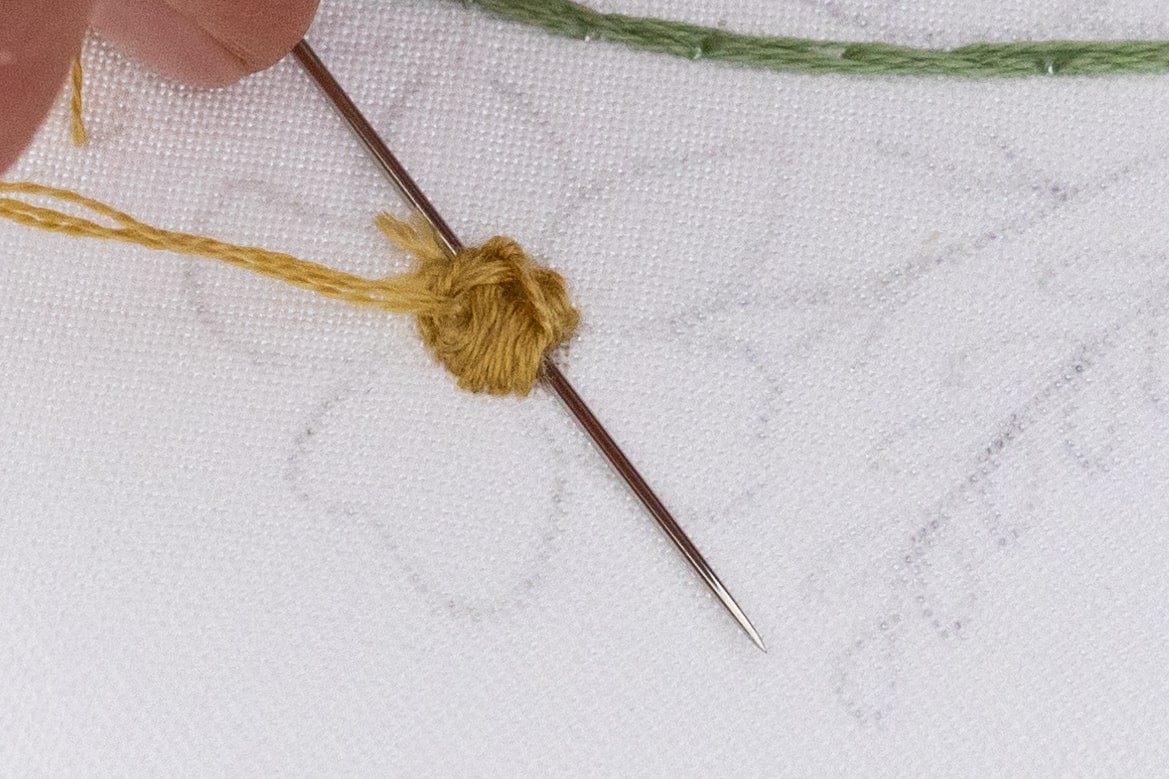
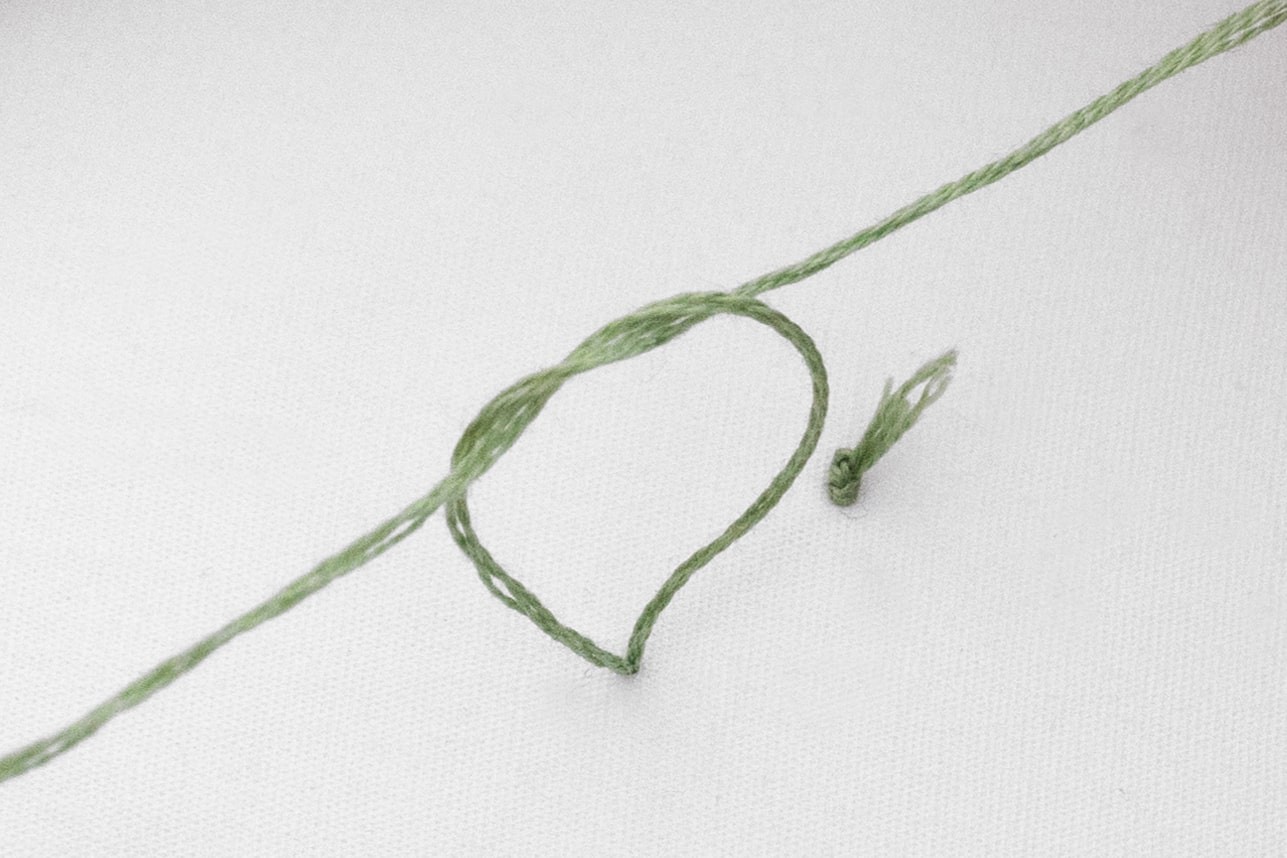
Sometime you by mistake don’t have enough thread left to do the usual method. So in this case, here’s an easy way:
-
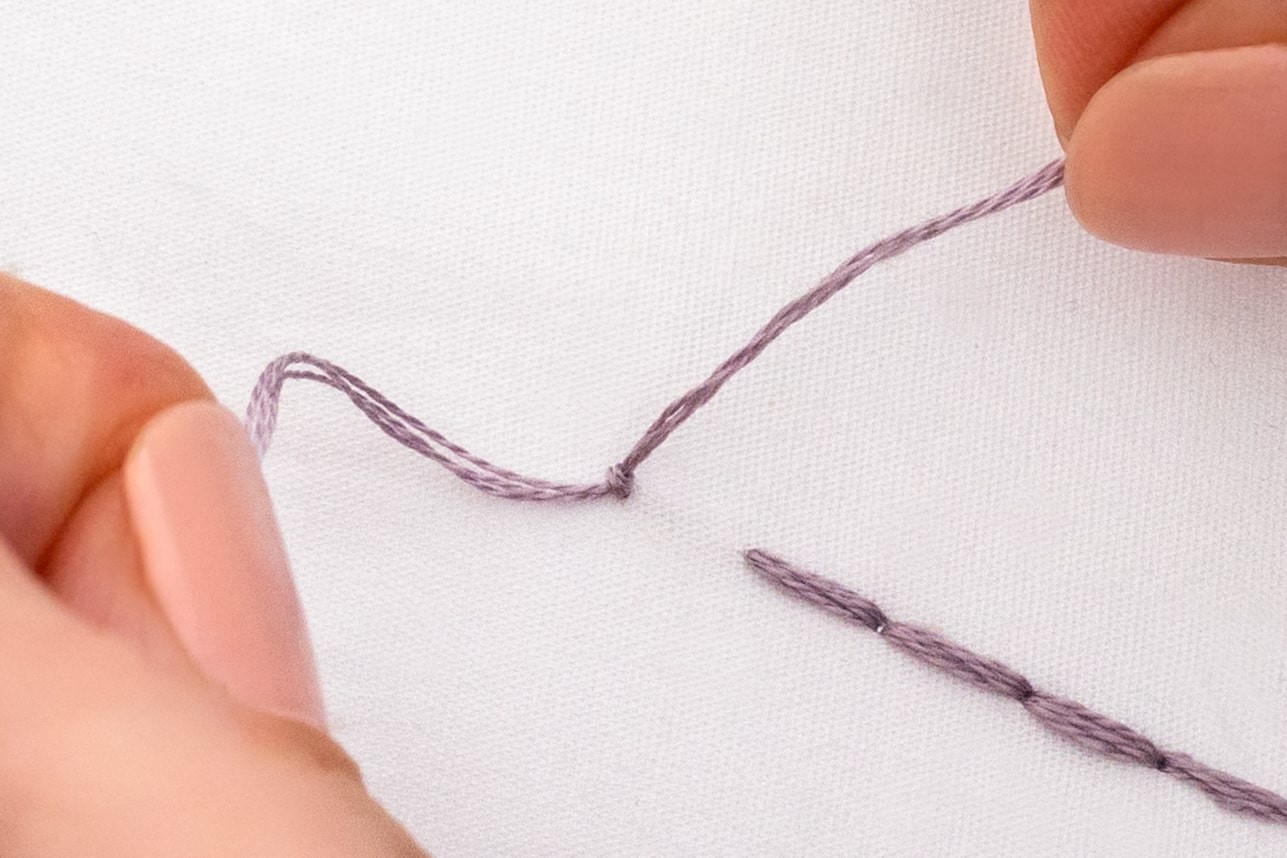
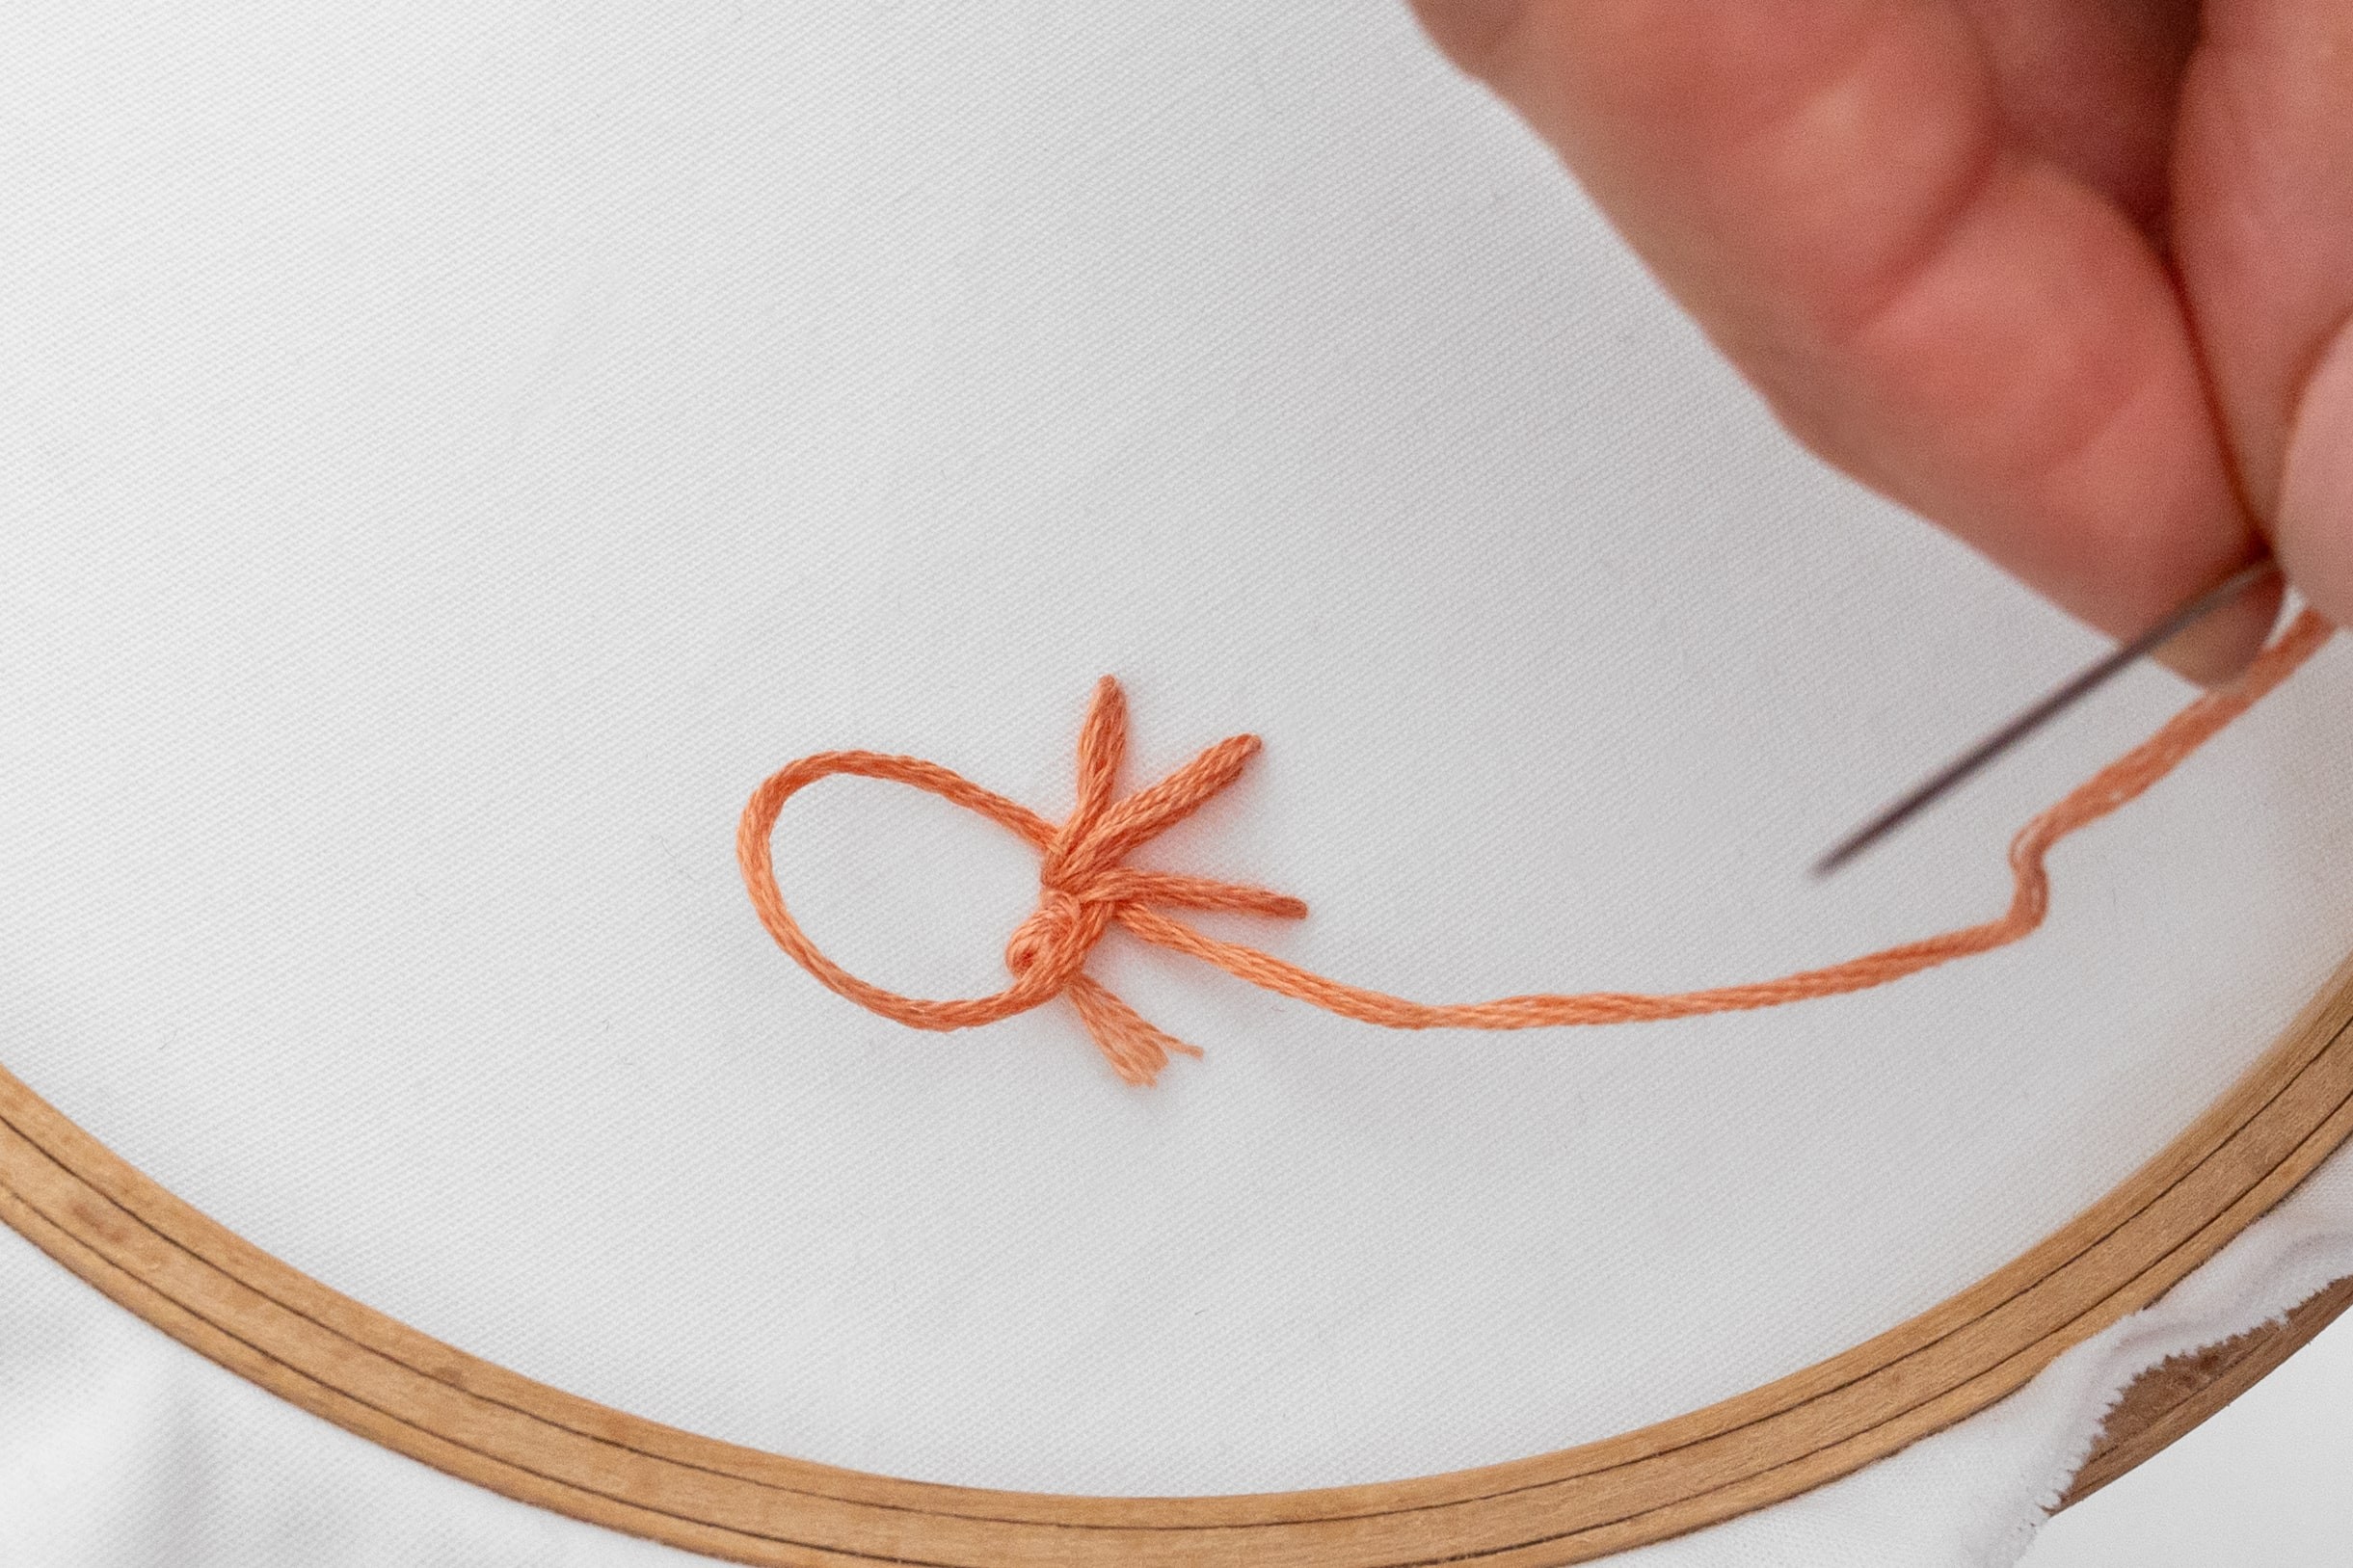
Split your tail of thread into two parts.
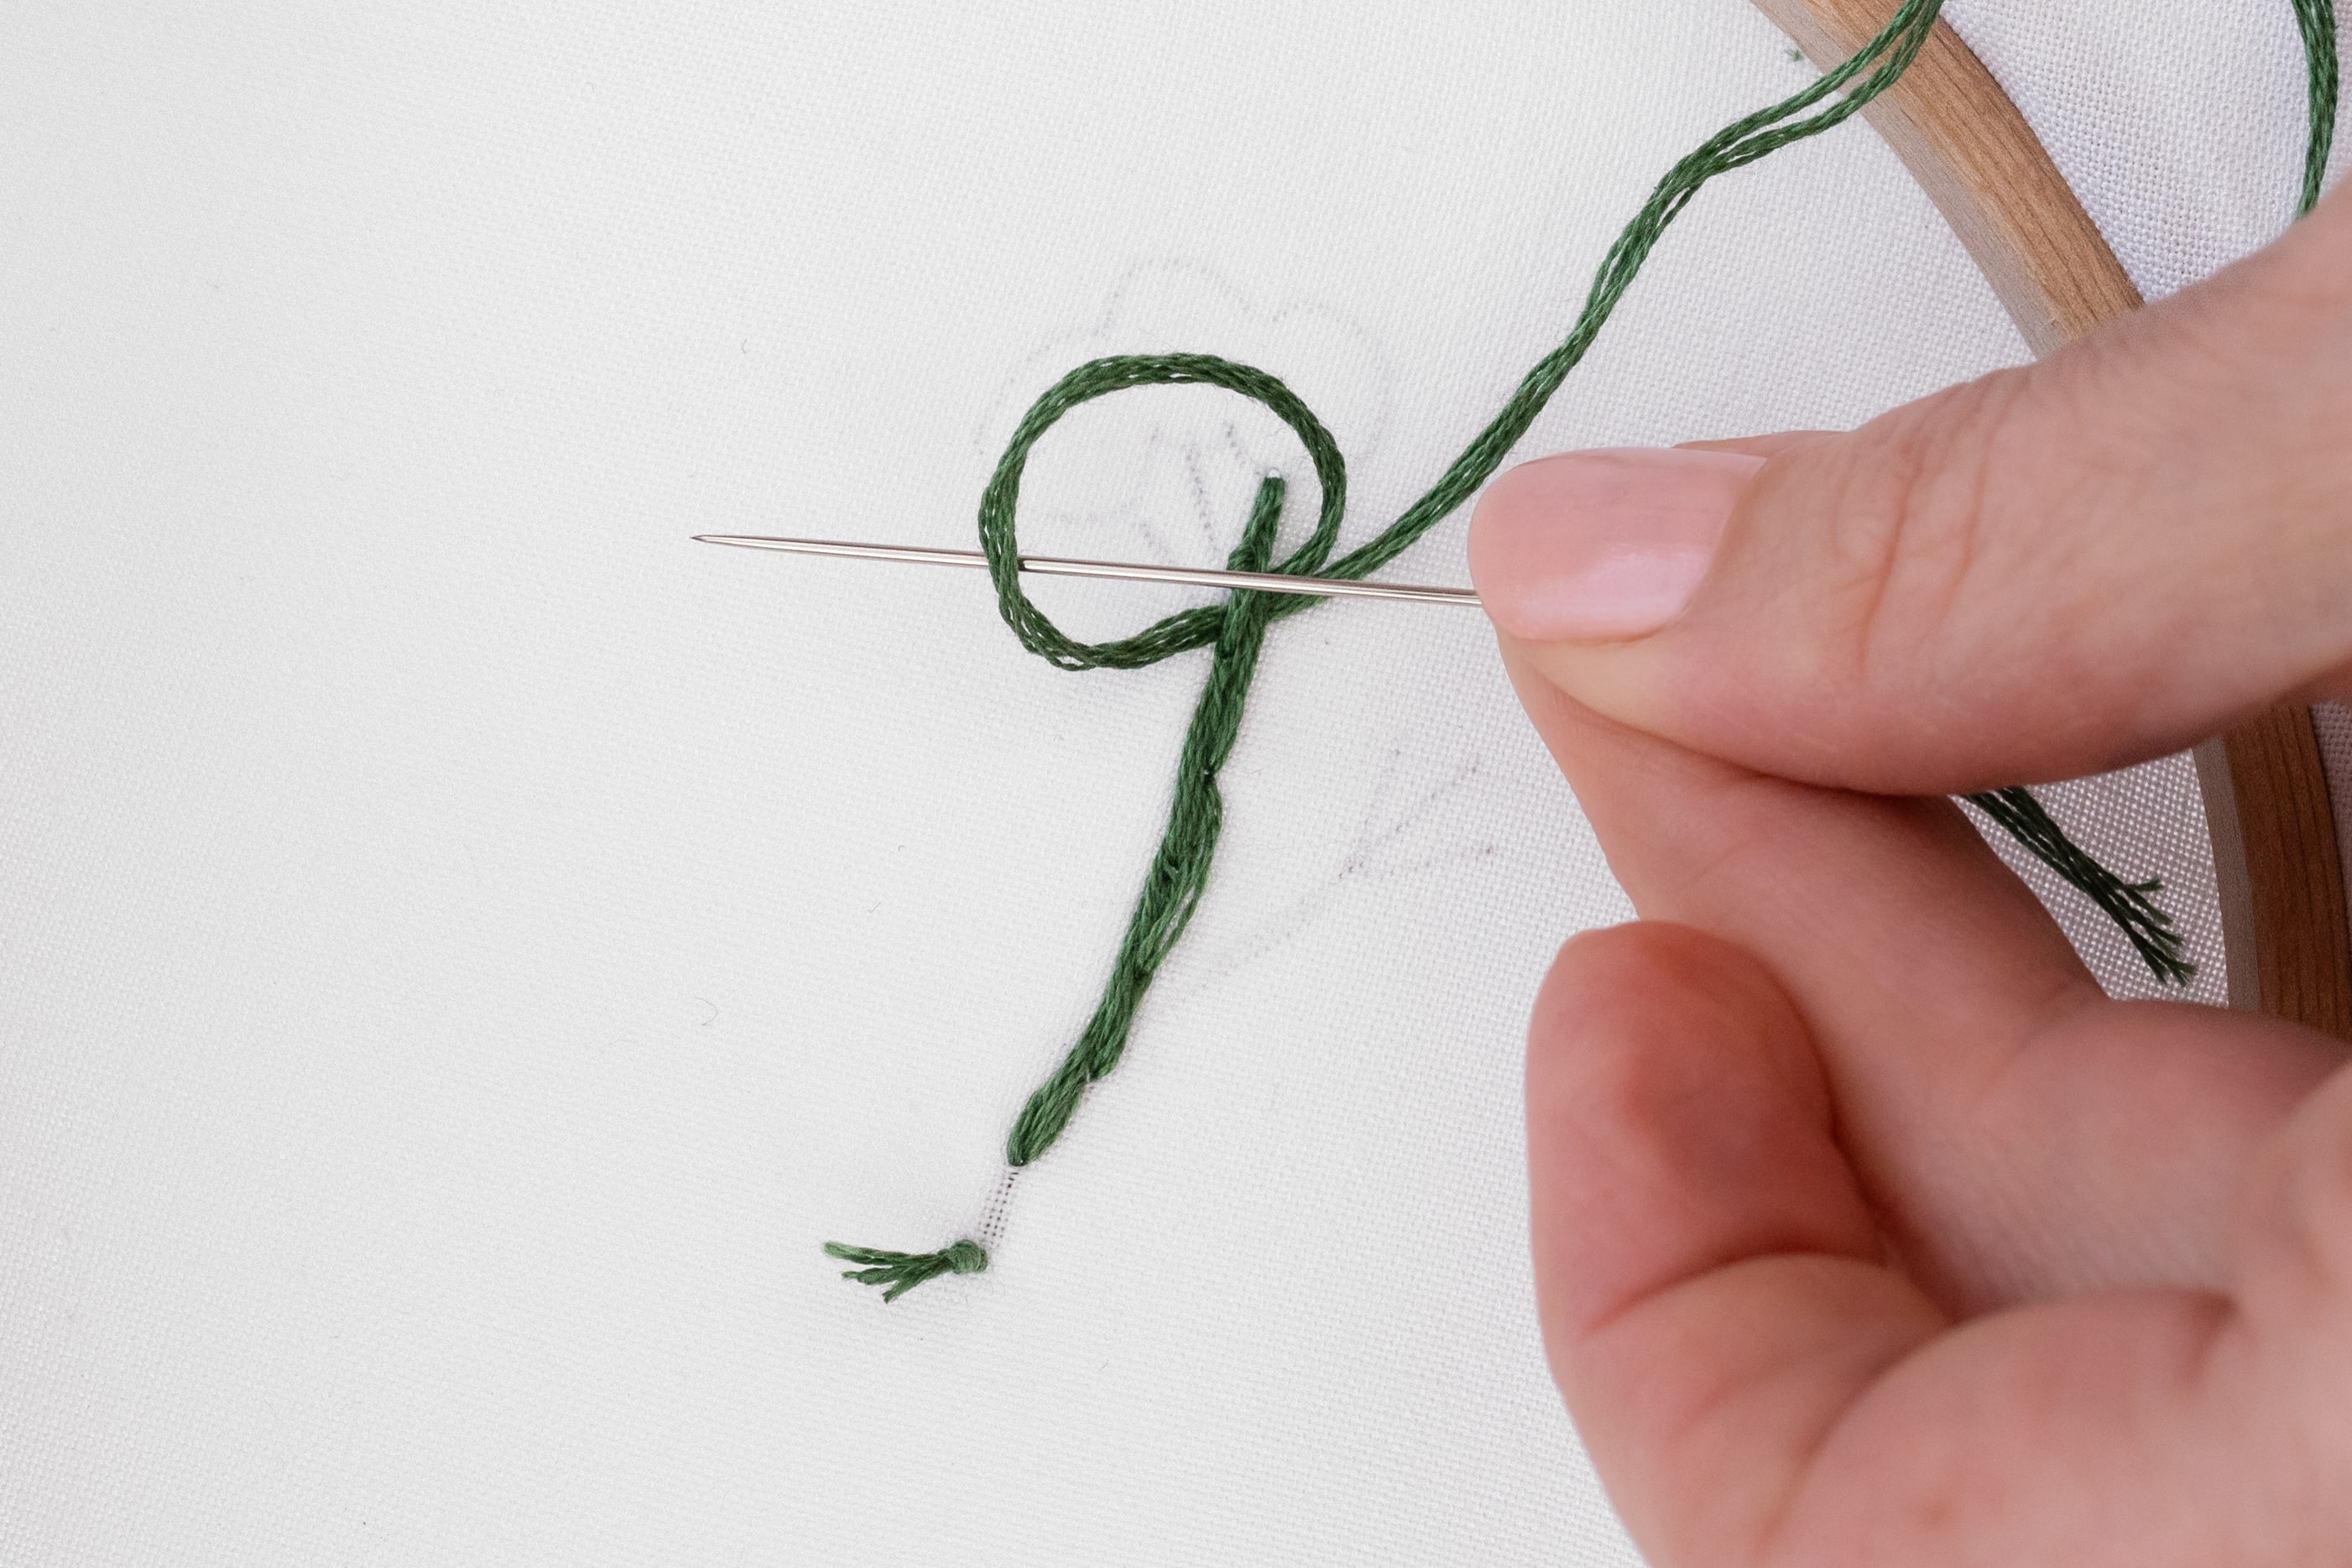
-
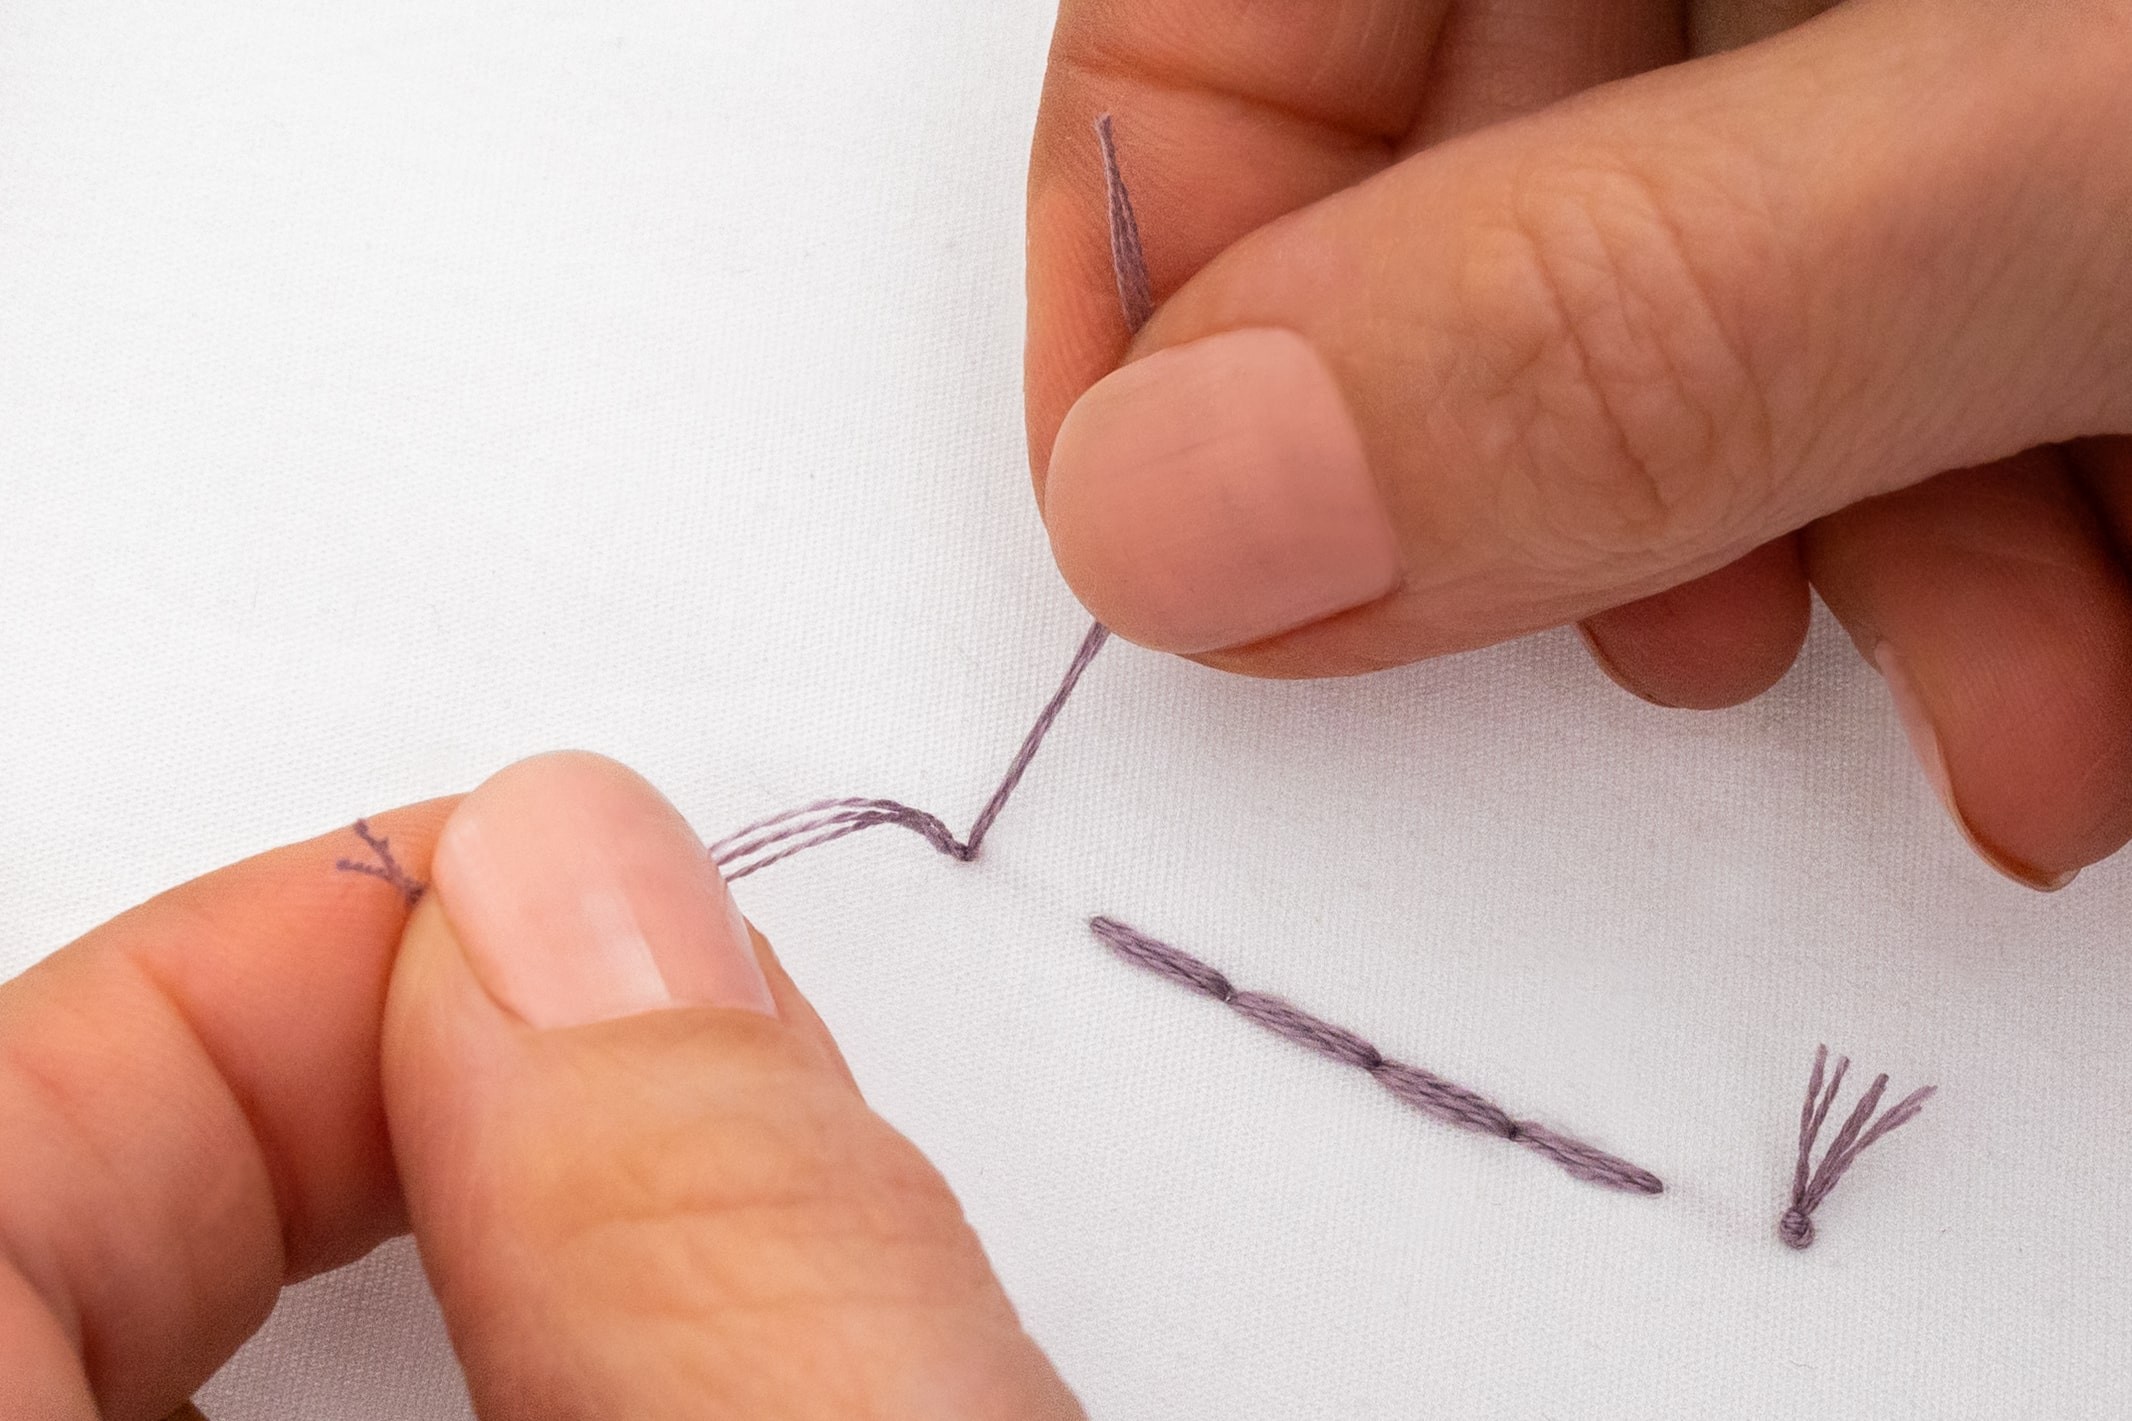
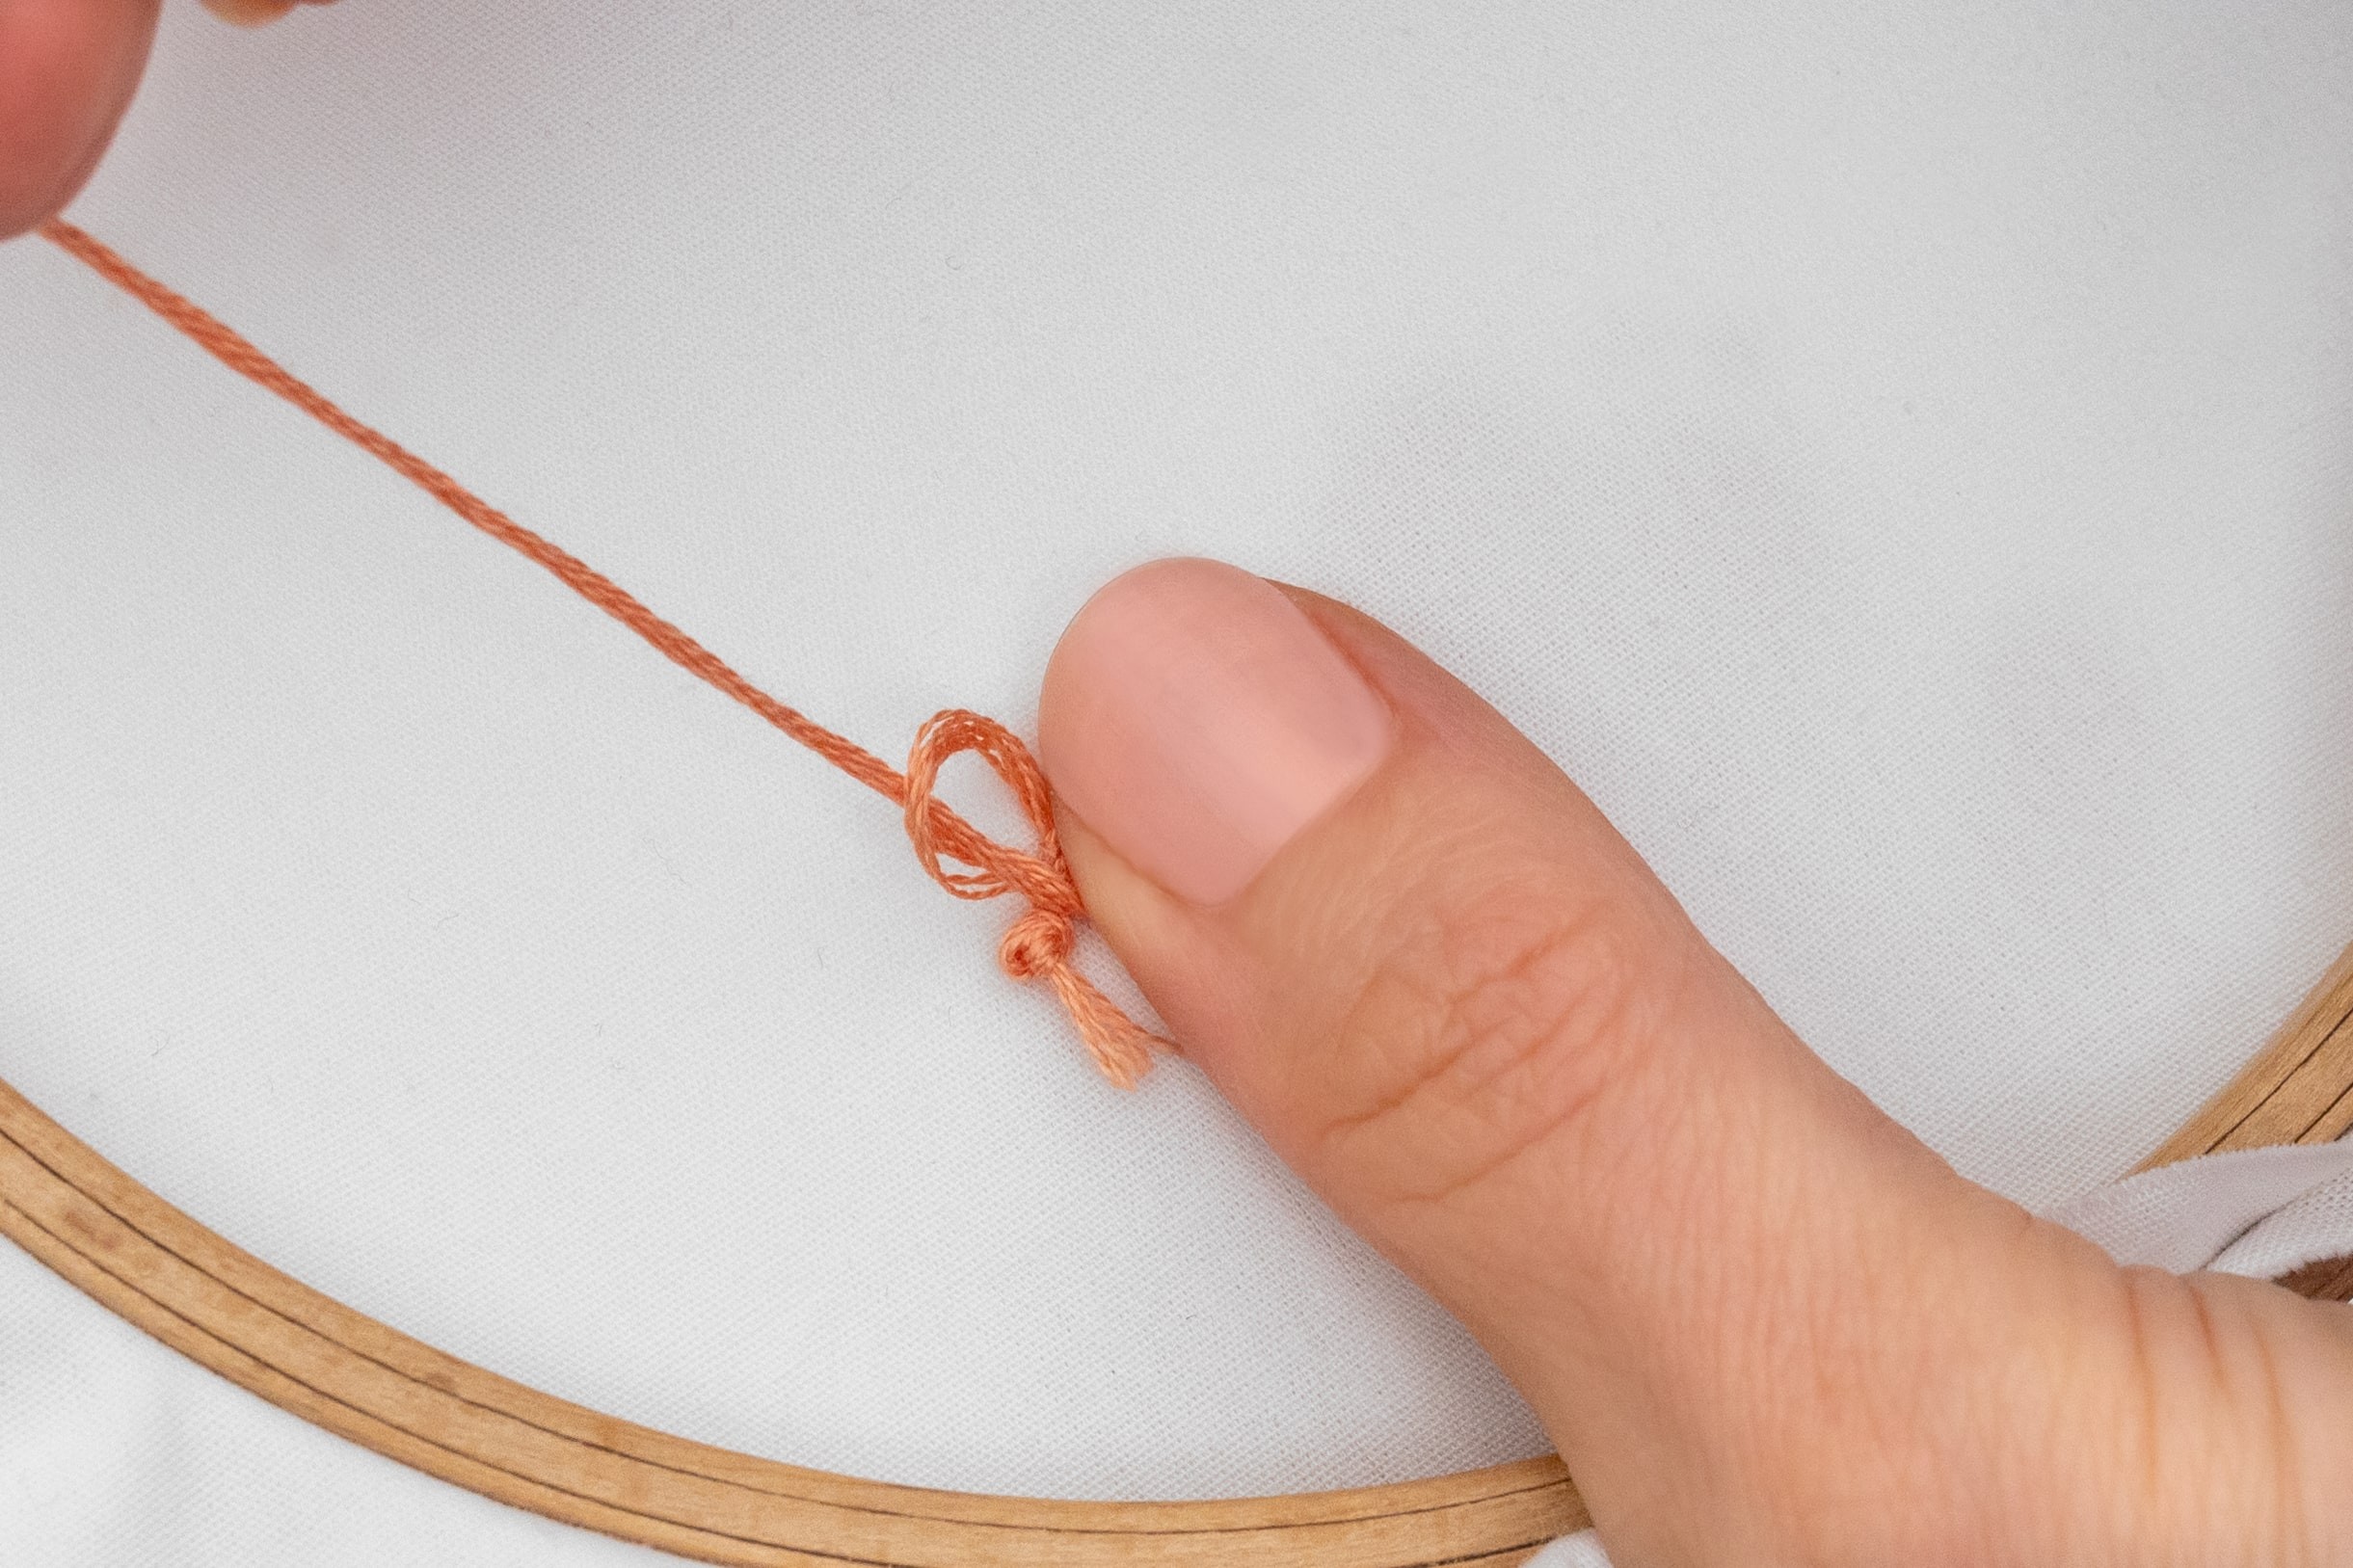
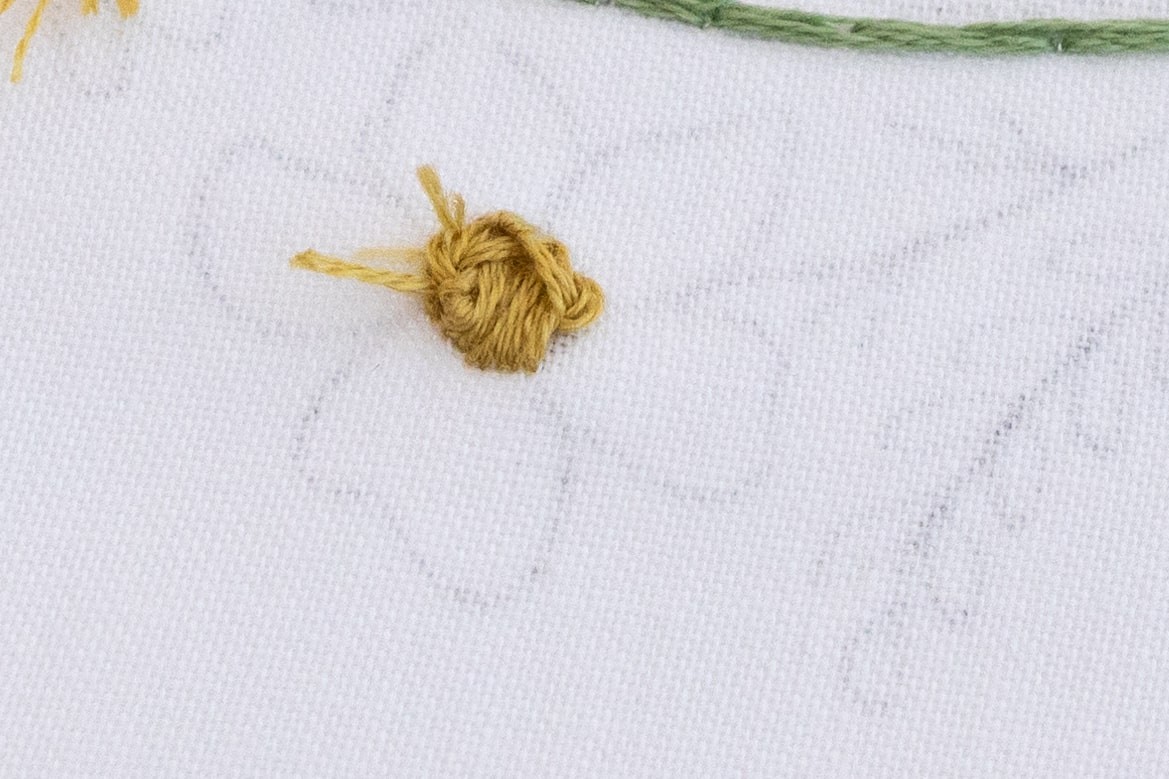
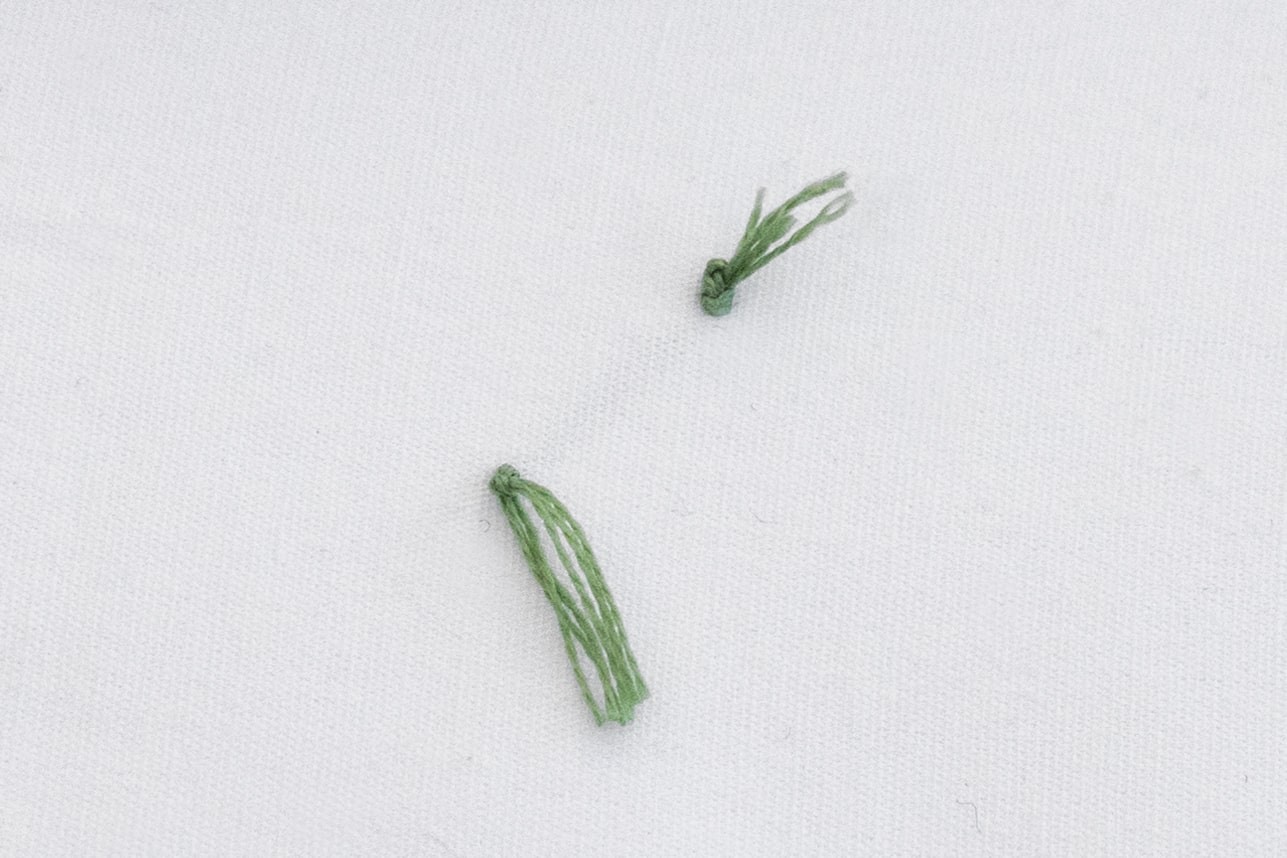
Tie them in an overhand knot which sits snug against the fabric.
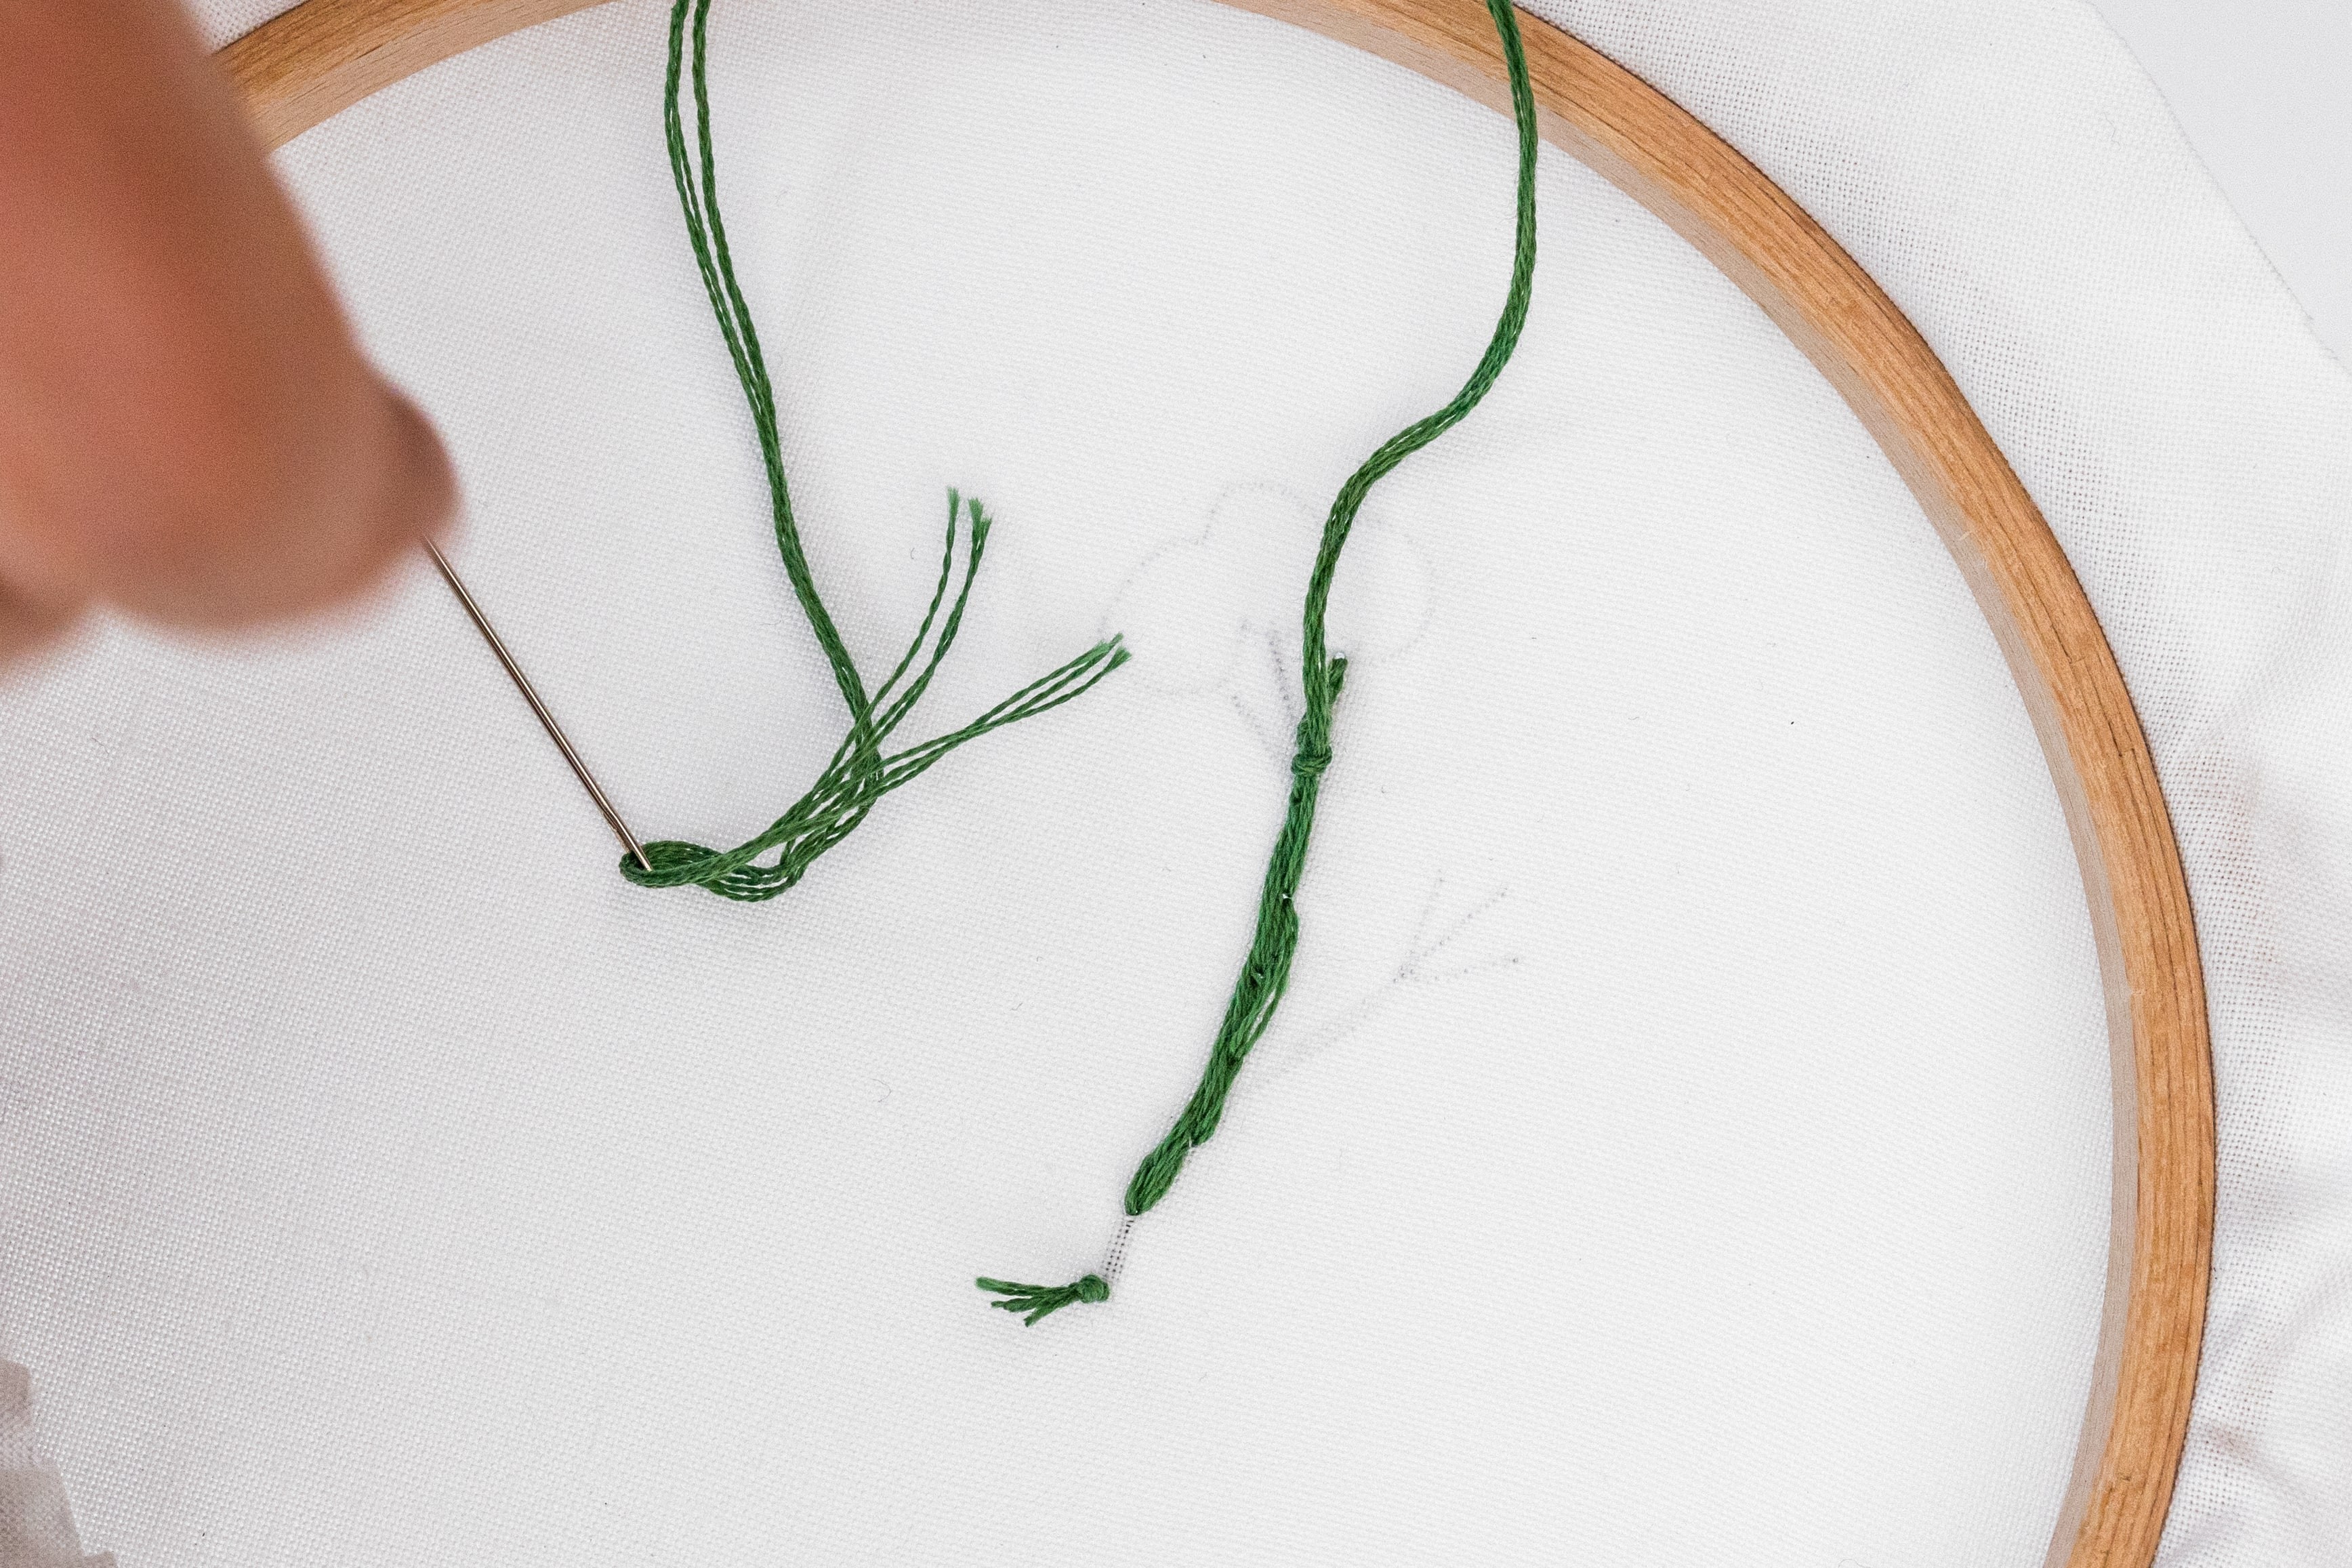
-
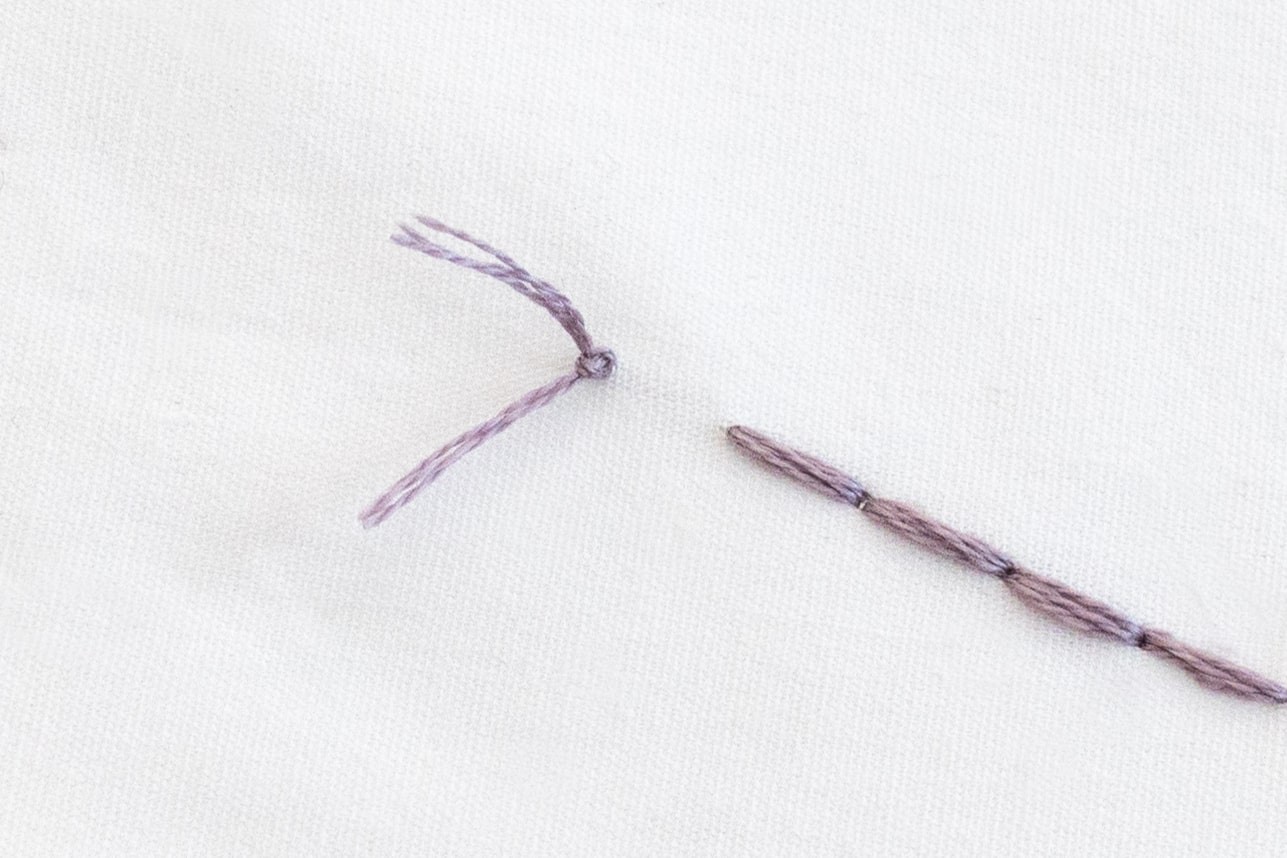
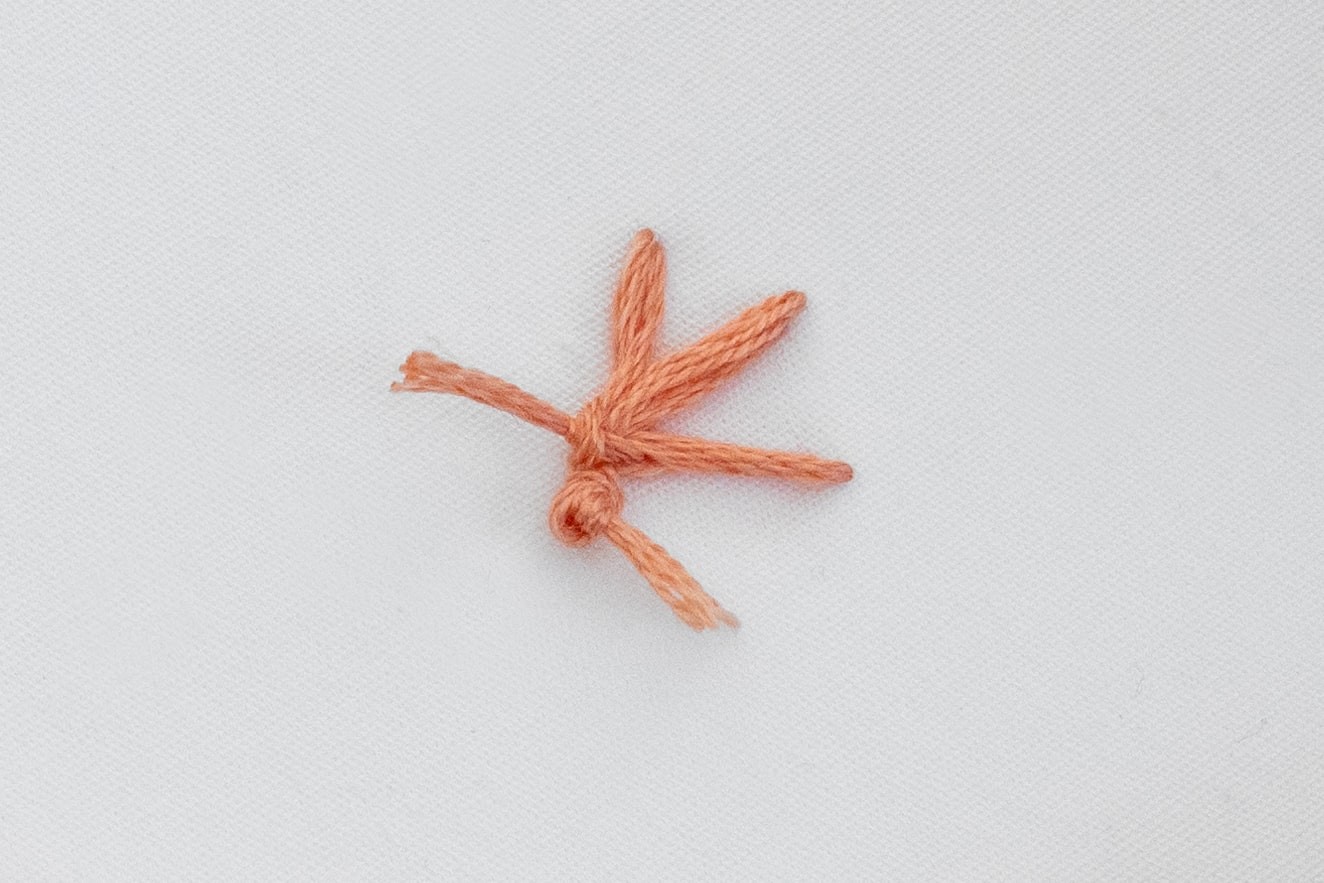
Repeat to secure the knot, then snip the thread leaving a tail.
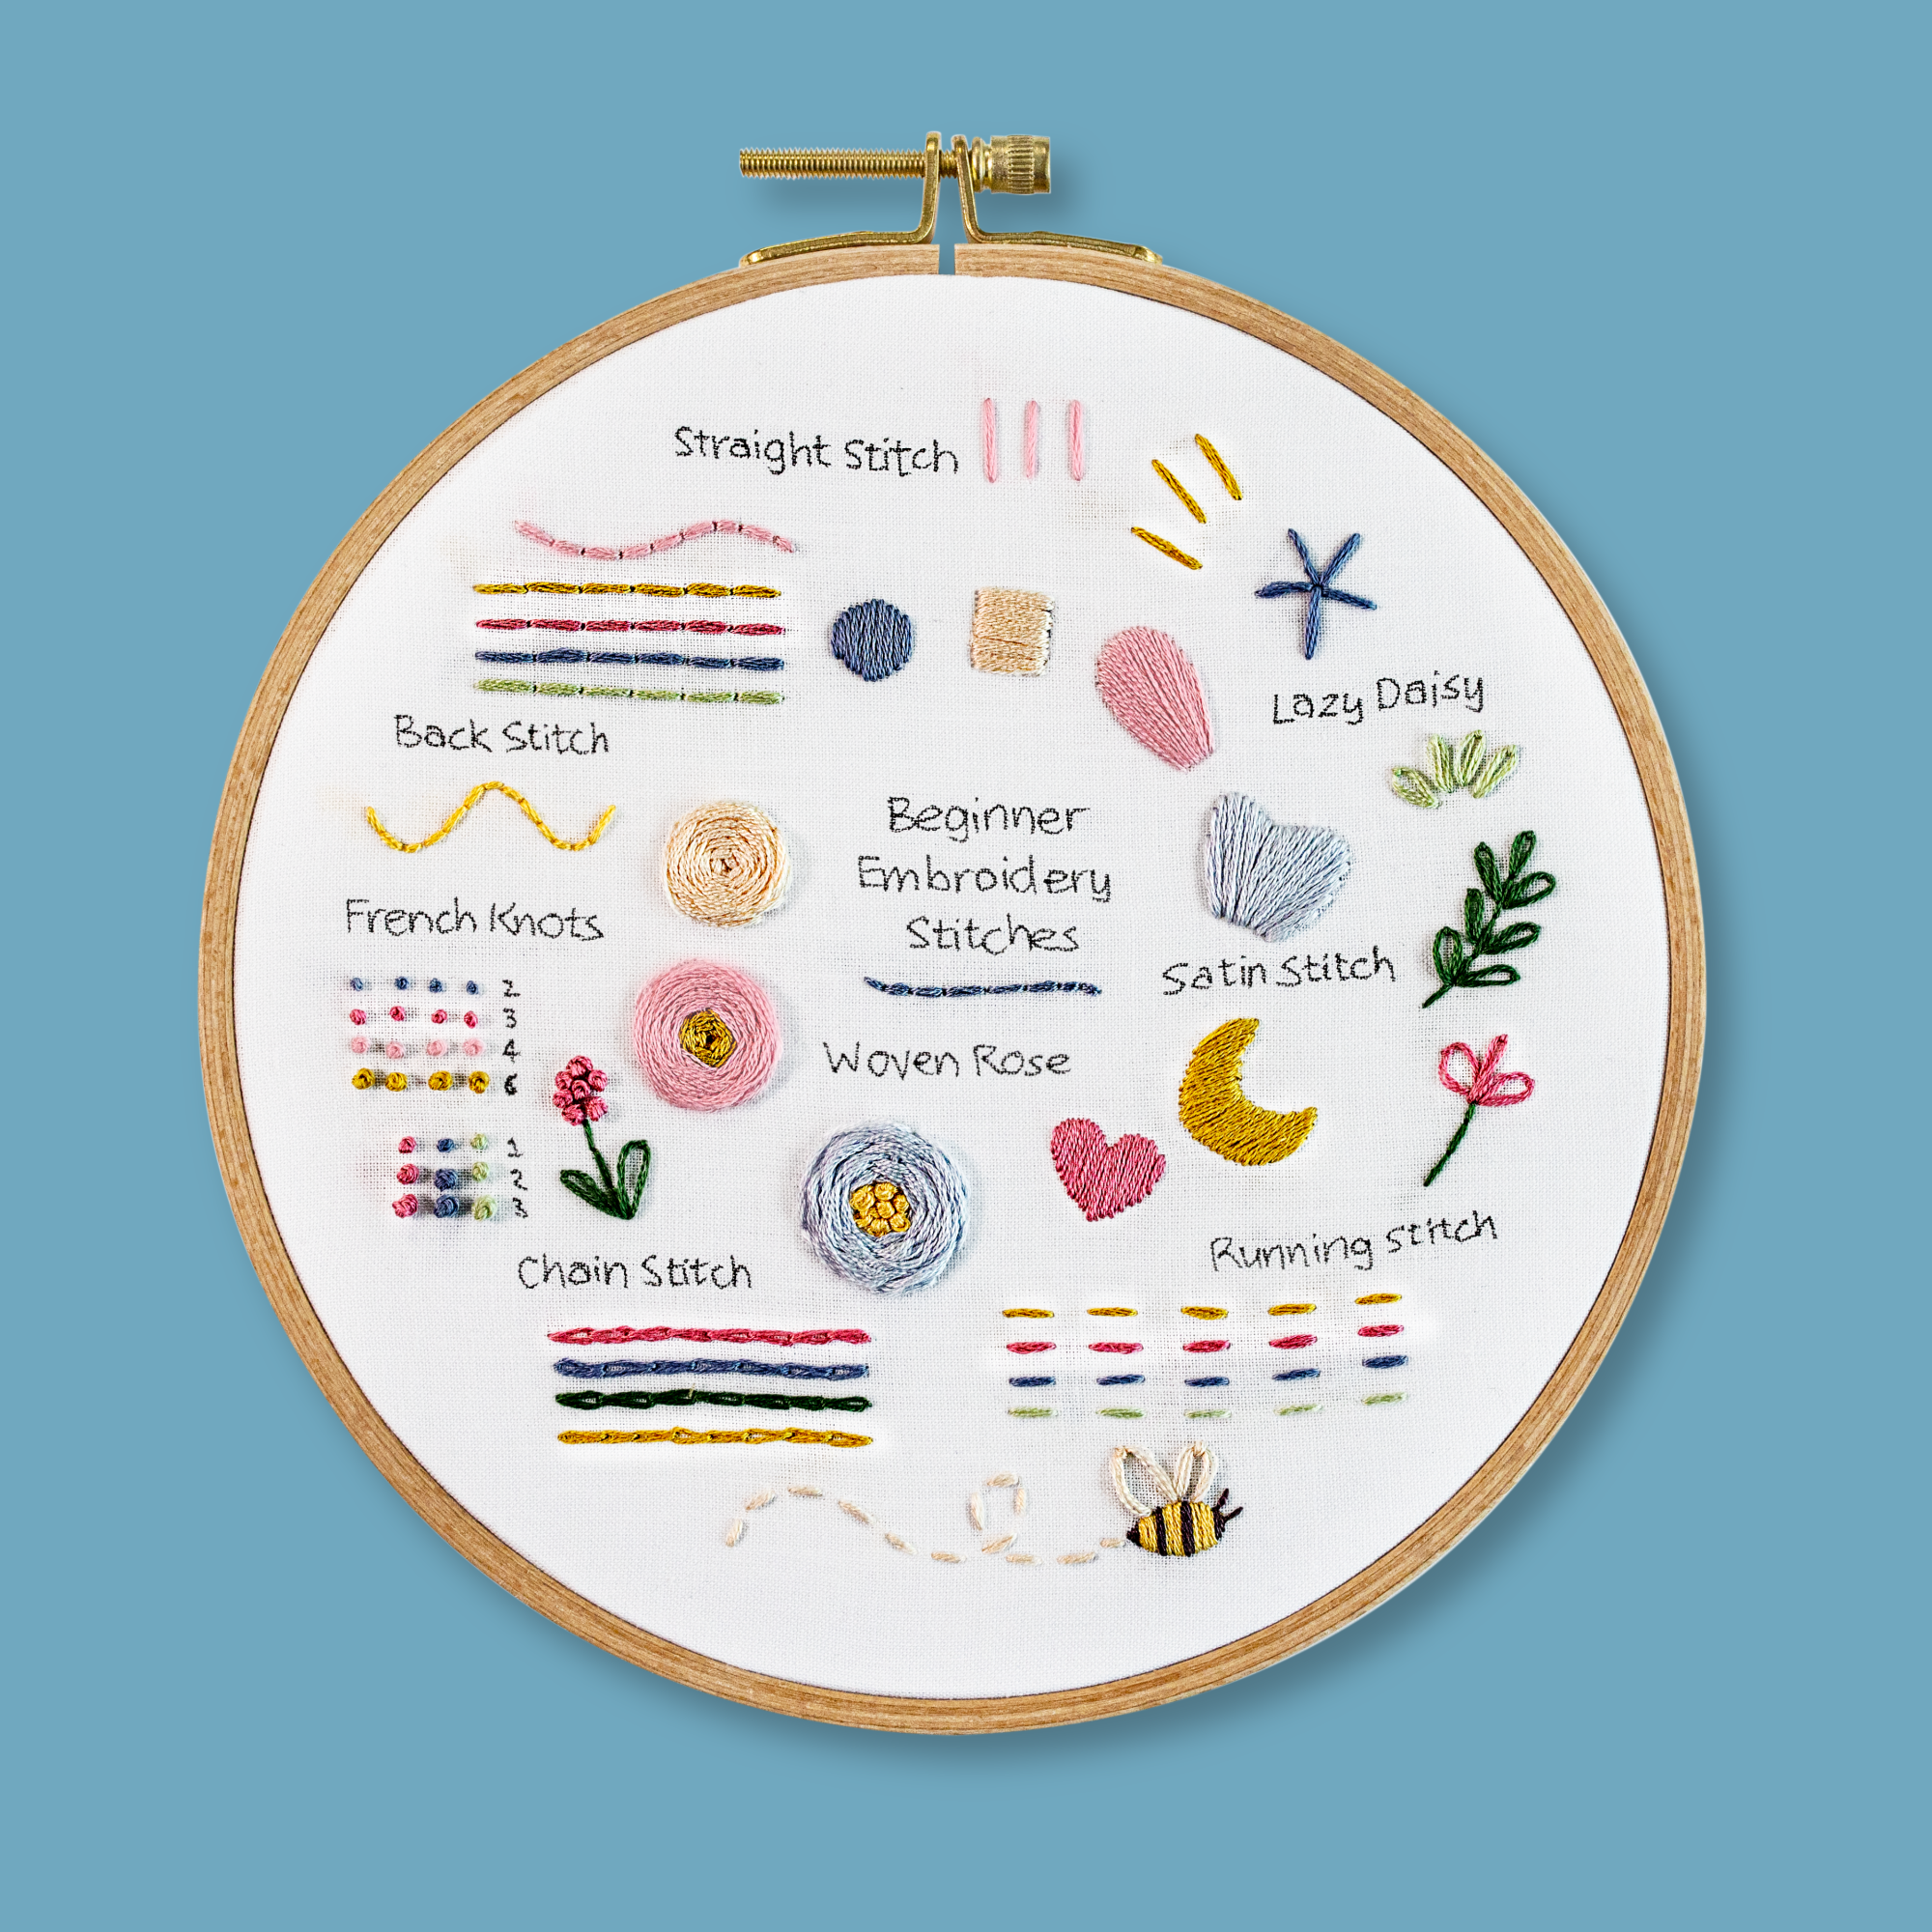
Finishing after Lazy Daisy:
Lazy Daisy stitches can be a bit delicate, so the key is to anchor your thread against the base of the shape, rather than the rounded end. So follow the usual process, but for the initial step, weave your needle under the area where the pointed ends of the Lazy Daisy stitches meet. And when you create the knot, press your fingers against the Lazy Daisy stitches on the front and back of the fabric, to ensure they don’t get distorted as you tighten the knot. Then either weave your tail into nearby stitches before you snip the thread, or snip the thread leaving a tail.
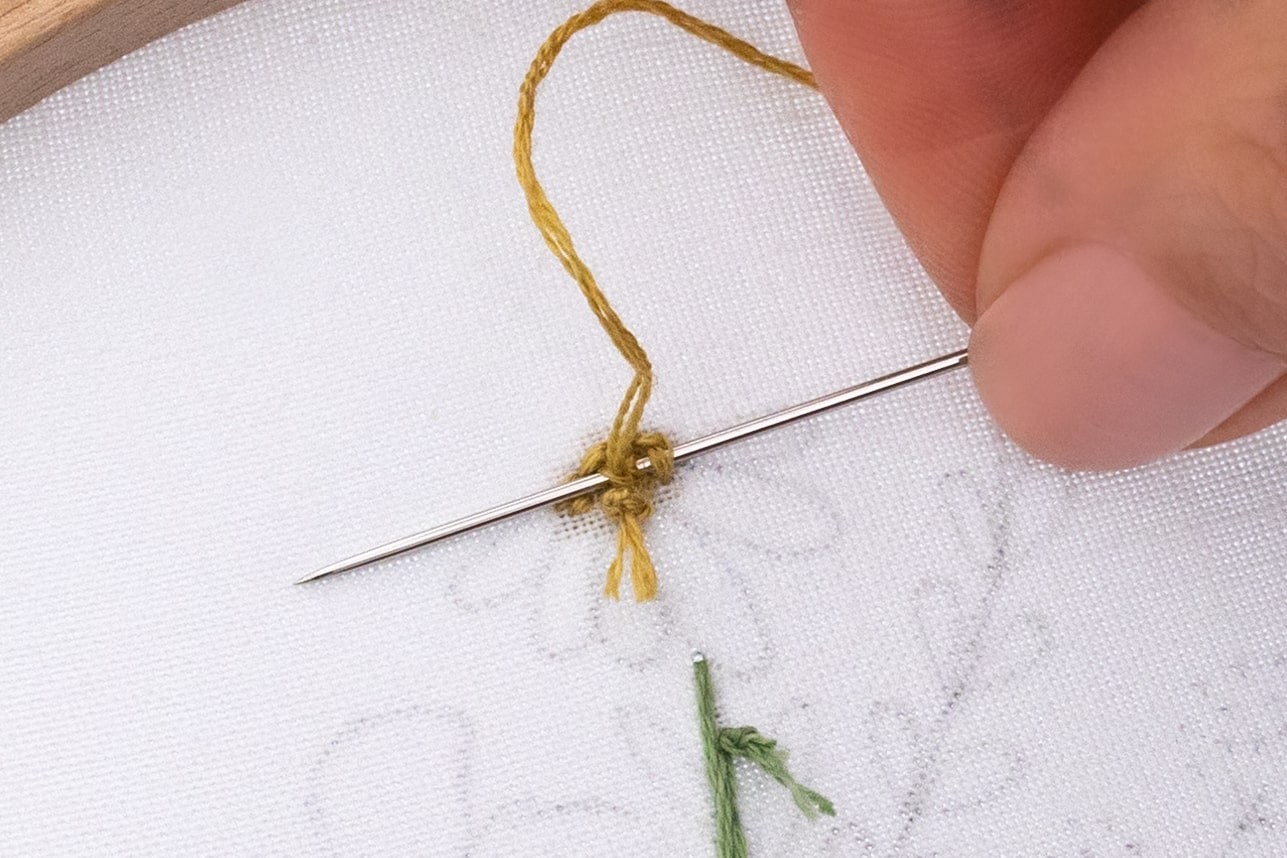
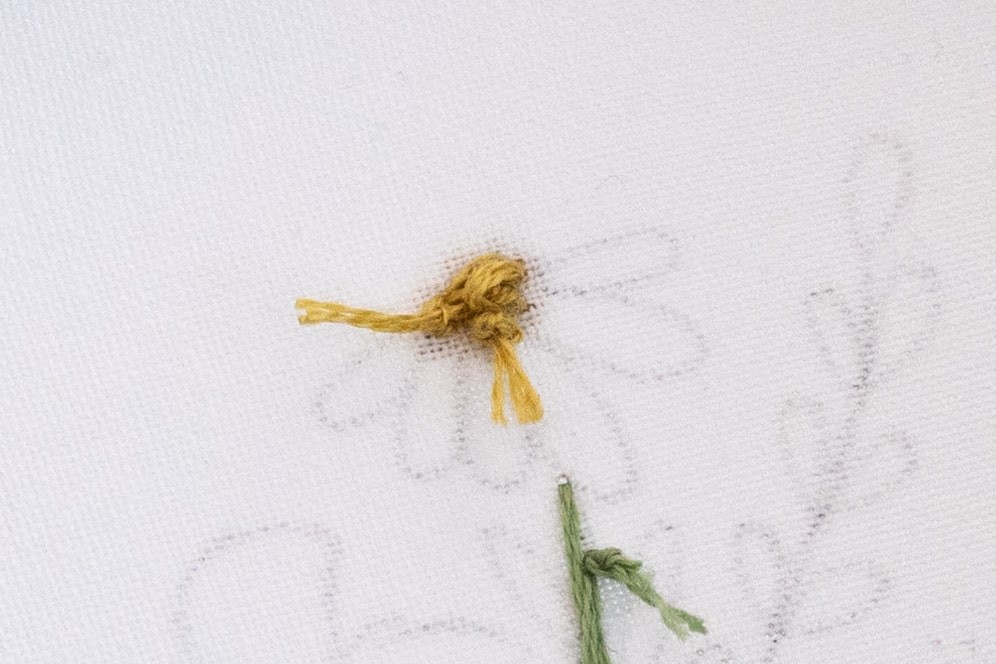
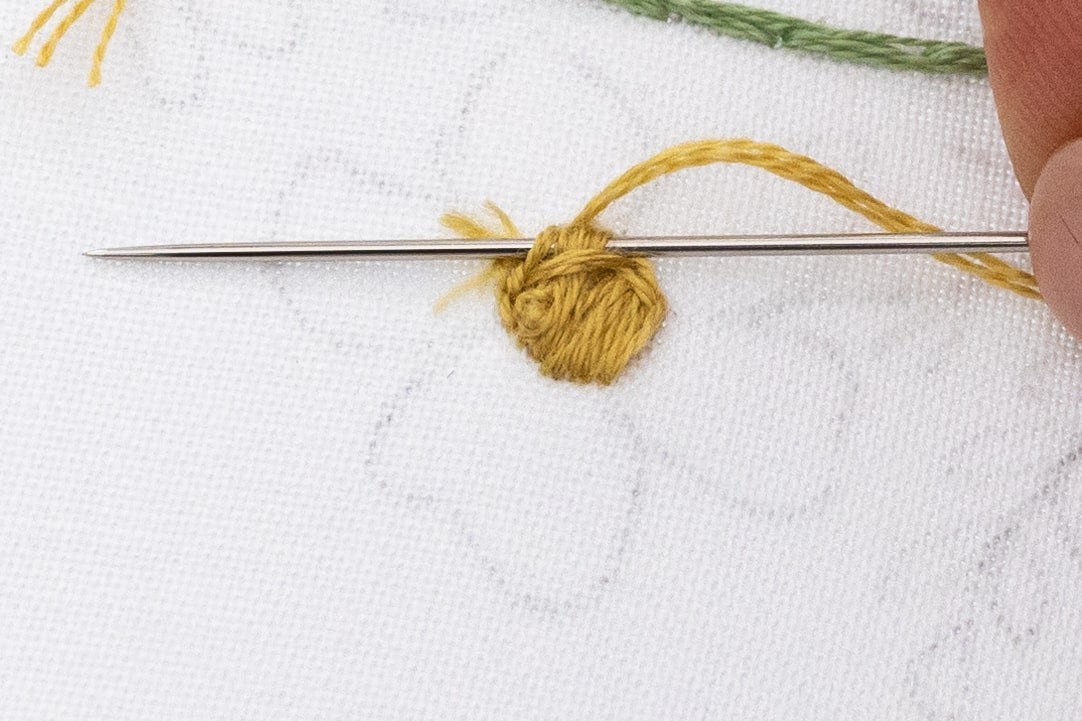
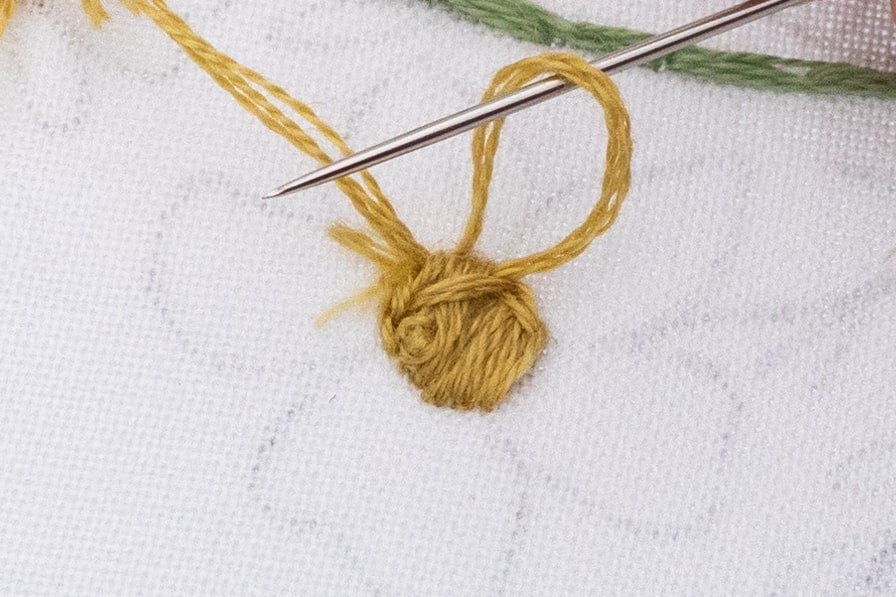
Finishing after French Knots:
French Knots are already pretty well secured in the fabric, so you can skip the knotting step. Just weave your needle under the back-side of the French Knots a few times. Then either weave the rest of your tail into nearby stitches before you snip the thread, or snip the thread leaving a tail.
Finishing after Satin Stitch:
Follow the same process, and anchor your knot on the side of the area of Satin Stitch (this is where it’s sturdiest).
When it’s time to tidy your tail, you can weave it back and forth under the area of stitches.
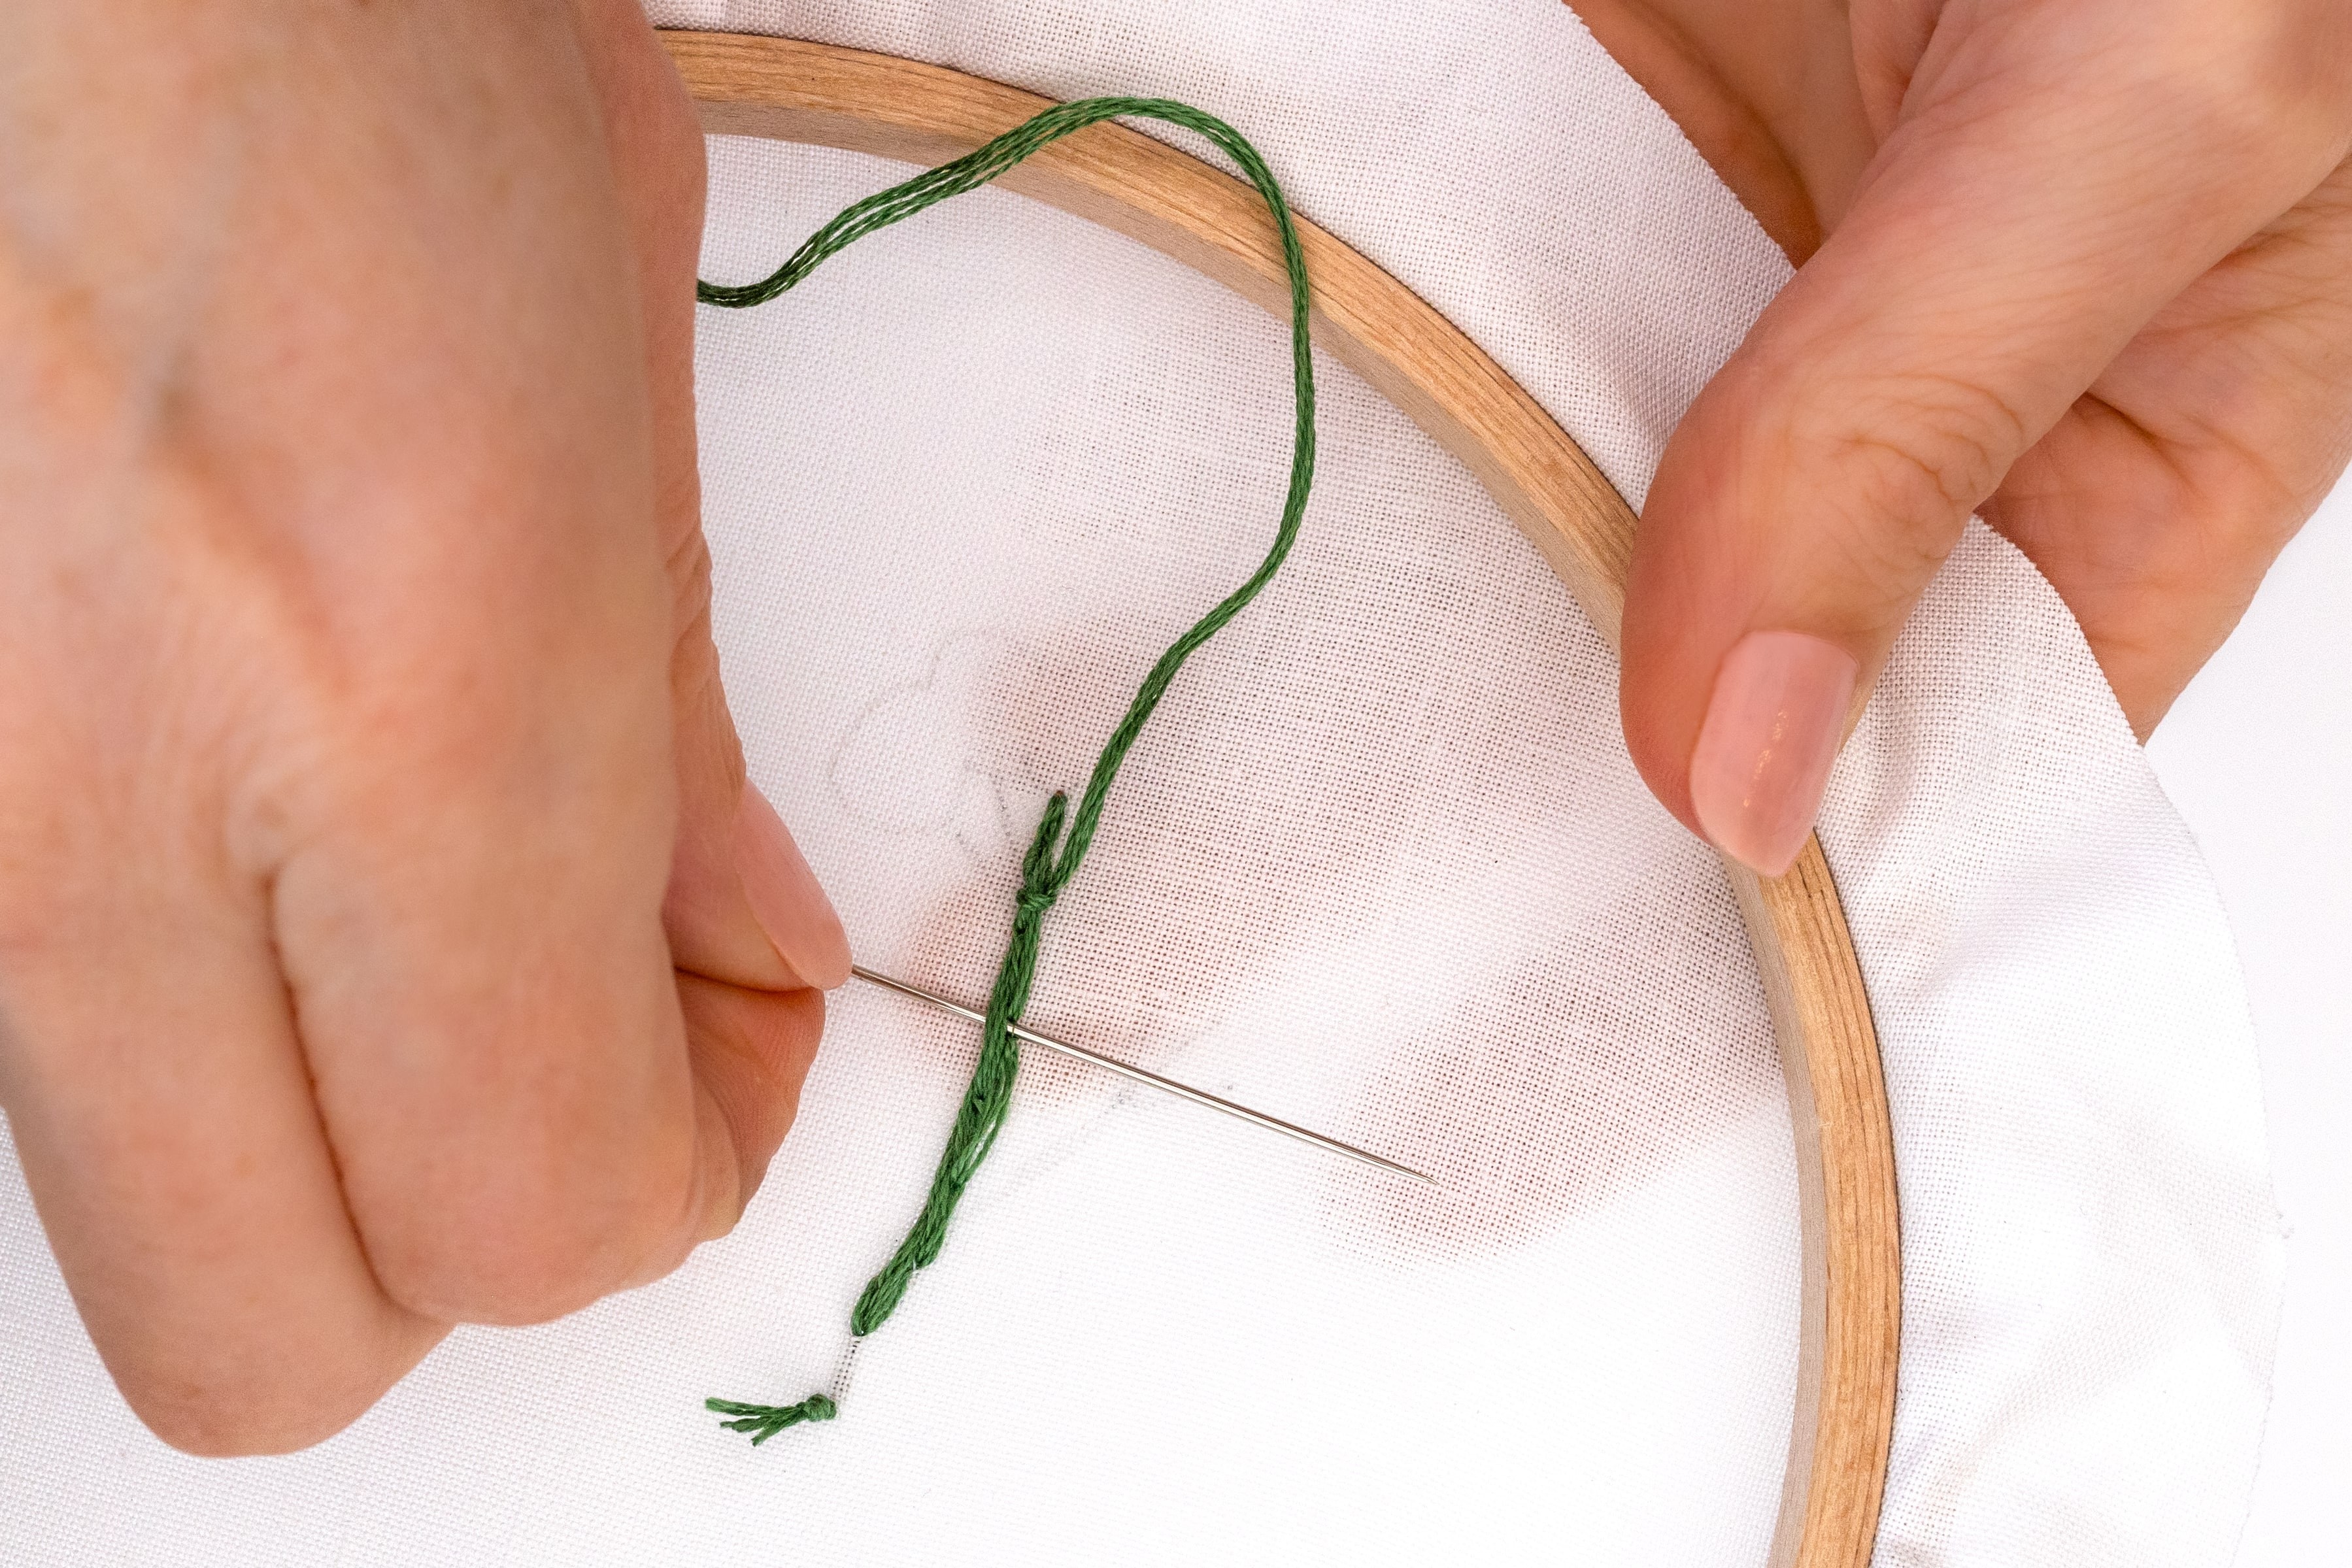
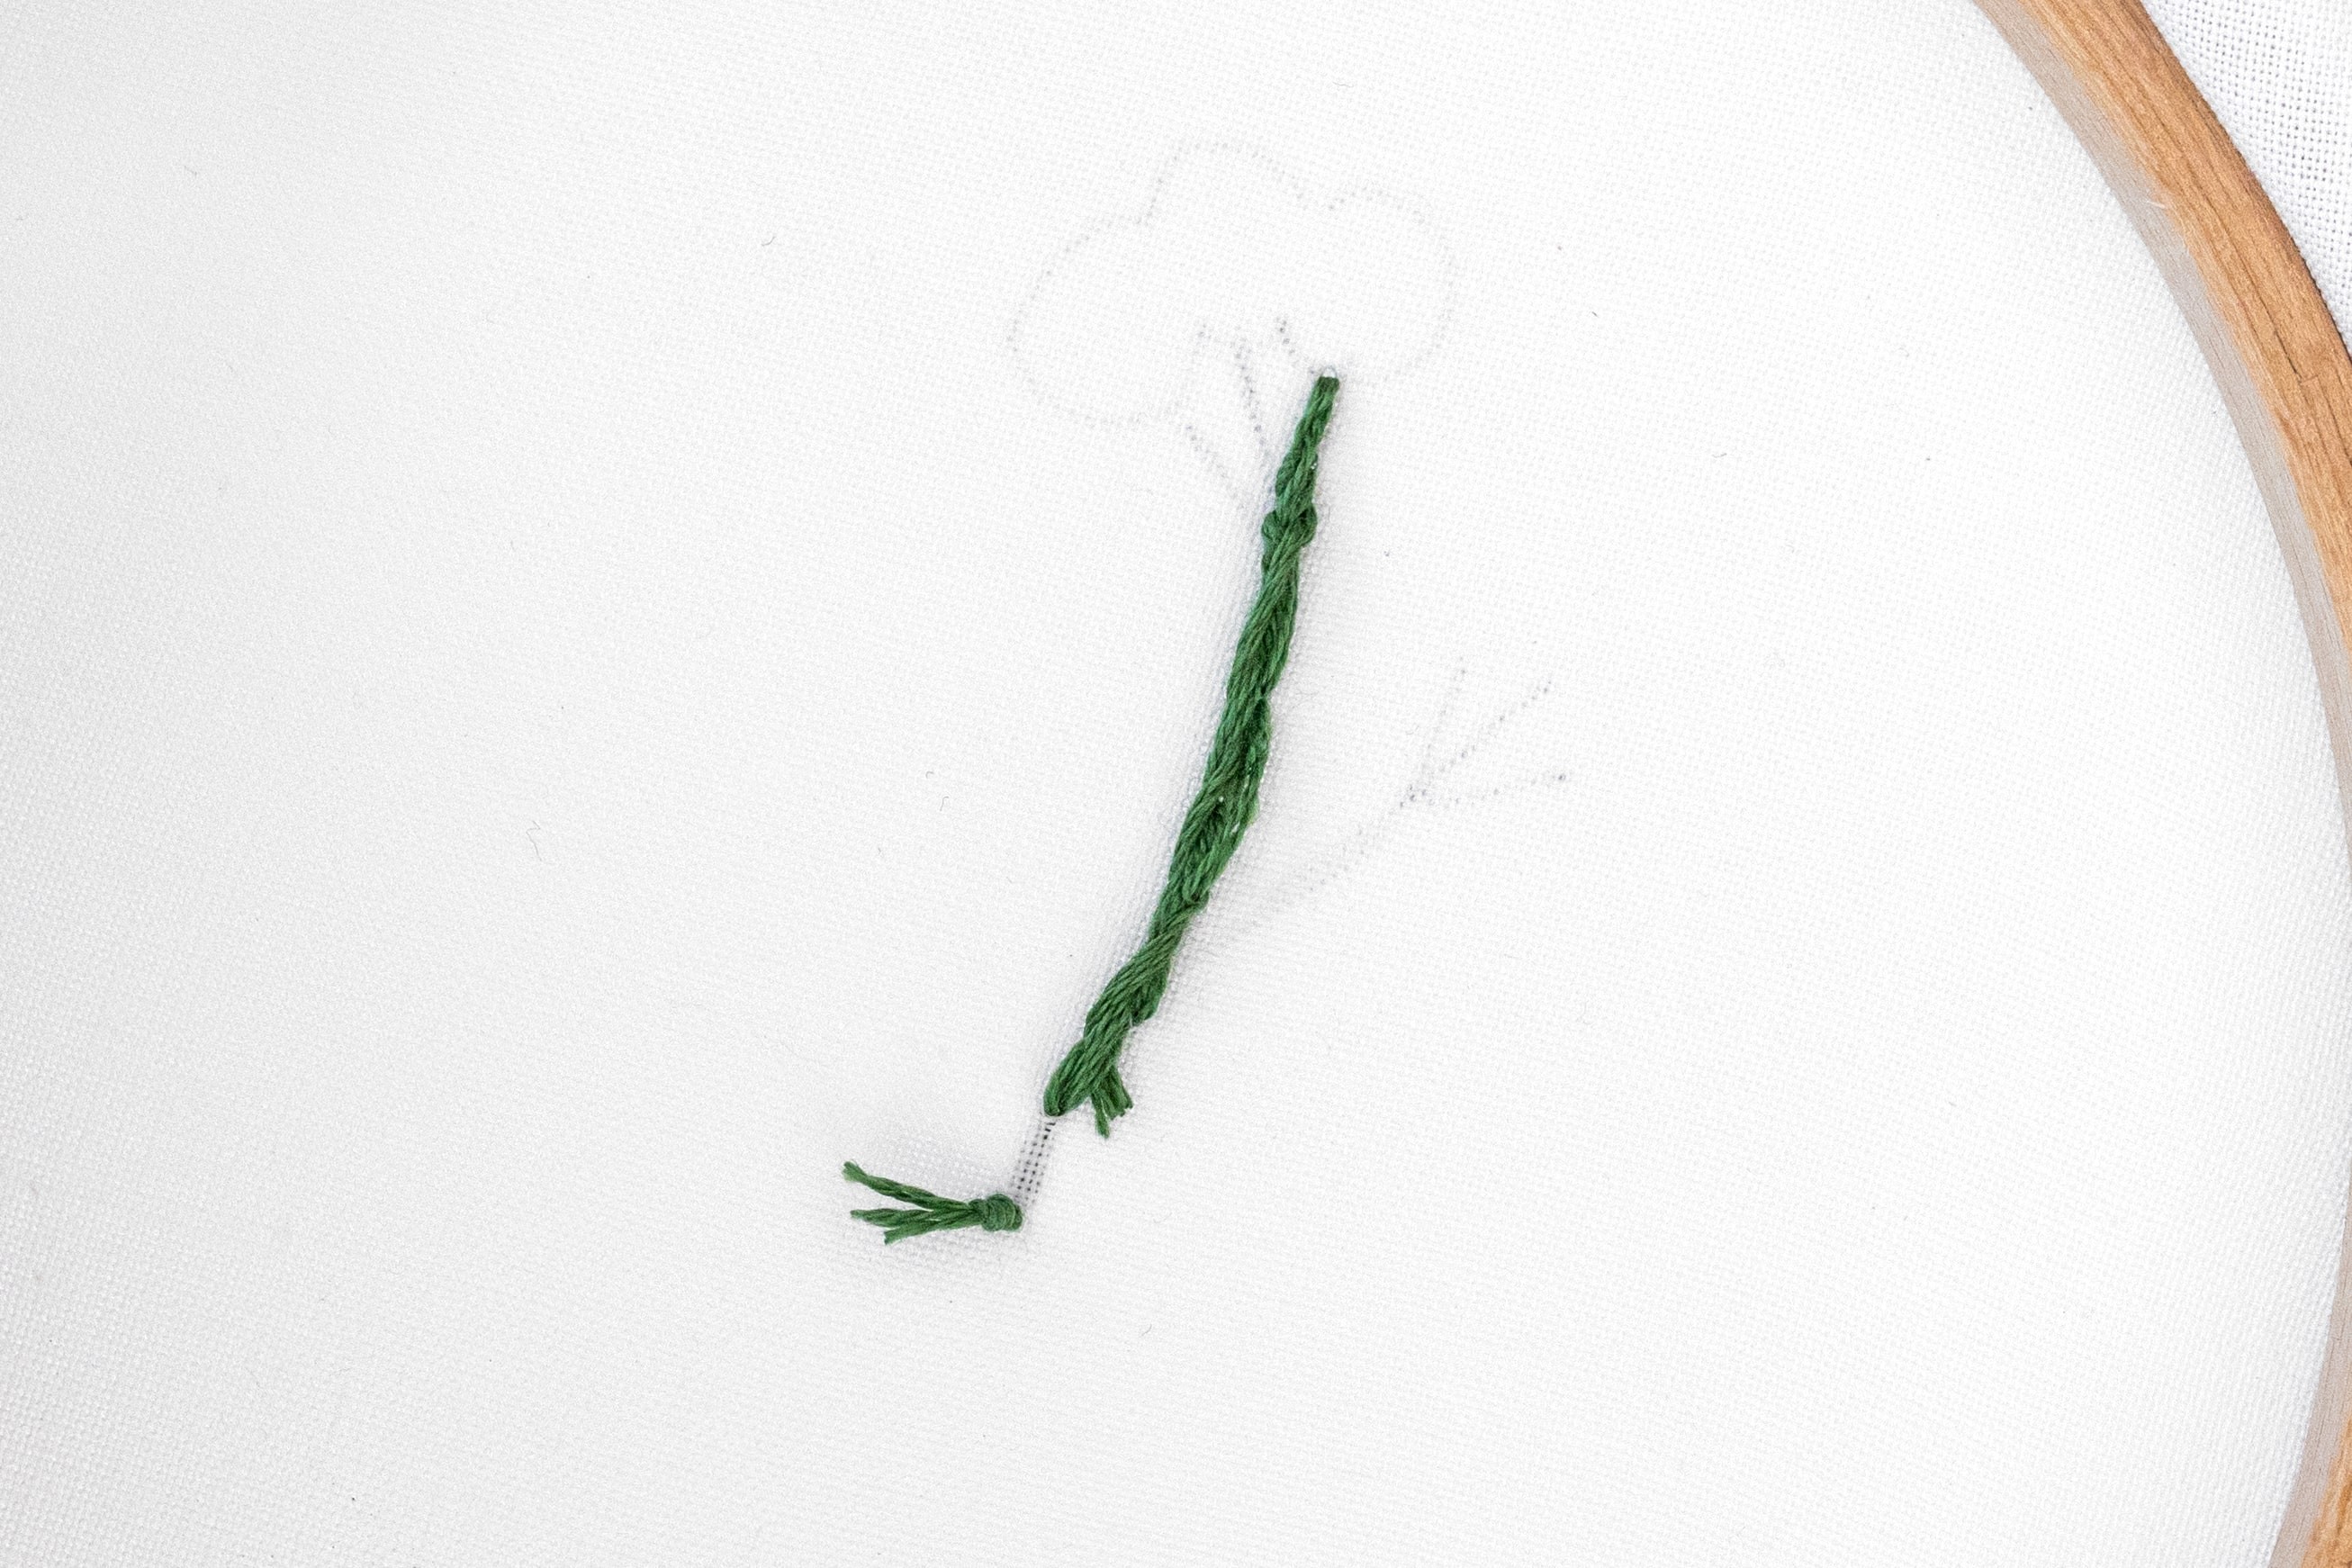
Finishing after an isolated stitch:
You might be wondering how to finish your thread, if there’s no stitches nearby to anchor against? There’s a super easy option! Just use the same method as ‘Finishing with a short tail’ – split the tails in half, secure with a double overhand knot, and snip the tails.
Conclusion
So there you have it, all the beginner knowledge you need to start and end your threads with knots. This is something you'll do again and again as you keep making embroidery patterns.
I’m so excited for you to discover the exciting world of embroidery!
What's next?
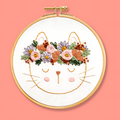
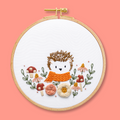
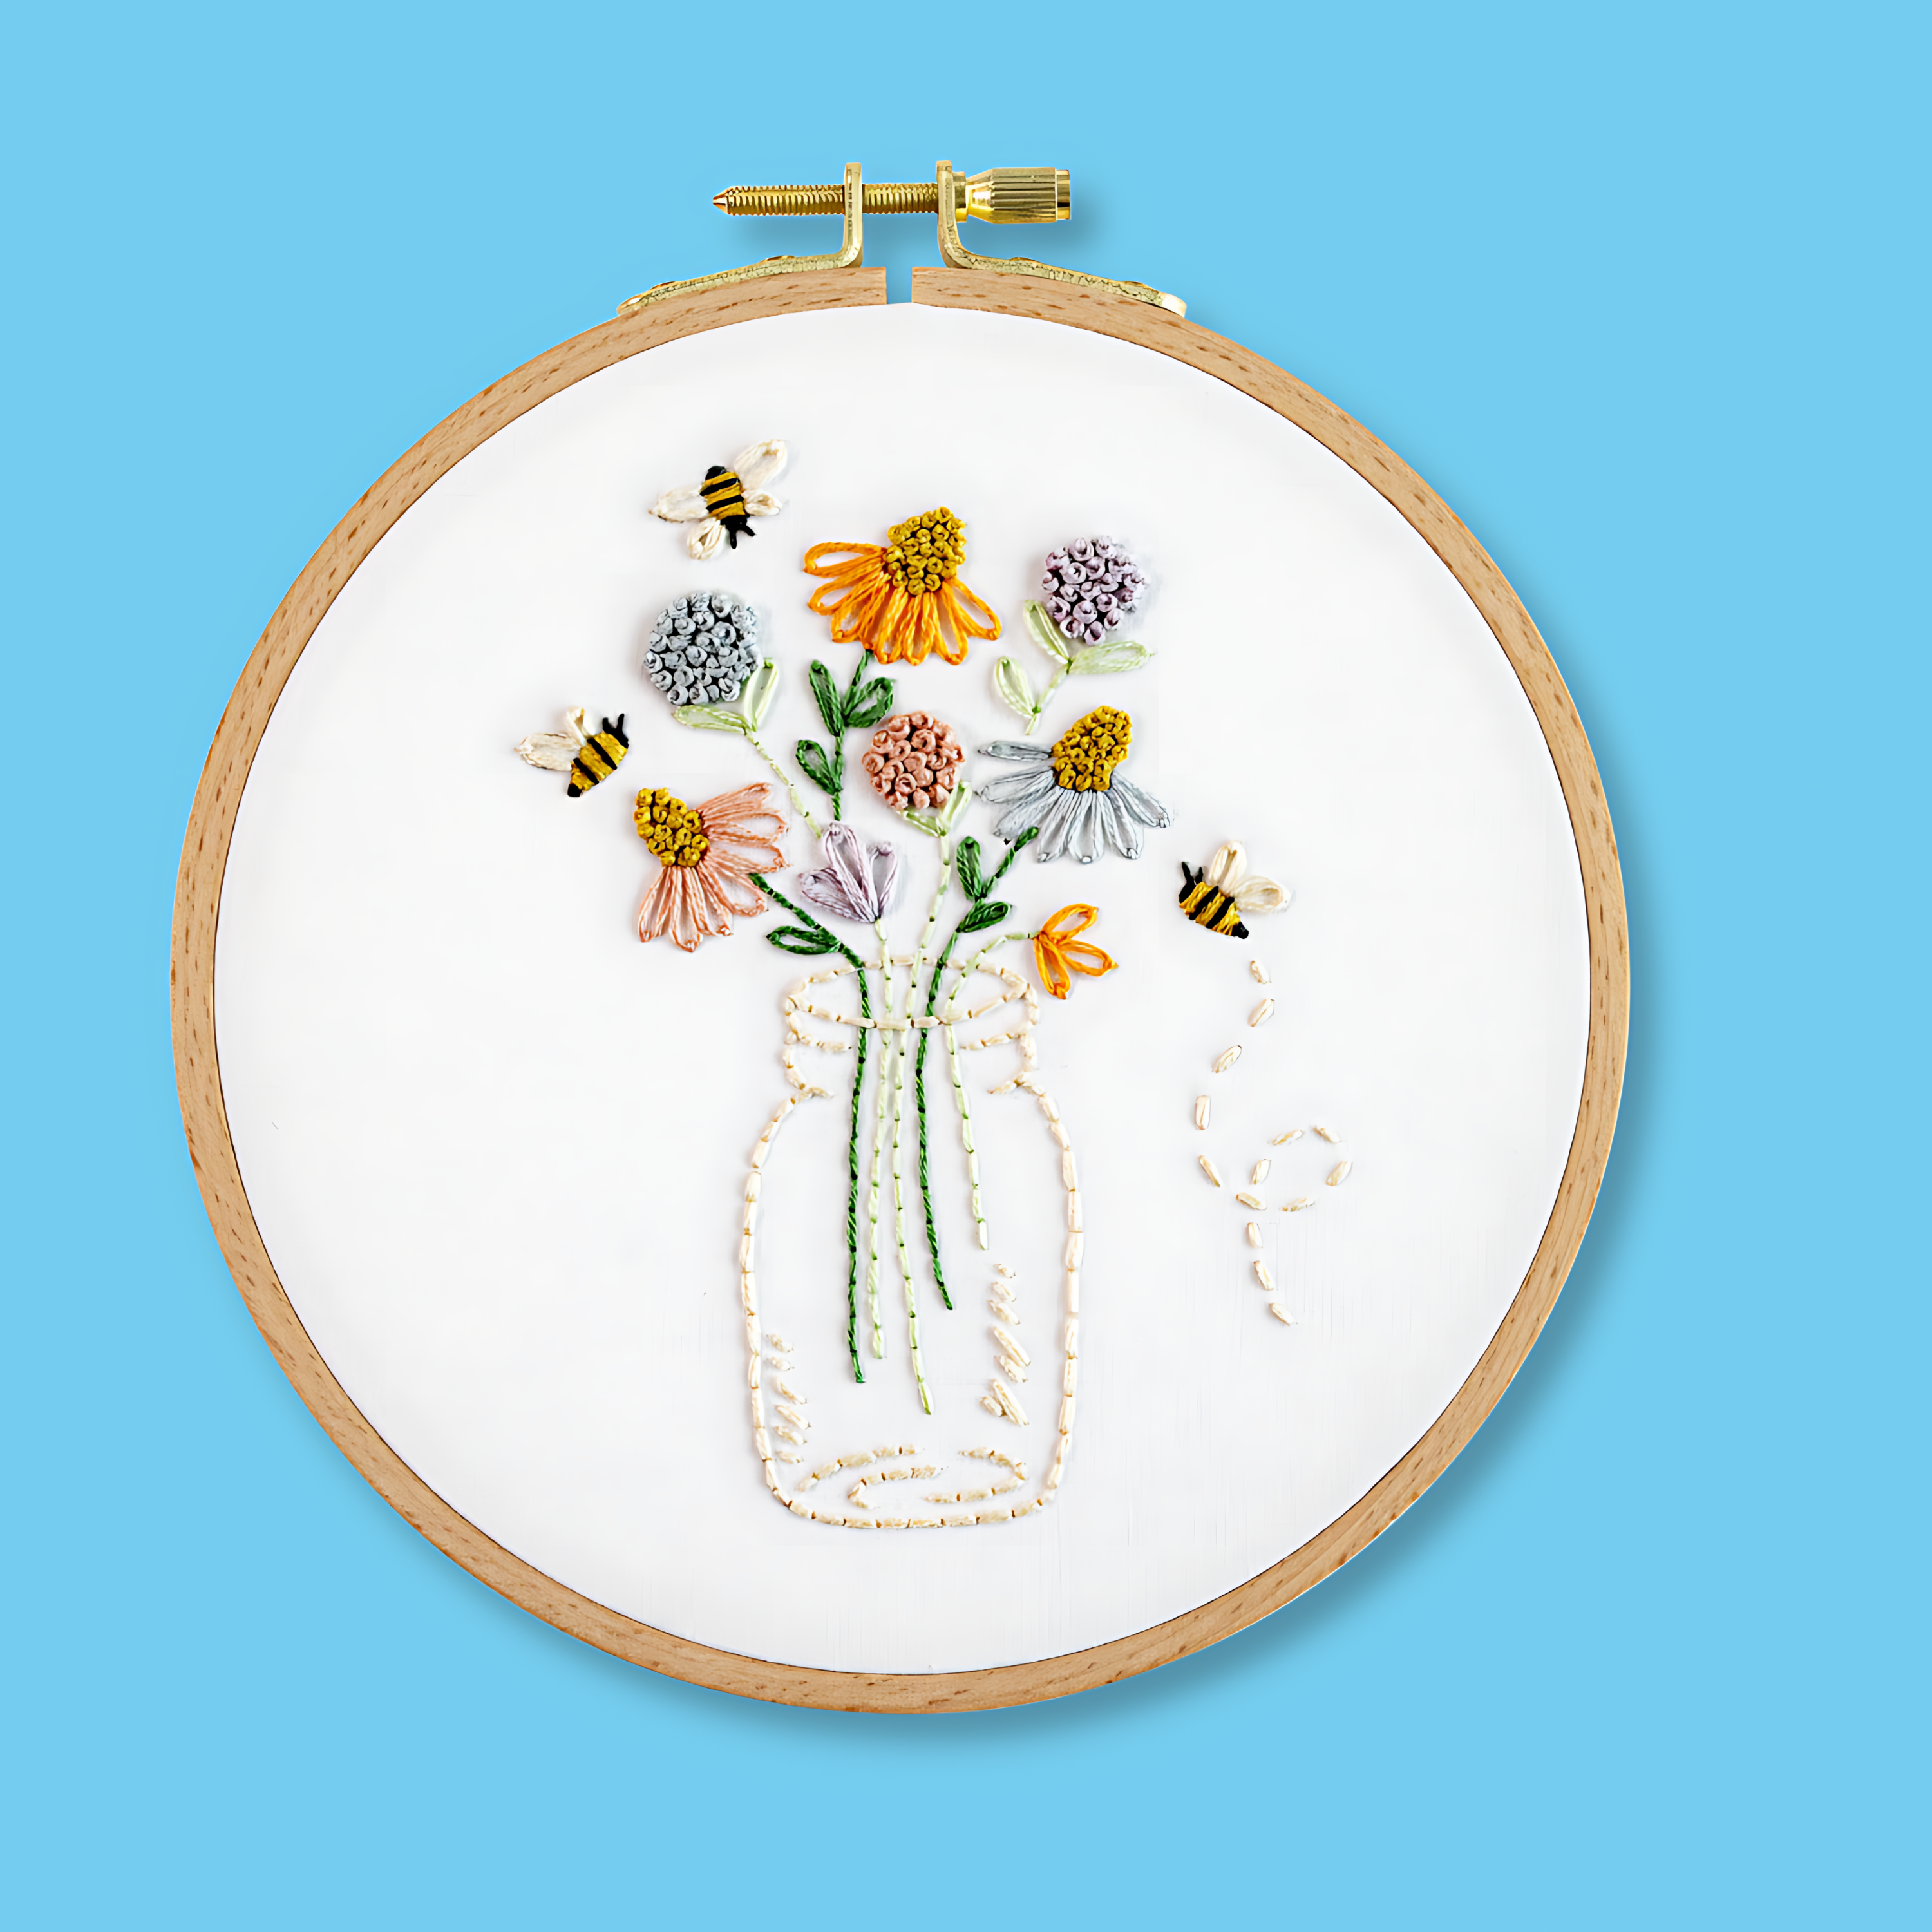
Our beginner embroidery kits are a favourite among new stitchers for their simple, step-by-step instructions and beautiful designs that make learning easy and fun. Whether you’ve been wanting to learn embroidery or are just searching for your next creative hobby. These kits are the perfect introduction to embroidery.
Why people love our beginner kits:
-
Everything you need is included: fabric, thread, hoop, and more!
-
Clear instructions to guide you every step of the way.
-
Gorgeous designs you’ll be proud to display.
Our most popular beginner kits

If you liked this article, then you may also like this one,
What Essential Supplies do You Need to Get Started in Modern Embroidery?
