What Essential Supplies do You Need to Get Started in Modern Embroidery?
Introduction
I’m going to give you some good advice - if you’re using the RIGHT supplies, learning modern embroidery will be so much more ENJOYABLE!
Why?
The WRONG embroidery supplies will make it so much harder to get the hang of embroidery techniques and stitches, and ultimately create beautiful patterns (which I know you’re aiming for)!
Whereas if you’re using supplies that actually work well, you’ll have a way better chance at success. I’m talking about embroidery tools that are tried and tested by other busy and down-to-earth women, who embroider on the daily, like me!
For example, when I first started modern embroidery, I was using a flimsy hoop that didn’t hold my fabric very tight. This made it harder to learn and practice the stitch techniques. And I didn’t even realise this until I got my hands on a better quality hoop that actually did the job of holding my fabric taut!
You see, a hoop that grips your fabric well is so helpful when it comes to modern embroidery. So by using a shoddily made hoop, I made learning embroidery much harder for myself. And way less enjoyable.
Once I started using the good quality wooden and non-slip hoops I use now (I’ll mention which ones later in this article), this was a game-changer for me!
And hooray, suddenly it was so much easier to create tidy stitches. And this meant my embroidery creations were so much more beautifully made.
I really wish I’d known how much of a difference this one simple change would make to my embroidery journey. Because if I did, then I would have made this change earlier. Embroidery sure is a lot more fun when you’re making progress!
If you buy supplies that work well from the get-go, this will save you so much heartache and frustration with your stitching.
So enough about the WRONG embroidery supplies, let’s talk about AWESOME supplies that I know work brilliantly. So that you can straight to the fun part, making progress!
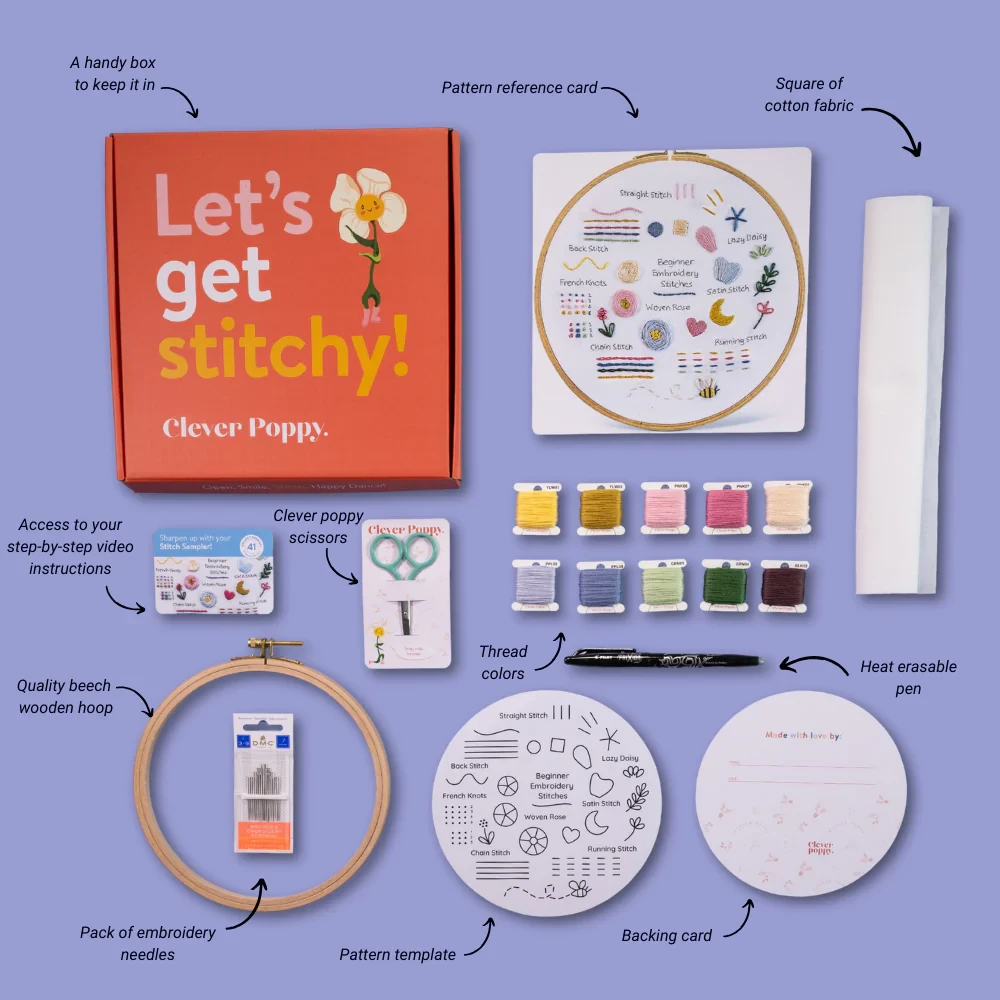
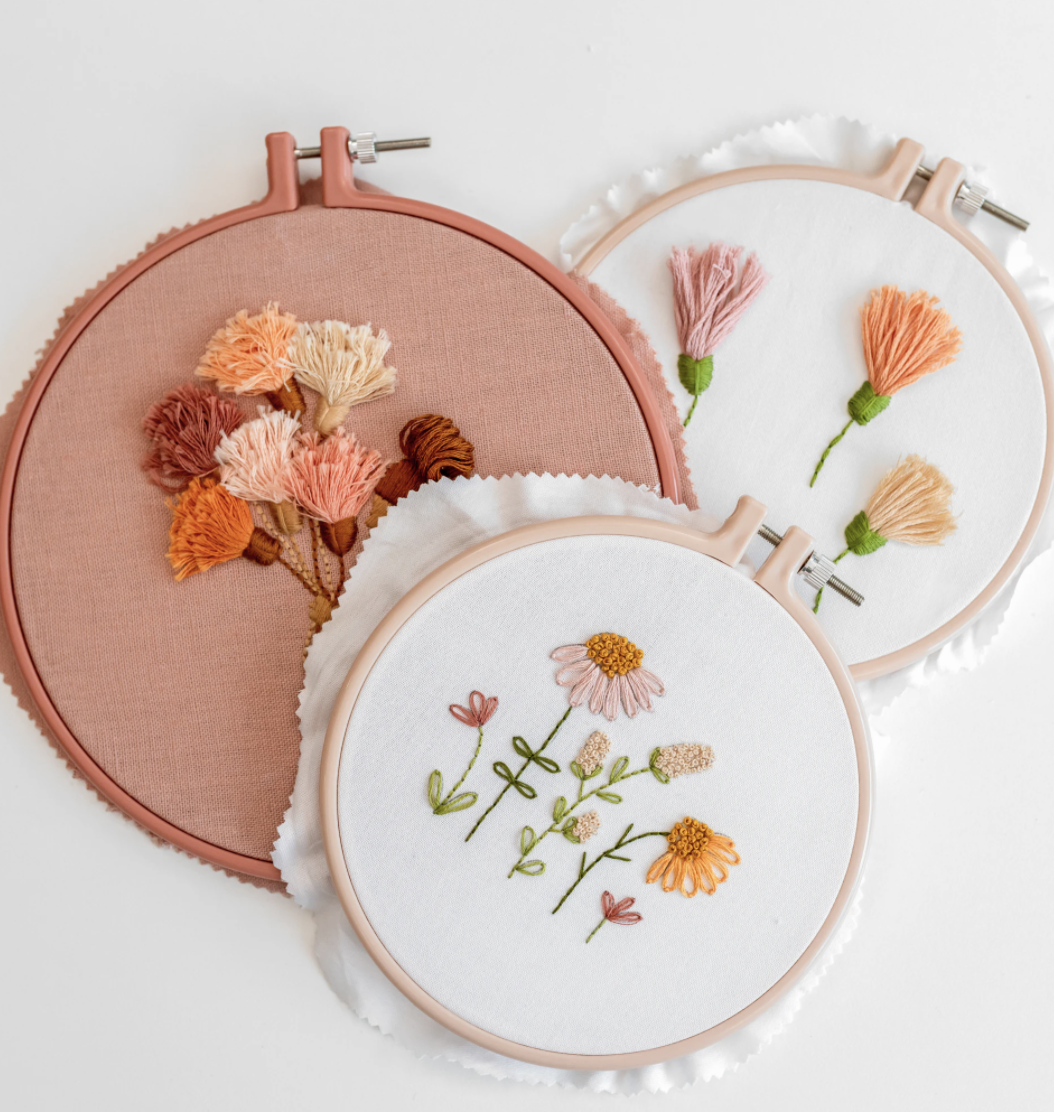
An Embroidery Hoop
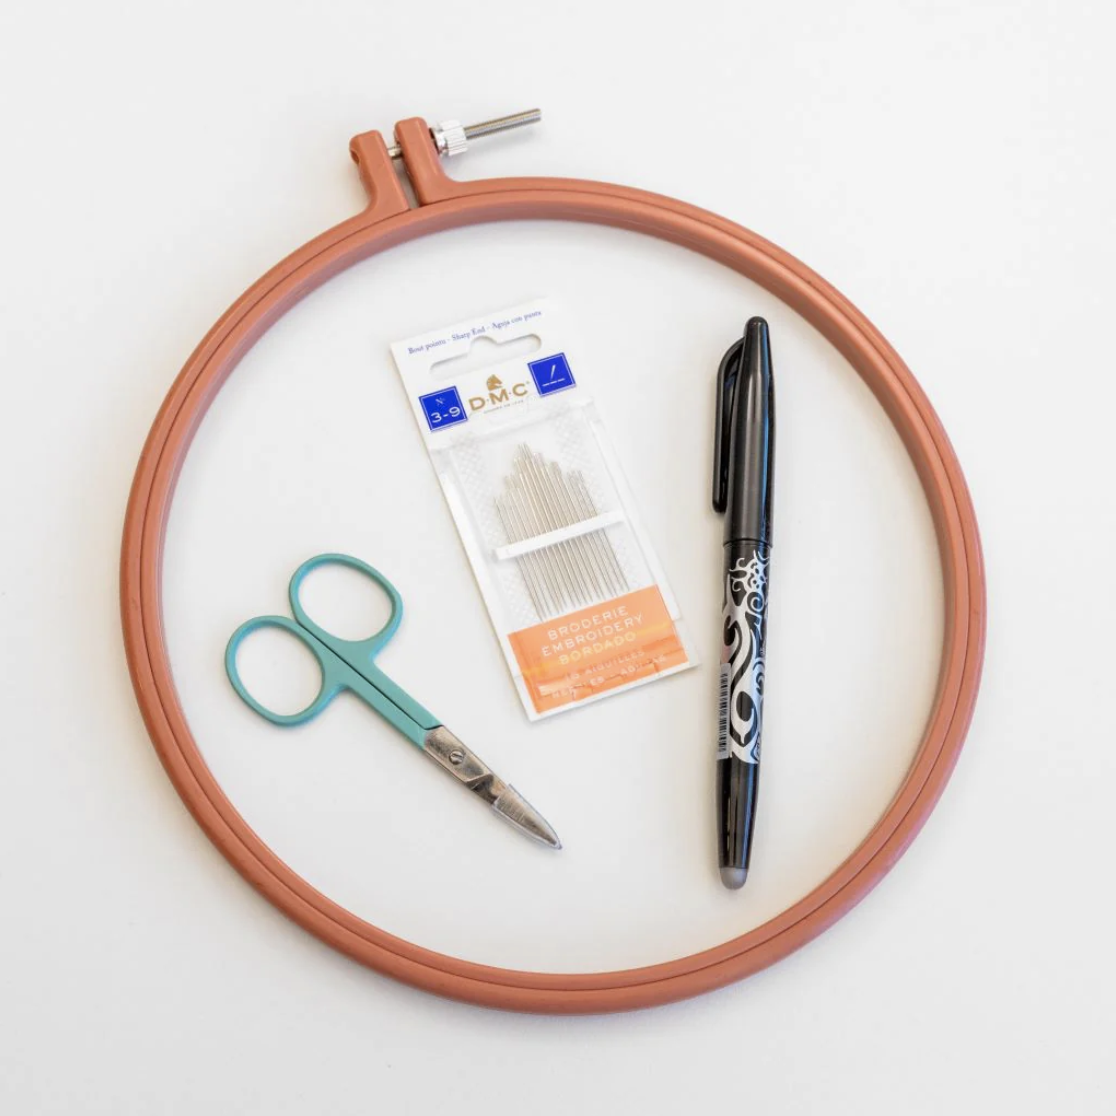
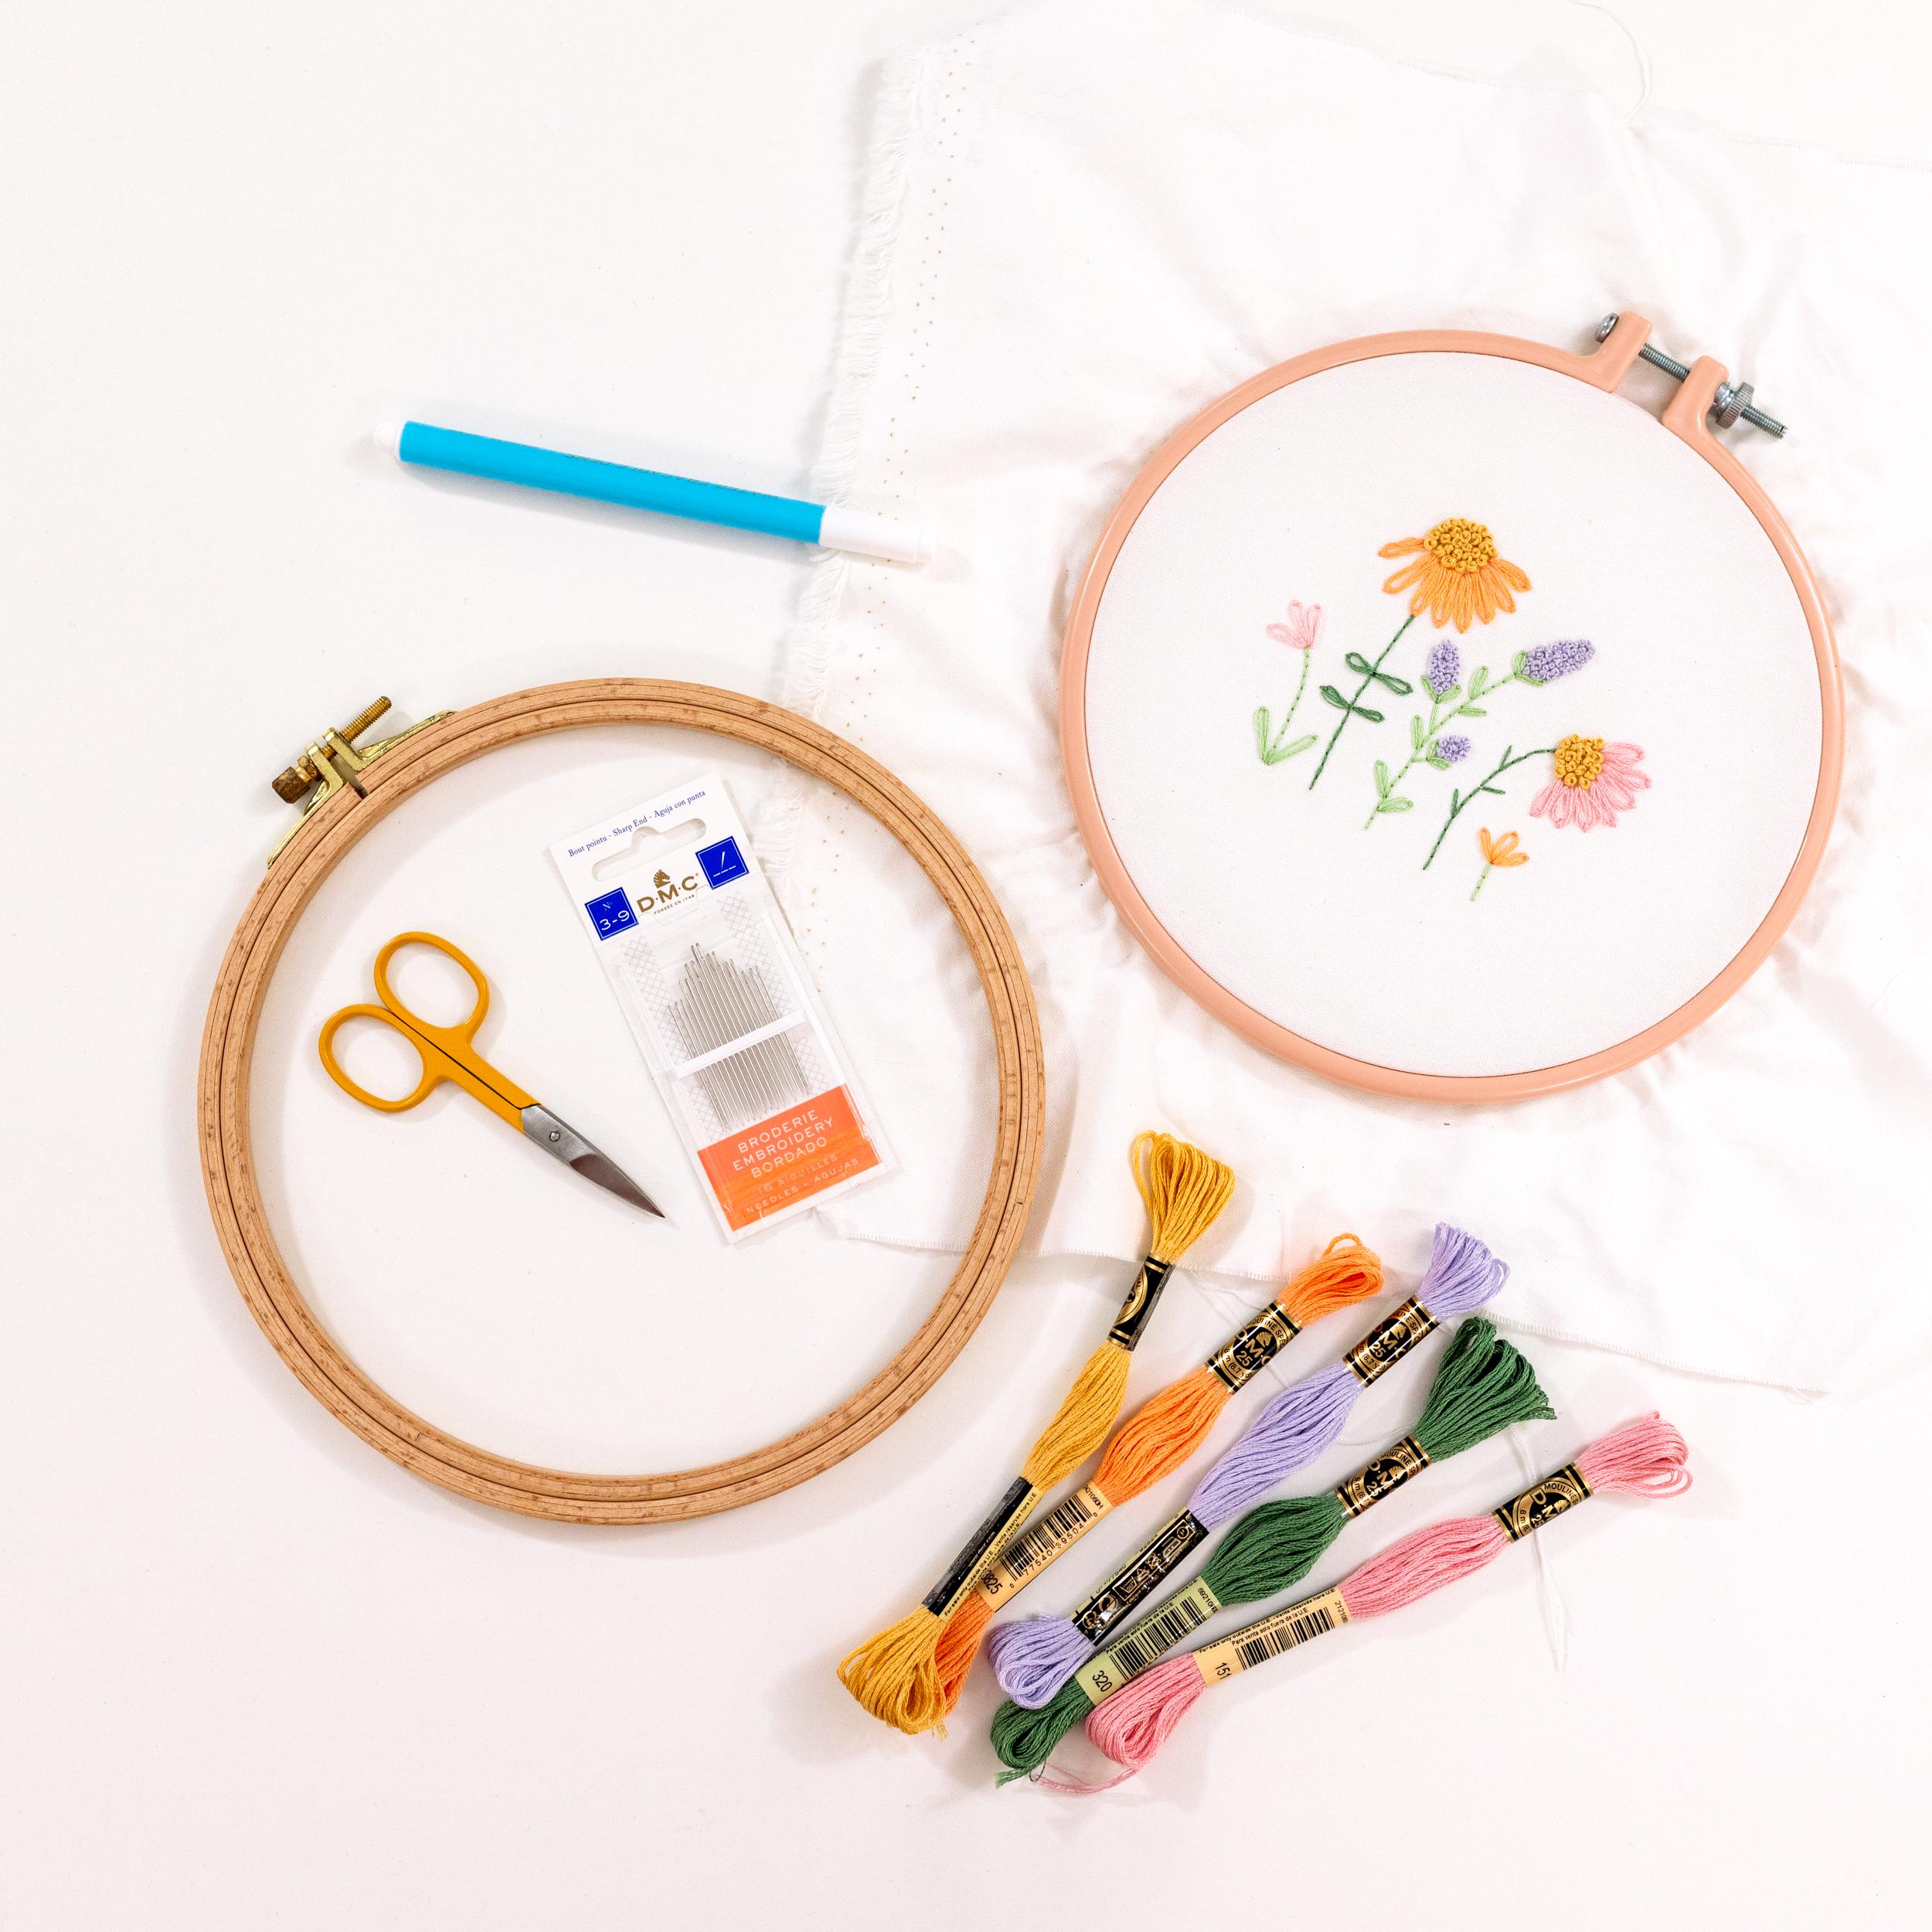
First on the list of modern embroidery supplies is a hoop. This is the starting point for all embroidery, as it holds the fabric tight so you can stitch your design easily.
I so often see beginners sharing pictures of their creations, and the fabric is all loose in the hoop. This is not the end of the world, and totally something I did when I was learning. But when I see this, I think ‘oh gosh, if only they realised that by tightening up the fabric in their hoop, they’d find it even more enjoyable to stitch along.’
So I want to help you find a hoop that does a great job, without you even having to think about it while you’re learning how to embroider.
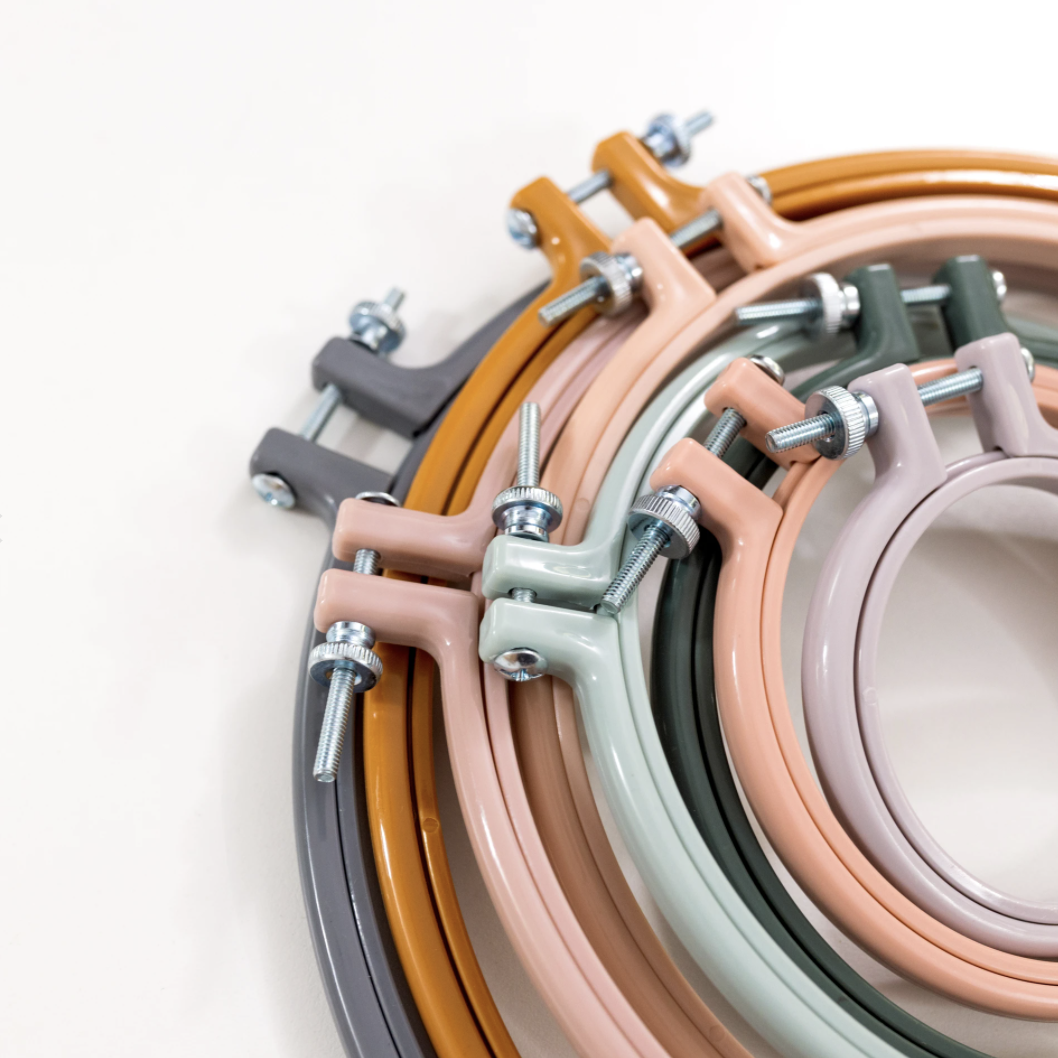
I primarily use plastic non-slip hoops for making my embroidery patterns in. These hoops grip the fabric wonderfully and help to keep it taut, which is especially handy as a beginner.
Elovell and Rico Embroidery Hoops
As for which hoops are my favourite, I love the Elovell Embroidery Hoops. These are great-quality hoops that are simple to use and have grooves that allow your hoop to grip the fabric even more tightly than a standard-shaped hoop. They also have a nice big screw closure, so you can easily tighten the hoop up.
Plus, they also look beautiful for displaying your designs in!
However, if you don’t want to use a plastic hoop, you could always go for a standard wooden hoop.
Nurge Hoops
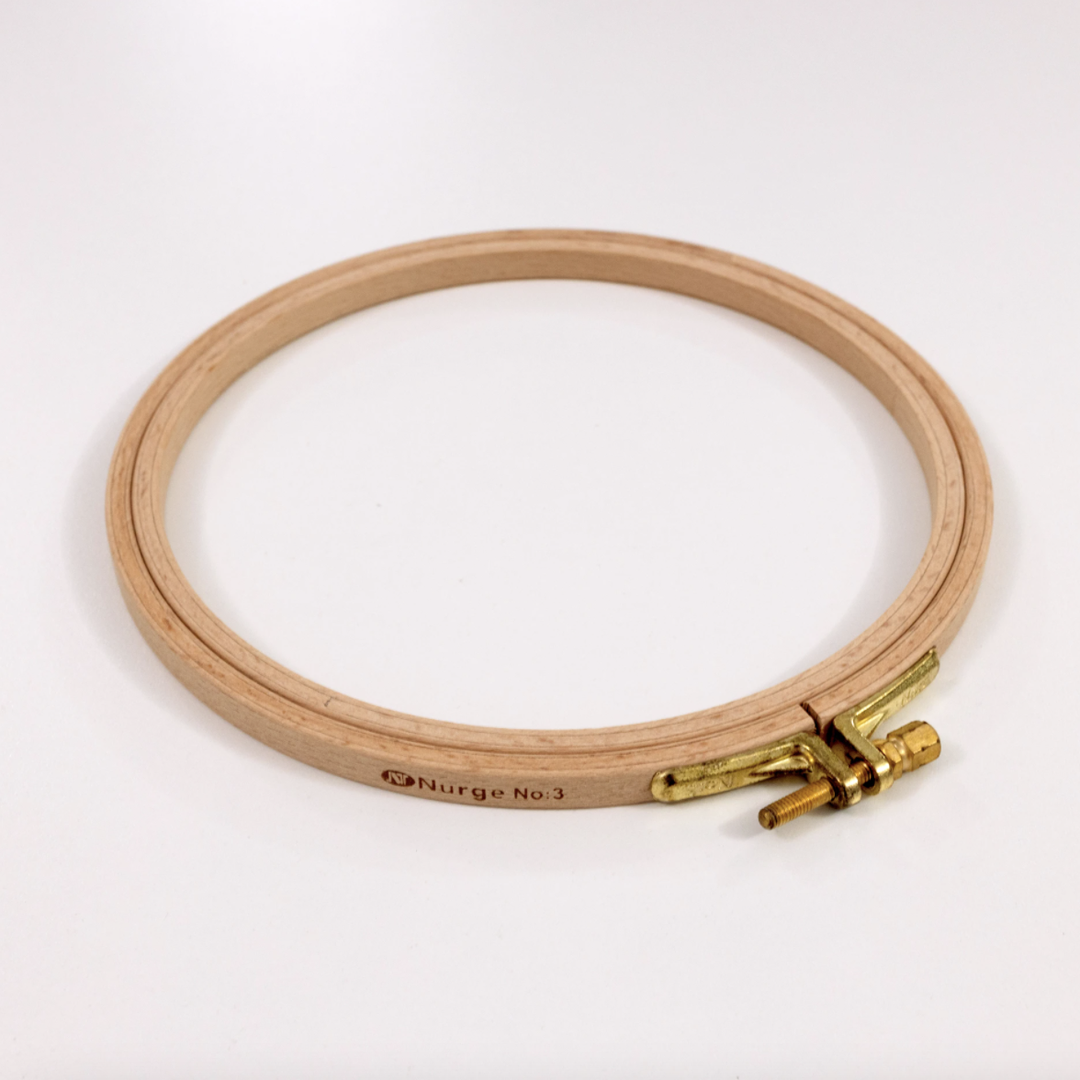
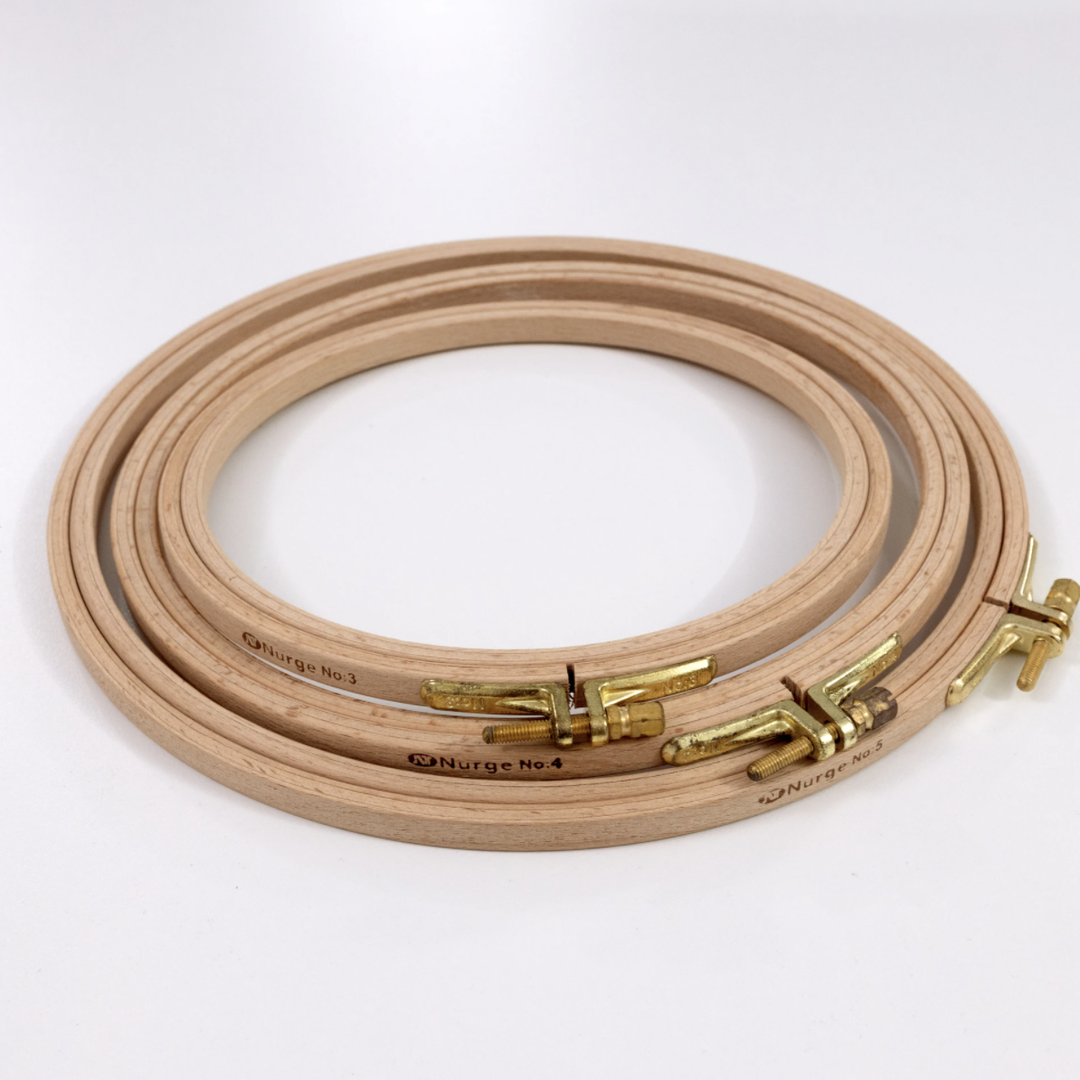
When it comes to wooden hoops, I prefer beech wooden hoops that are sanded and polished for a smooth and natural look. They also have a brass screw that can be tightened with a screwdriver, to keep your fabric tight in the hoop.
Hoop size
But what are the best beginner embroidery hoop sizes? Well in my experience, most beginner (and intermediate) patterns are designed to fit a hoop that is about 15 – 20cm in diameter (or 6 - 8 inches).
So in this case, I recommend the Elovell Embroidery Hoops, for making all of your designs in. It’s a really comfortable size to work with and can be used again and again, each time you make a pattern.
But if you want to go with a wooden hoop for making your designs in, then I suggest the standard 6" inch (15.5cm), or 7" inch (18cm).
Overall, there are so many hoops out there in a variety of sizes, prices, and quality grades. And for sure, there are other brands and types that also work really well. Which is great!
The main thing to look for in a hoop is - does the design of the hoop mean it can grip your fabric nice and tight, right around the whole circumference of the hoop?
Look for hoops that have a screw closure at the top - this is just SO helpful for tightening up the hoop so it can do its job, and not come loose while you’re stitching along.
Also, check whether the inner part of the hoop fits nice and flush inside the outer part of the hoop? If not, you’ll notice gaps where the fabric won’t be tightly held in place.
In summary, as long as you can screw your hoop nice and tight around your fabric, it should work well as a hoop to stitch your creation in.
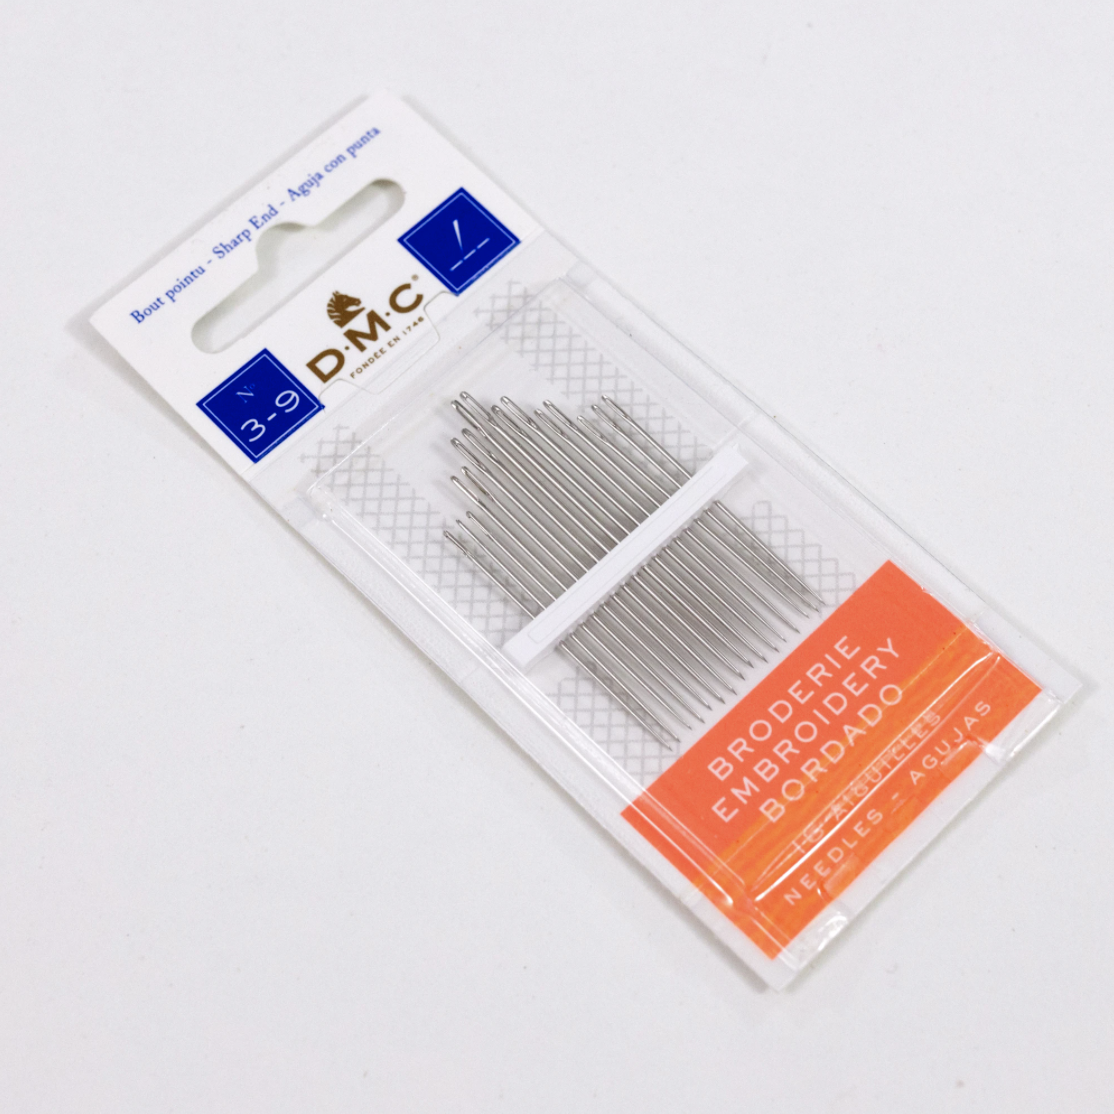
Embroidery Needles
As the popular DIY site, The Spruce Crafts says, embroidery needles are different from sewing needles as they have a nice long eye at the top that helps with threading floss. These needles also have a sharper tip than your common sewing needle, which helps pierce through tightly woven embroidery fabric.
Embroidery needles are also occasionally called ‘crewel needles' as they can be used for crewel embroidery (this embroidery uses wool as the core material rather than floss).
Needle size
As a beginner, I suggest using a starter pack of embroidery needles and practicing using the different sizes, to find the one you’re most comfortable using.
Size 3 - 5 needles are my personal preference, as they are big enough to thread easily (at least with my eyesight) but small enough to get that intricate detail that I love for my embroidery pieces.
However, you might find that your eyesight benefits from a larger needle (this is what some of my Maker’s Academy members have discovered) so totally go for a larger needle if that’s you!
We use the DMC brand in our kits, and they’re really great to work with.
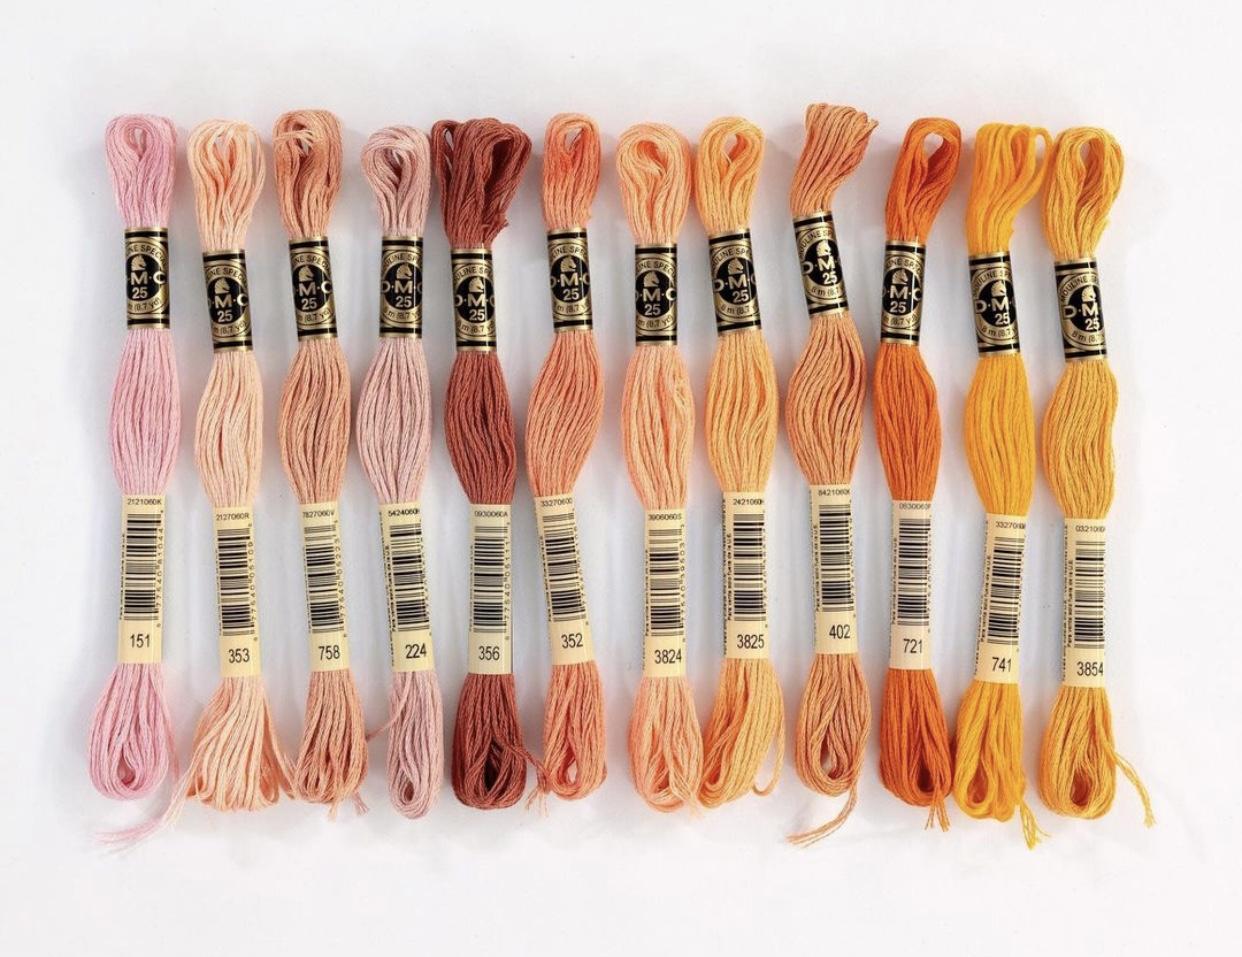
Embroidery Floss
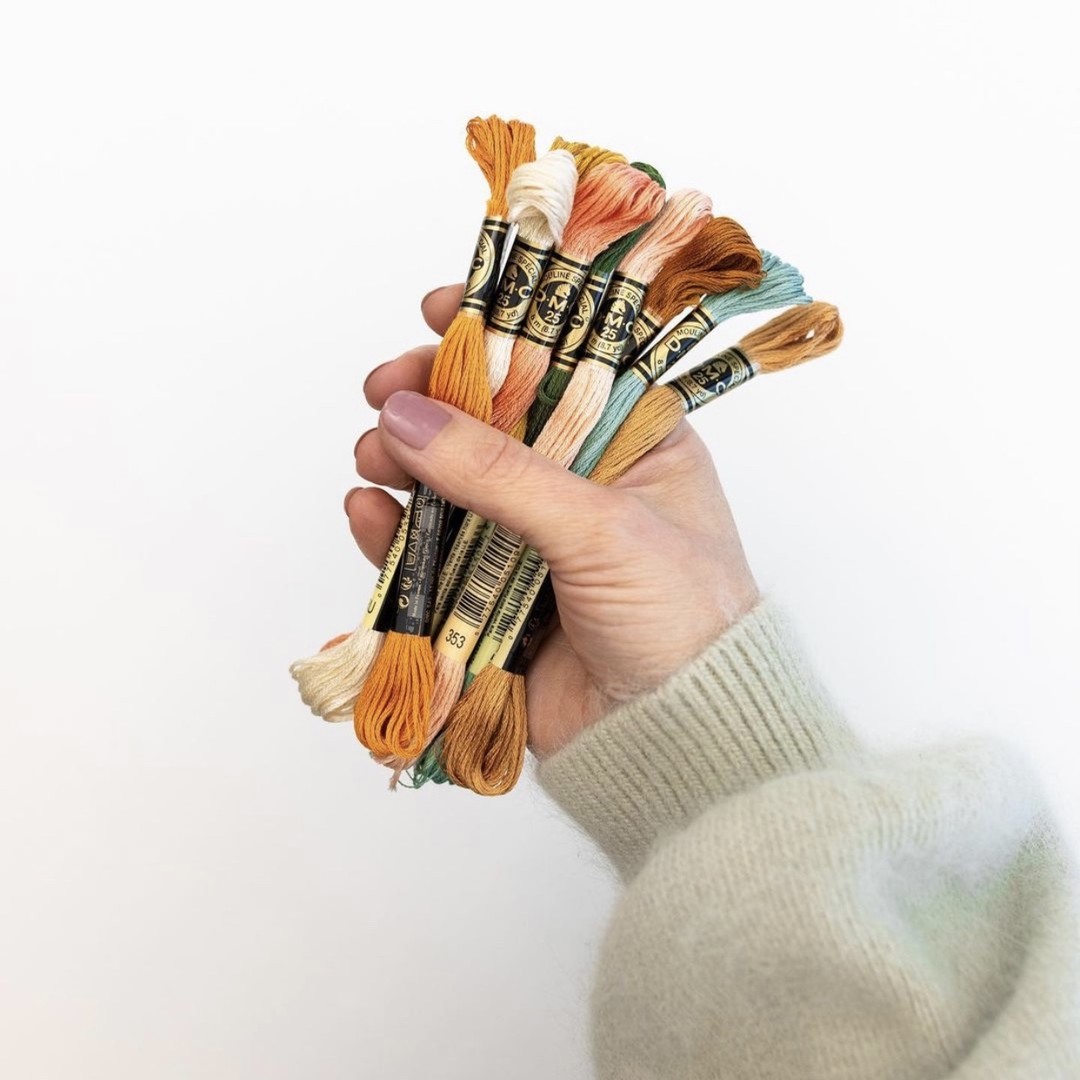
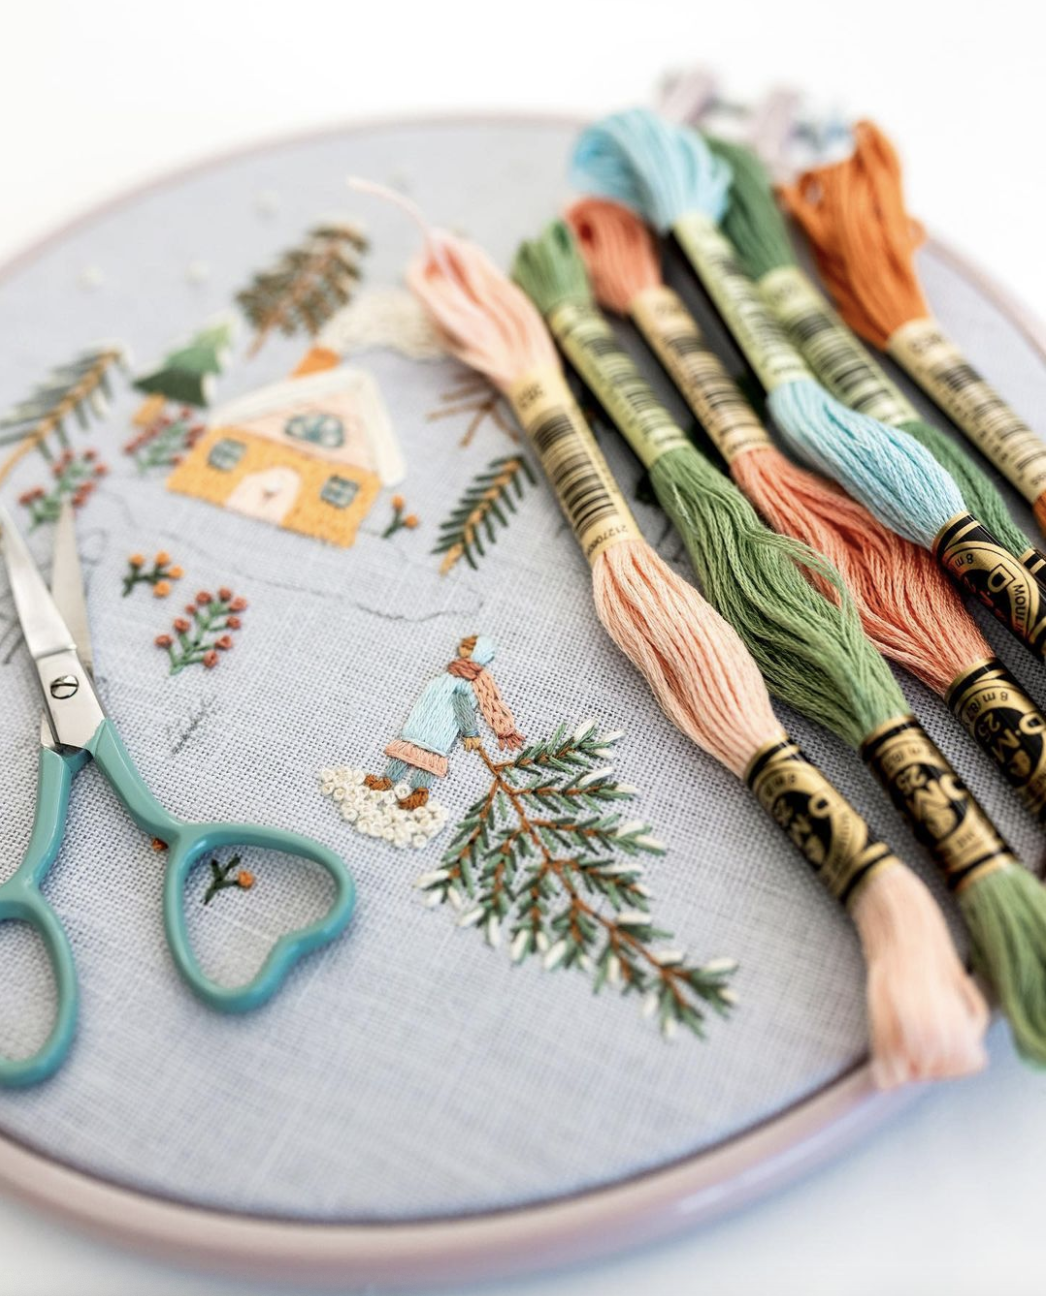
Embroidery floss is 6 strands of thread loosely twisted together. For modern embroidery, I pretty much always use stranded embroidery floss.
What is floss made from?
Most often, floss threads are made from cotton. But floss can also be made from polyester, rayon, silk, and linen.
Some of you with keen eyes may have seen both the terms embroidery floss and embroidery thread being used when you searched the web or read my materials. So you’re probably wondering…
Are embroidery floss and embroidery thread the same thing?
Ok, so this can be super confusing! But let me explain.
Embroidery floss, also known as ‘stranded cotton’, is the SIX-STRANDED cotton that is commonly used for embroidery. It looks like a single ‘thread’, but when you look closer, you’ll realise that it’s actually made up of 6 single, fine strands. These 6 strands are twisted into what appears to be a single thick piece.
You’ll see embroidery floss referred to as ‘embroidery thread’ or ‘stranded cotton’. And you’ll see references to ‘strands of thread’ or ‘strands of floss.’ But you don’t need to worry if the wording isn’t consistent. The main thing is that you understand that a ‘strand’ means one of the 6 fine strands that make up a piece of floss.
The great thing about embroidery floss is that you can separate out the individual strands, and choose how many you want to stitch with. This allows you to mix it up with how fine or chunky your stitches are.
But you’re not only limited to stitching with embroidery floss. There are other types of embroidery thread that you can use (e.g. Perle Cotton or Crewel Yarn). But embroidery floss / stranded cotton is the most common type of embroidery thread, and it is fantastic for beginners. So that’s what the Maker's Academy projects focus on and use in all of our patterns.
How many strands?
Embroidery patterns can use anywhere between 1 strand to 6 strands of thread. Traditional embroidery typically uses fewer strands of thread, for a finer and more detailed result.
I love modern embroidery because it embraces using more strands of floss for your stitches. The result is that your designs are a bit quicker to build up (you cover more fabric with each stitch). And the thicker thread gives lots of lovely bold texture.
But what about colours of floss?
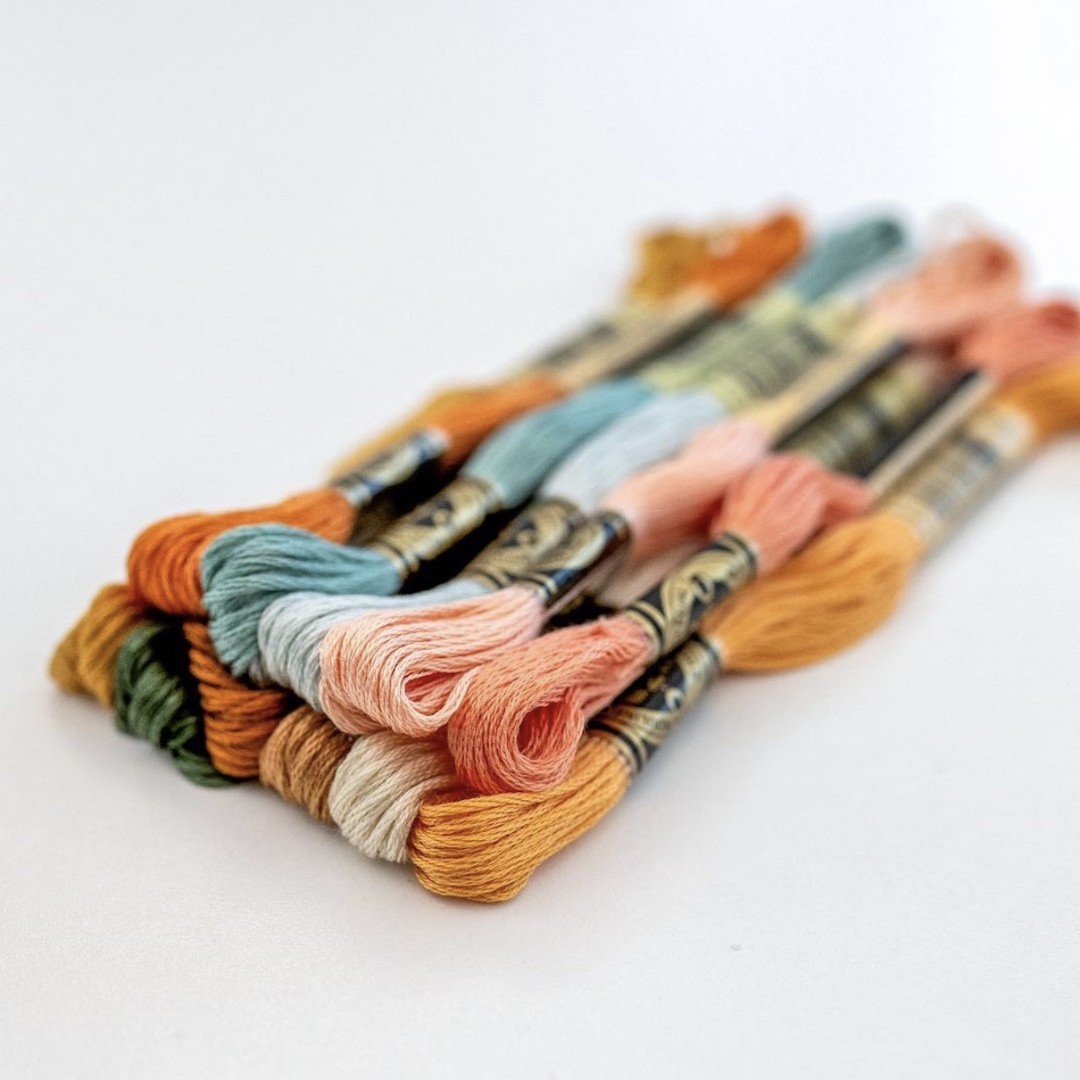
Embroidery floss is so great to use, and it comes in every colour of the rainbow.
I would totally recommend the DMC range of flosses, as they are high-quality, super accessible, and they come in every colour you could possibly imagine.
Fabric
Type
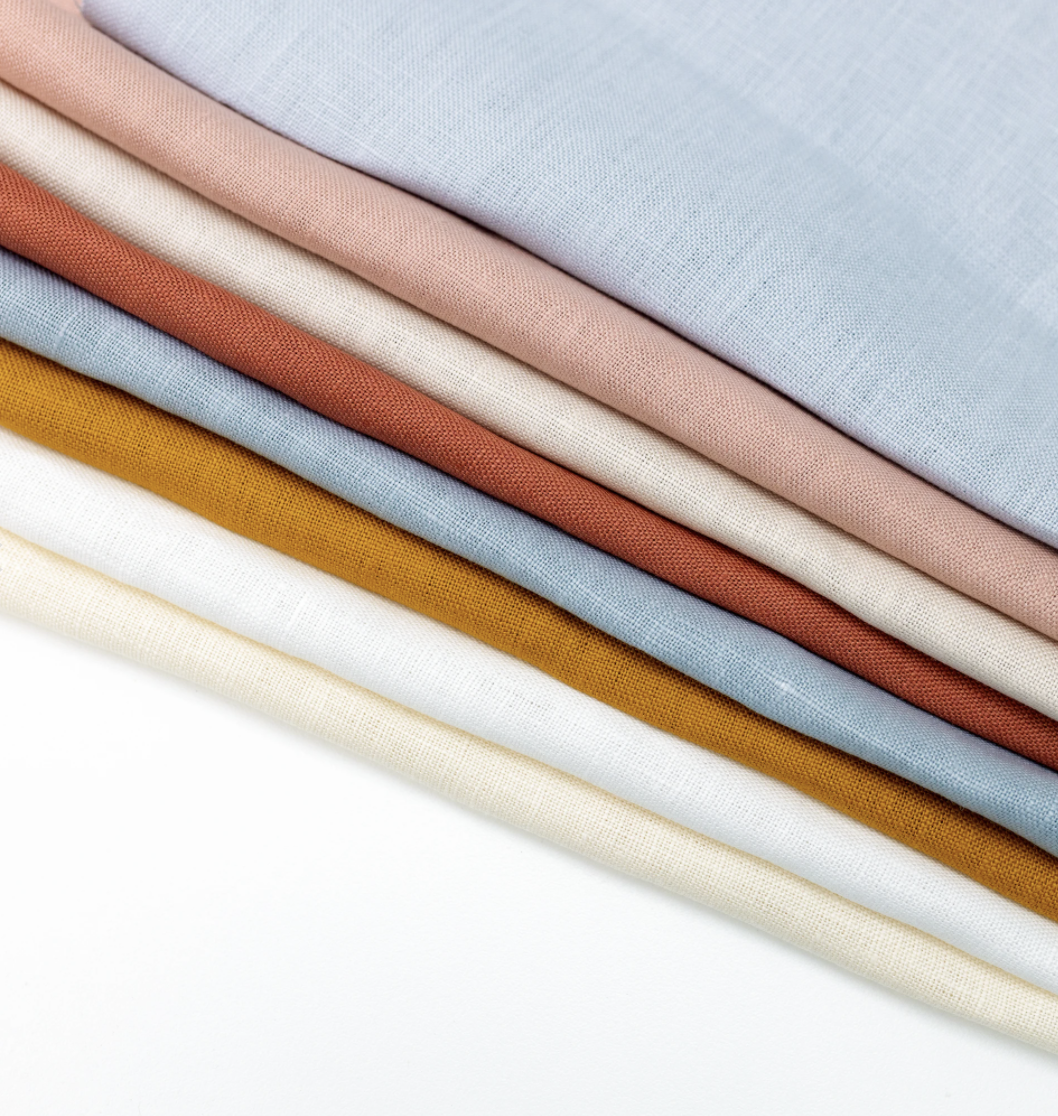
I would recommend you keep your fabric simple as a beginner and just stick with plain 100% cotton. In Australasia, this is commonly referred to as Calico or Quilter’s cotton.
100% cotton is cost-effective and easy to find at any craft or sewing store around the world. This type of fabric isn’t stretchy, so that means you can pull it nice and tight in your hoop, creating a firm platform to stitch upon. Cotton is available in a bleached or a more natural ‘seeded’ look. I think both look great!
Later on, when you are more confident with embroidery, you will be able to try many more marvellous fabrics such as linen, blends, and denim.
Size
The size of your fabric depends on the size of the pattern you are working from. Most of my Maker's Academy beginner patterns are sized from 15 - 18cm wide, so we recommend a square of fabric about 30cm x 30cm. The perfect size for beginner designs!
Whatever fabric size you choose to use for your designs, once you’ve dressed it in your hoop, you want to trim around the circumference so that there is about 50mm of excess fabric outside the hoop. It’s not an exact rule, but this is a good guide.
Learn more
If you would like to learn more about beginner embroidery fabrics, then I would totally recommend you check out our previous article ‘A Beginner Guide to the Best Modern Embroidery Fabrics.’ This article goes much more in-depth about the best fabrics to use for embroidery beginners (and which fabrics you should avoid).
Embroidery Scissors
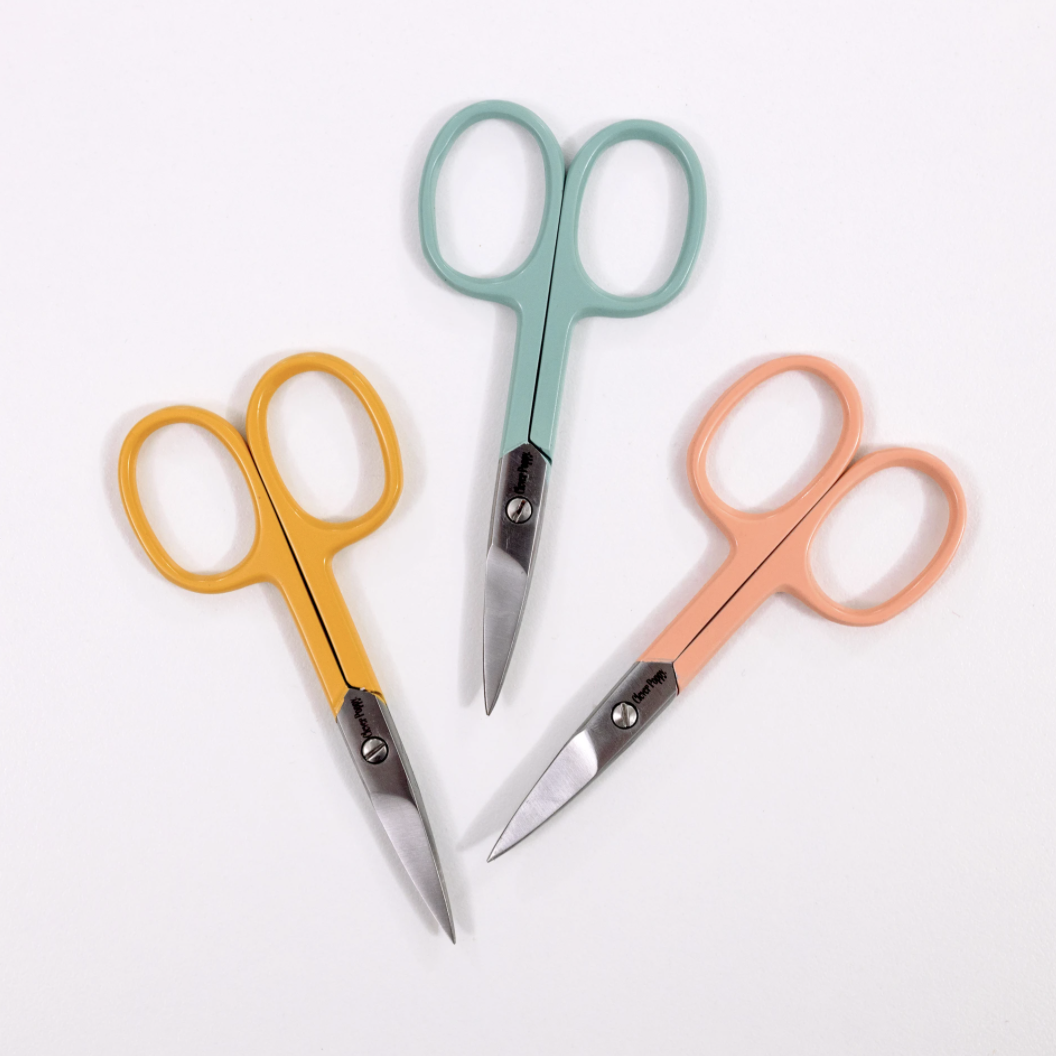
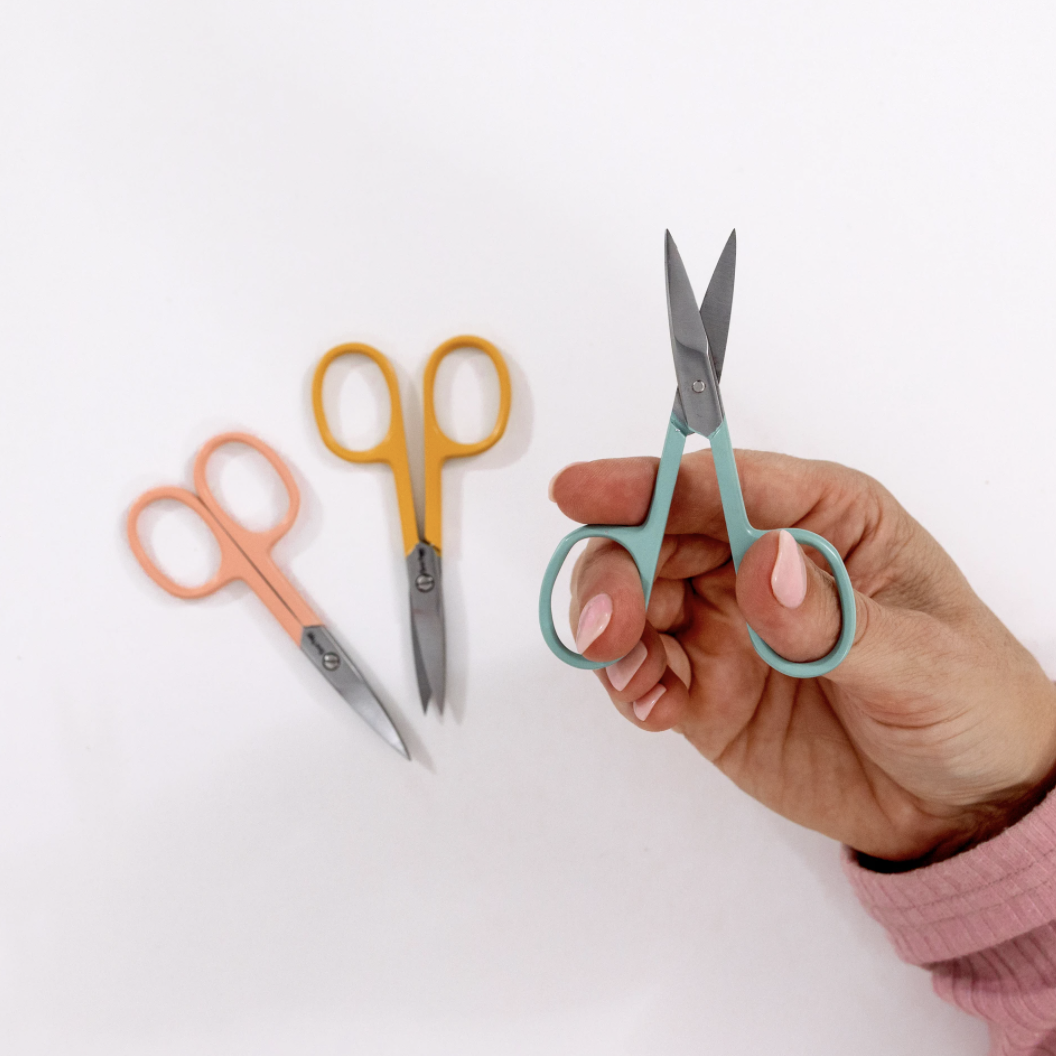
It is really helpful if you have a little sharp pair of scissors, specifically for embroidery. The small blades of these scissors are the perfect size to snip into the detailed bits of thread (whereas your usual kitchen scissors would be too clunky to even get close).
You’ll find these small scissors an absolute must when you’re snipping off tails. And also if you’re trying to remove stitches that have gone haywire (don’t worry it happens to the best of us)! The last thing you want to do is snip your fabric by mistake with chunky scissors that aren’t right for the job.
Educational embroidery site, Stitched Modern, says the ideal fabric scissors are short and sharp. Delicate scissors with snips around 30 - 50mm long are the best size for embroidery scissors as they are very easy to control and allow you to get in close and personal with your work.
How to avoid fabric fraying
Once my fabric is dressed nice and tight in the hoop, I trim around the circumference of the hoop with a pair of my grandma’s sewing shears from the 1950s, leaving about a 50mm overlap of fabric.
These scissors are the perfect embroidery companion because they have a zig-zag blade that cuts the fabric, so it’s less likely to fray.
Honestly, it’s SO satisfying to snip along with these metal shears that my grandma used to craft with! And I love how the fabric barely frays once I’ve done this, even with the hours and hours of stitching it takes to make the pattern.
So I would definitely recommend you buy a pair of embroidery shears if you think you will continue to cut out fabric for embroidery!
But as a beginner, you can totally use regular craft or kitchen scissors to cut your fabric to size. So long as they’re sharp, they’ll do the job just fine.
Plus, you will be sewing the edge of the fabric around the back of your hoop when you display it anyway, so fraying edges aren’t something you really need to worry about for now!
Fabric Transfer Pens
Whether you are following a pattern or designing your own, I 100% recommend that you draw it onto your fabric before you start stitching.
For this step, it’s great to use a pen that you can easily remove after all the stitching is done.
Because any pen marks that you don’t cover up with stitches will show.
Plus, lots of the techniques we use in modern embroidery are a bit freer and less structured (like lazy daisy petals), so chances are whatever you stitch won’t 100% cover up the pattern you’ve drawn on anyway.
If you have a removable pen you can use that means you can remove any visible pen marks after you’ve finished stitching. Then your stitched design can be displayed in all its glory!
In the world of modern embroidery, there are actually quite a few different ways you can transfer your pattern, and types of pens you can use. But let’s keep it simple, and quickly cover my two favourite types of transfer pens.
Heat removable pens
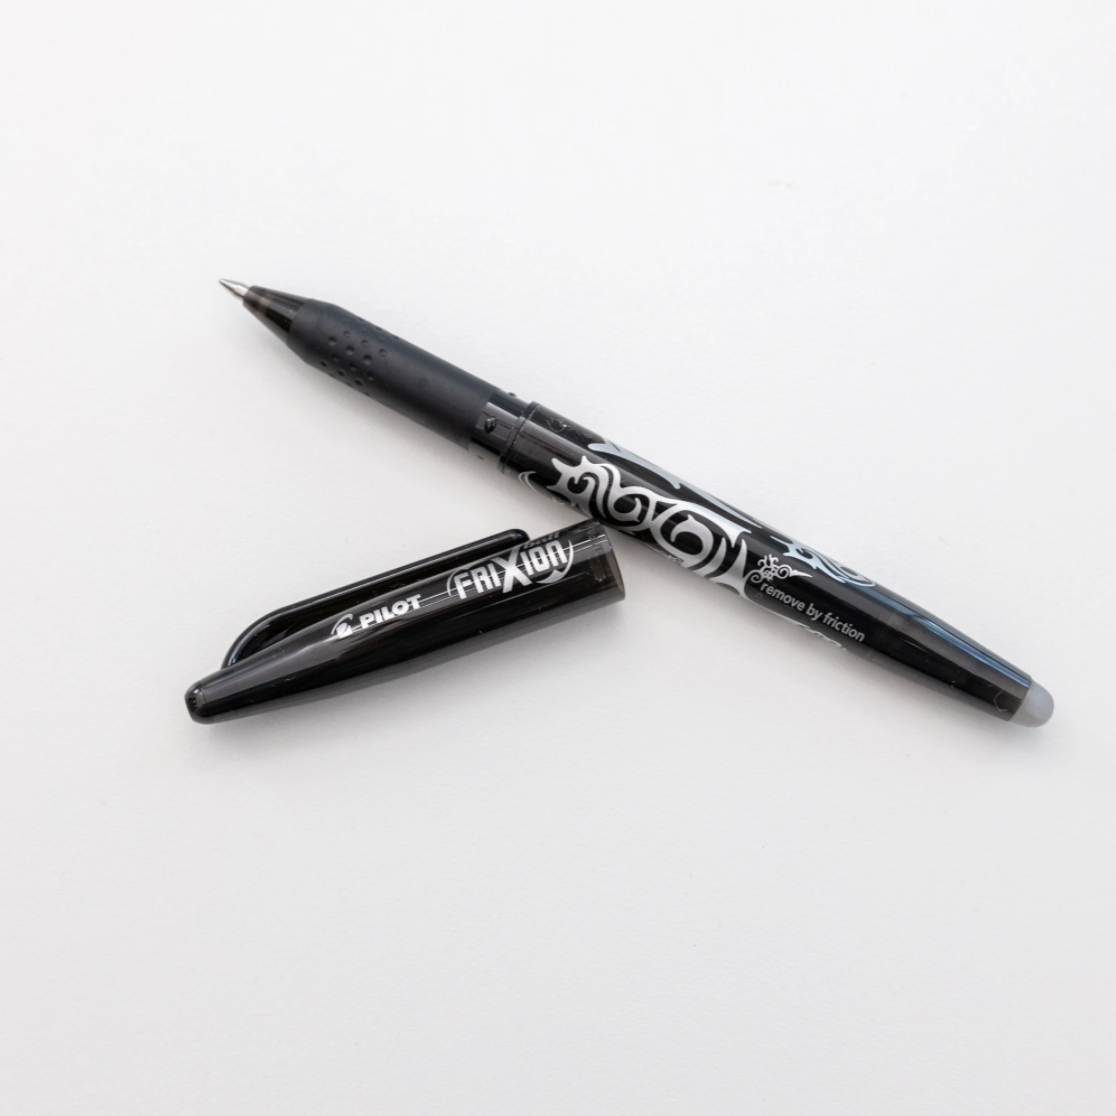
I recently discovered the Pilot Frixion Pen, and I love it!
It has a lovely fine tip and is so easy to draw with. But the brilliant thing is that it comes off with heat. When you are writing on paper, you can rub the end of the pen against the writing and the friction makes it disappear (it's so cool).
But for embroidery, you just gently apply heat with a hairdryer (or iron). And it disappears like magic! Just make sure you draw your design on with a nice thin line (don't go crazy pushing hard and making the line thick) - this means you'll be more successful with removing it later.
Water erasable pens
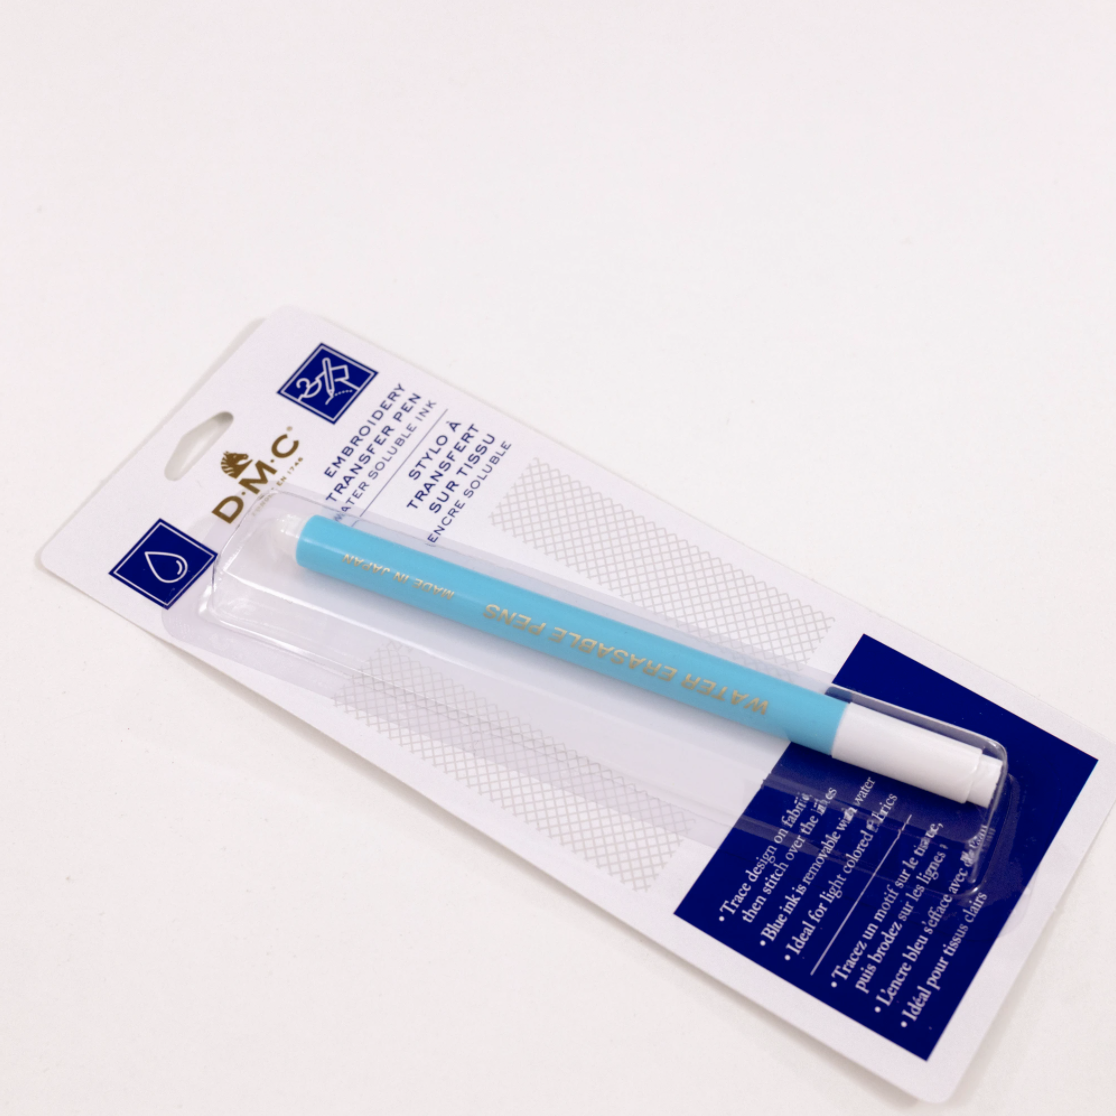
Water erasable transfer pens are another option. This includes pens like the DMC Embroidery Transfer Pen.
This pen makes it super easy to draw your design onto the fabric. And the outline washes away really easily when you rinse it off.
I recommend holding the design under a gentle flow of lukewarm water, rather than dabbing at the pen to get it off. This method seems to remove the pen better, and you won’t be left with pen residue that reappears once your piece has dried.
Another alternative
If you don’t have one of these transfer pens and want to get started right away with embroidery, that’s all good!
You can always use a pen or pencil to transfer your design on. Just go lightly, and bear in mind that any marks you don’t cover with the thread will be visible in the finished creation.
So, if you’re using a regular pen/pencil, trace the design on with a light touch. Otherwise, these lines could show through later (which is not ideal, but hey we’re just learning, so it’s not a biggie)!
Super Keen Newbies - Bonus Embroidery Supplies
Now, if you’re super keen to dive into the world of embroidery (like I was), then you may also want to invest in a few more supplies to help you along your way.
These supplies are totally optional (and not required at the beginner level), but they can make life easier for you. And who wouldn’t want that?!
Project container
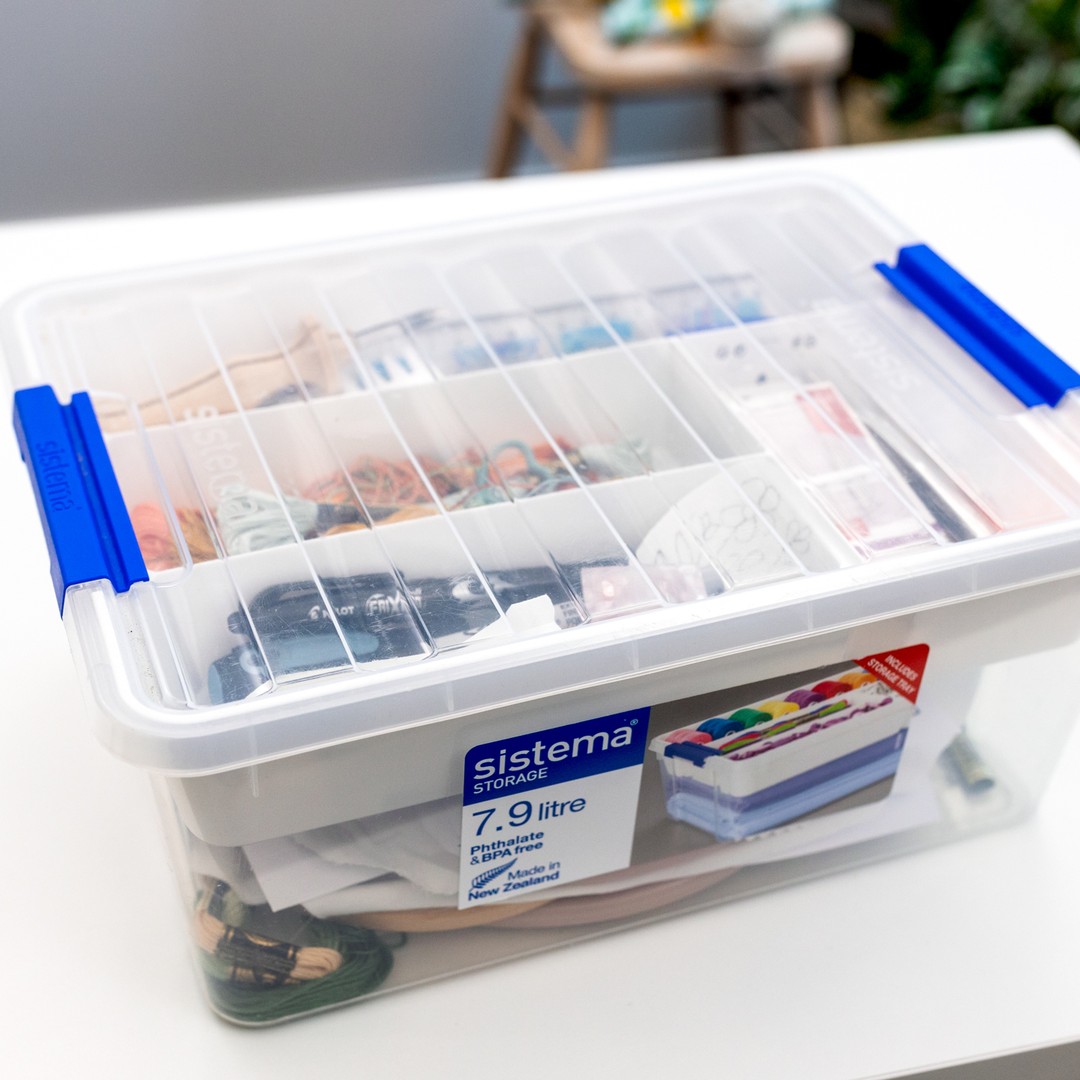
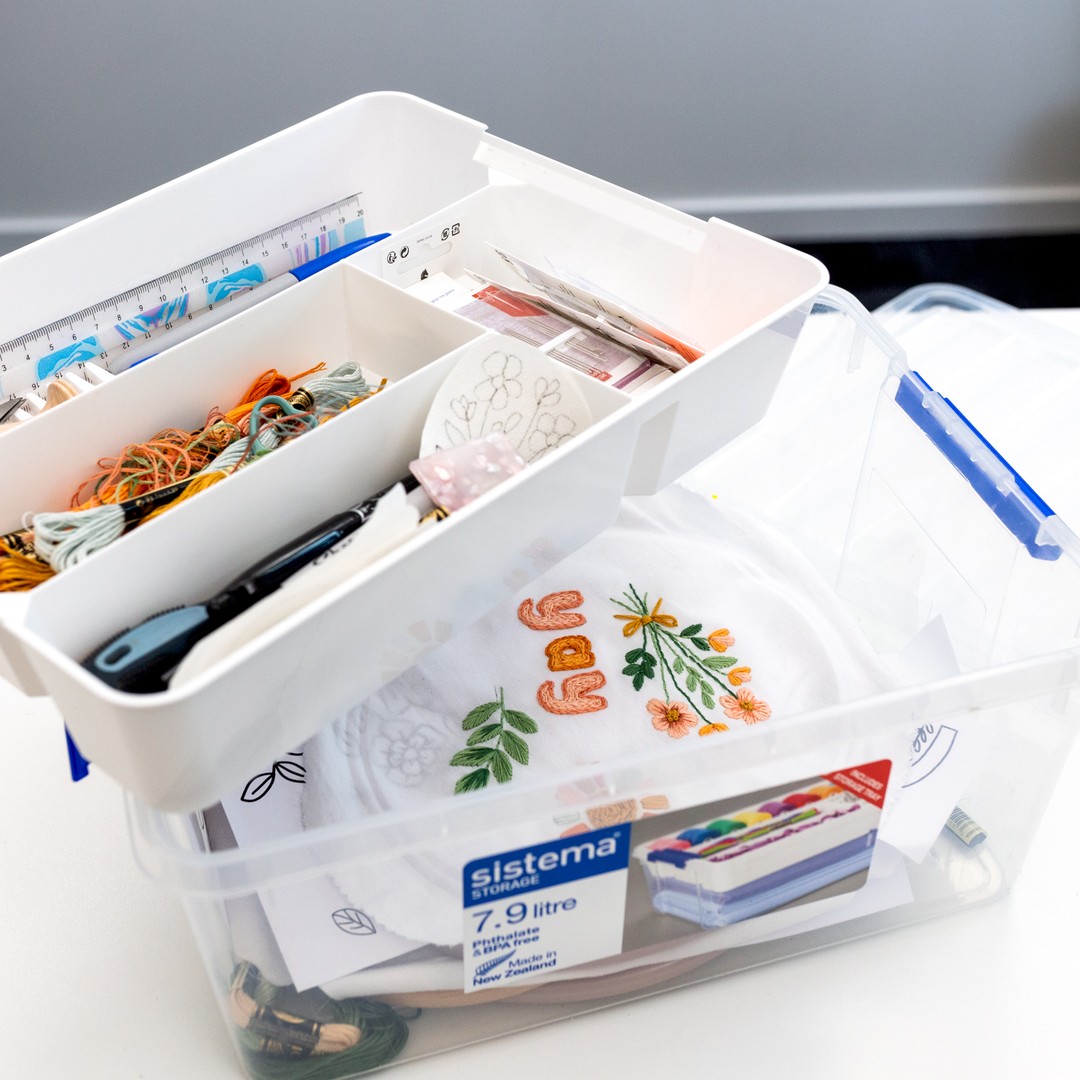
I use a simple Sistema plastic container, with a segmented tray at the top, to store my essential embroidery supplies, plus whatever ‘work in progress' I have on the go. This container is so handy!
The segmented tray at the top fits all the basic embroidery supplies like threads, needles, scissors, etc. And the space underneath fits a standard-sized hoop, plus extra fabric, etc.
I love this system because it means I can easily transport the container around my home or in my car, depending on where I’ll be spending my me-time working on a project.
Floss organiser case
A floss organiser case is exactly what it sounds like! It is a case (usually plastic), that has different compartments where you can organise your floss into different colours. I know so many of our members love organising their floss this way!
Needle minder
A needle minder is your embroidery BFF. This handy little gizmo watches your needle when you put it down to change threads, or when you finish at the end of the day. Needle minders are usually magnetic and stick to the front of your dressed hoop. They come in a whole range of different shapes and colours to match your personality.
No more lost embroidery needles with this helpful tool!
Embroidery stand
An embroidery stand holds up your embroidery creation while you work on it. The best part is, this means you have both hands free to work on your stitching. This is super helpful for techniques like woven roses and French knots.
And as the educational embroidery website Mistress of Stitch says, these stands help you retain good posture, and this will allow you to stitch for longer and not have to deal with a sore neck at the end of a stitching sesh.
Embroidery stands come in all sorts of shapes and sizes to suit each type of embroiderer!
Floss bobbins
Floss bobbins are plastic or card tools that you can use to wind leftover floss on, to keep it tidy! I personally don’t bother with this, but I know that a lot of our members find this handy and enjoyable.
Needlebook
A book for your needles? You’ve heard correctly! A needlebook has handy compartments that store your needles once you take a (well deserved) break from crafting.
Conclusion
I hope you feel much more confident to start learning modern embroidery, now that you have some idea of the best beginner embroidery supplies to use.
I was once a beginner too, so I know how it feels when you have all this new information thrown at you. But once you make your first embroidery creation, you’ll see how everything just comes together and makes a lot more sense!
As for stores to buy your supplies from, I sell my favourite supplies (tried and tested by me) in our store - the Clever Poppy Shop. We ship worldwide using DHL who are impressively reliable and fast!
What's next?
Our beginner embroidery kits are a favourite among new stitchers for their simple, step-by-step instructions and beautiful designs that make learning easy and fun. Whether you’ve been wanting to learn embroidery or are just searching for your next creative hobby. These kits are the perfect introduction to embroidery.
Why people love our beginner kits:
-
Everything you need is included: fabric, thread, hoop, and more!
-
Clear instructions to guide you every step of the way.
-
Gorgeous designs you’ll be proud to display.
Our most popular beginner kits
If you liked this blog, you may also like my other blog, Learn Modern Embroidery for Beginners with this FREE Pattern?


